Big-box store furniture offers convenience and affordability, but why settle for ordinary? As a crafting enthusiast with years of hands-on experience revitalizing pieces just like this, I've found decoupage to be a game-changer. This straightforward technique turns a basic wooden chair into a stunning, personalized showpiece.
Bethany Nauert
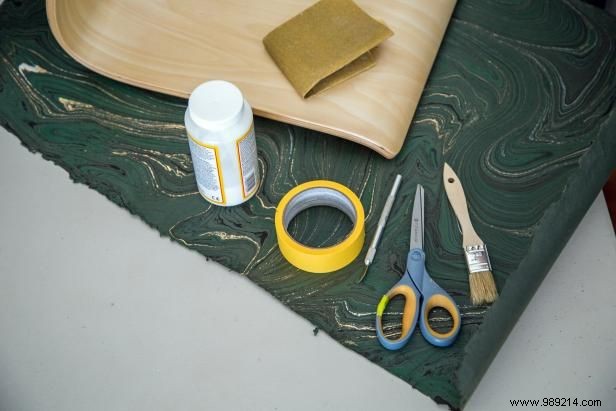
Start with your wooden chair, scissors, craft knife, fine-grit sandpaper, paintbrush, painter's tape, and Mod Podge—the essential adhesive for decoupage pros. Choose your paper wisely; for this office chair transformation, a graphic marble print added elegant texture and depth.

Bethany Nauert
Sand the chair thoroughly with fine-grit sandpaper to create a smooth base. Factory finishes can be uneven or slick, hindering adhesion. Wipe away dust for flawless results—a pro tip from countless projects.
Bethany Nauert
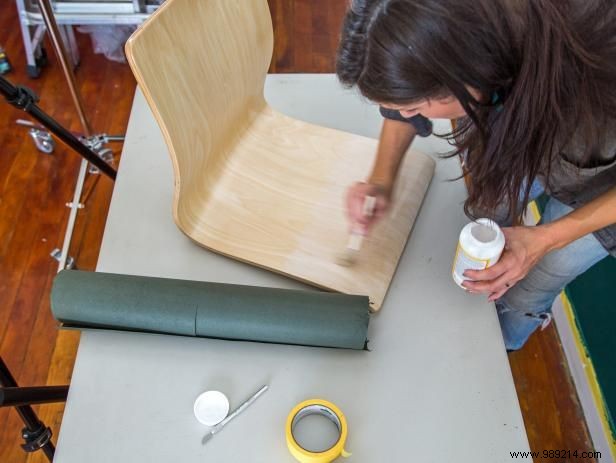
Brush on a generous, even coat of Mod Podge without excess drips. Work quickly so it stays tacky for paper application. If it begins to set, lay down paper sections promptly and proceed.
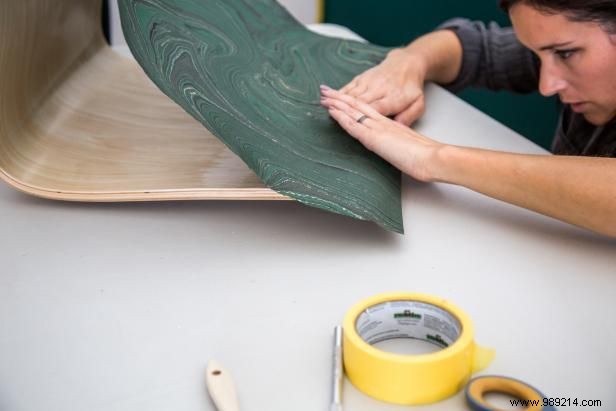
Align the paper precisely to showcase the pattern. Press firmly from the center outward, smoothing bubbles and creases for a professional seamless finish.
Bethany Nauert
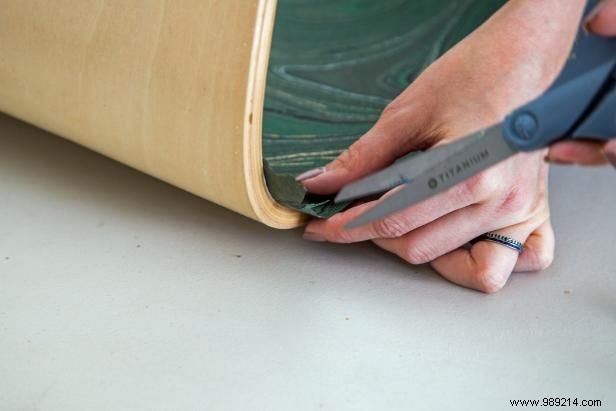
After 10-20 minutes of drying, trim excess paper with sharp scissors using small, precise cuts along the edges. This technique prevents tearing and ensures clean lines.
Bethany Nauert
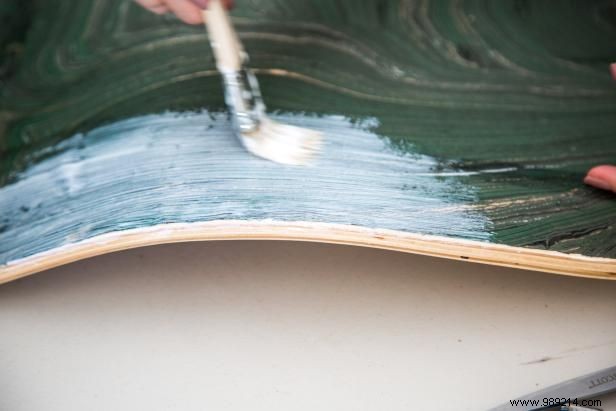
Finish with a generous, even layer of Mod Podge top coat. This glue-varnish combo secures the paper and adds a durable, glossy sheen. Allow 24 hours to cure fully.
Bethany Nauert
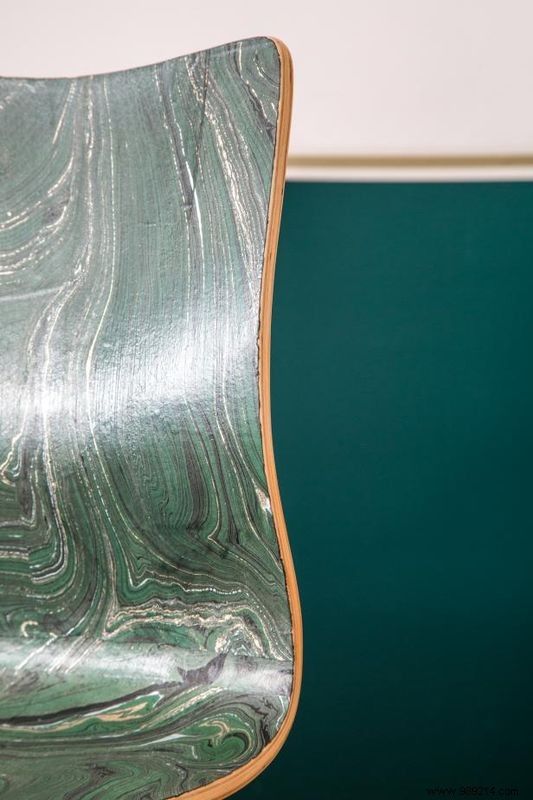
The result? A glossy, elegant, one-of-a-kind chair ready for your home. From mass-produced to bespoke in hours—sit back and admire your handiwork.