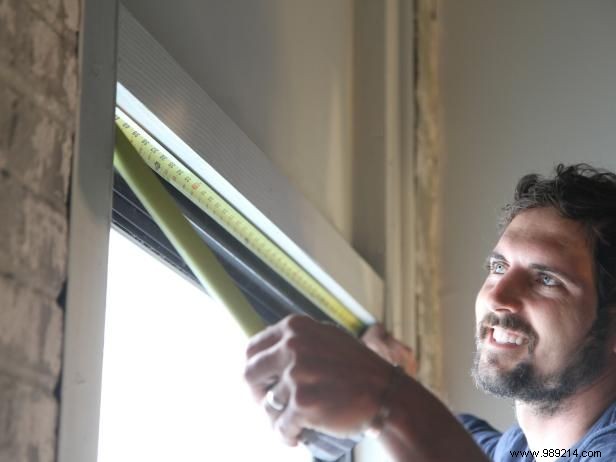
As a home improvement pro with years of hands-on experience, start by measuring the inside width of your window. Add 4 inches to ensure full coverage and a polished look.
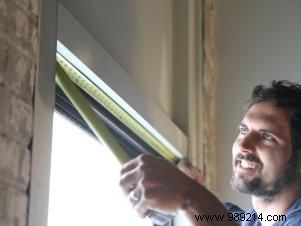
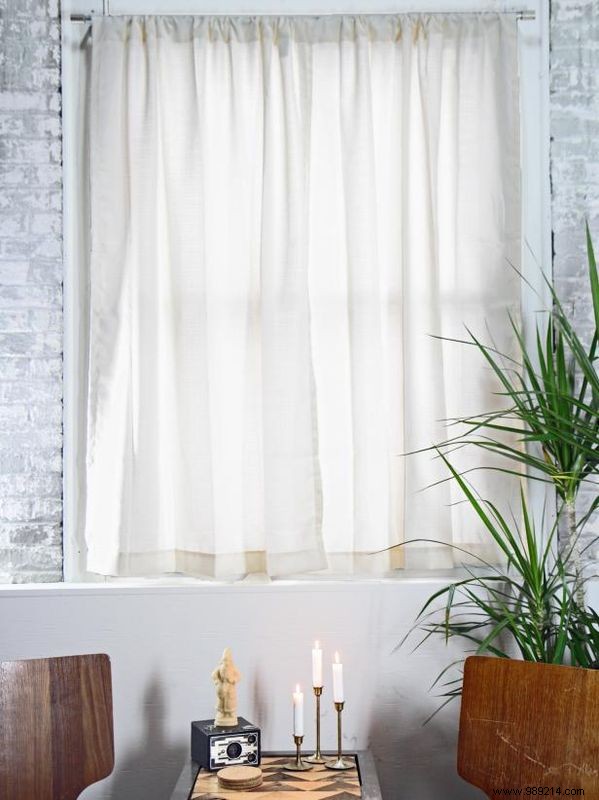
Position brackets 1.5 inches outside the window frame on each side to eliminate light gaps. For vertical placement, align based on your curtain length—mounting above the window creates the illusion of height and grandeur.
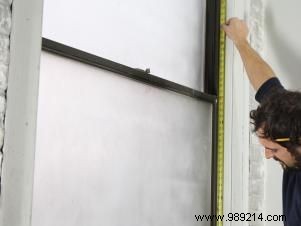
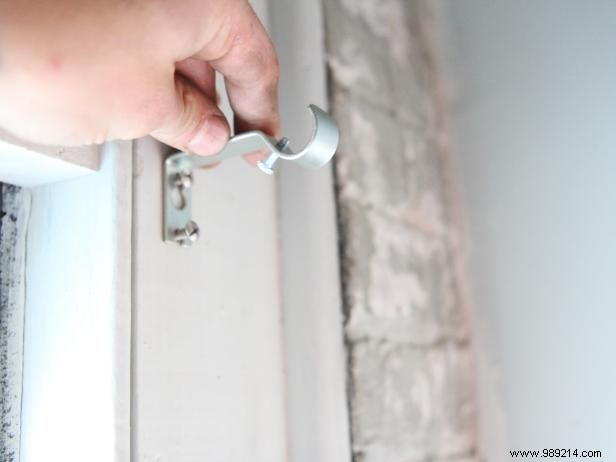
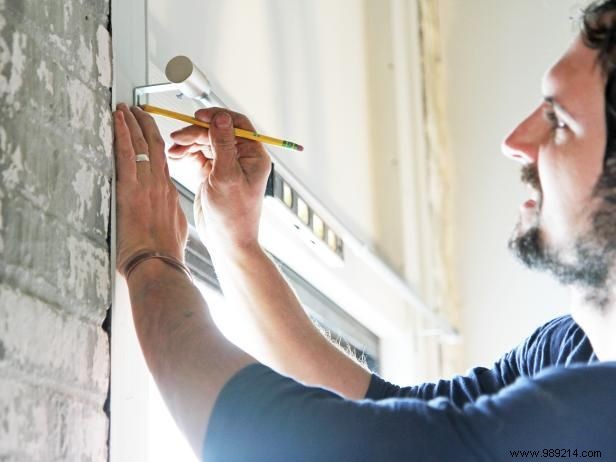
Position the right-side bracket over your center mark. Use a level and pencil to precisely mark the screw holes, ensuring everything stays perfectly aligned.
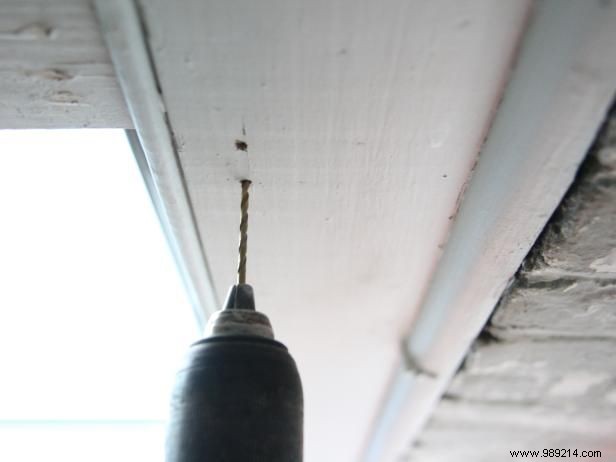
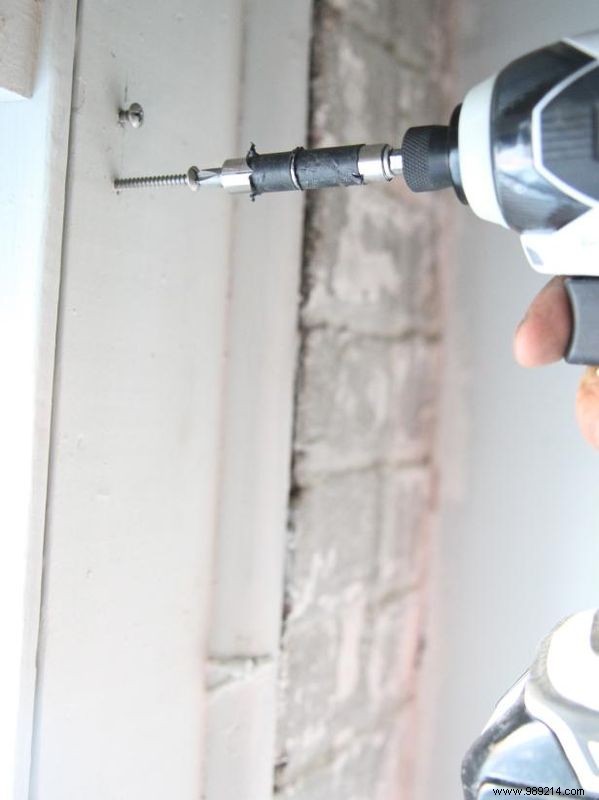
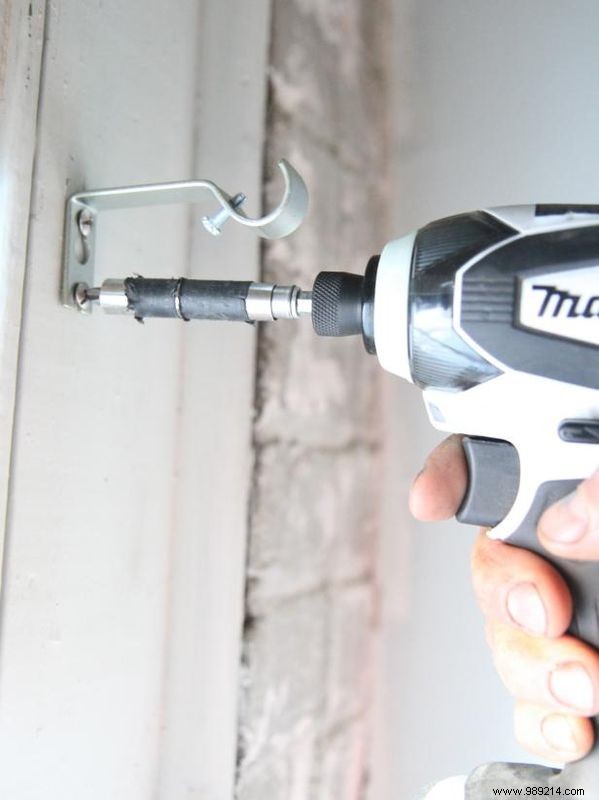
Pre-drill holes with a 1/8-inch bit. Insert screws, leaving about 1/4 inch protruding. Slide the bracket onto the screws and tighten securely for rock-solid support.
Insert the rod into the right bracket, then use a level to position the left one over your 1.5-inch mark. Mark the holes, remove the rod, and repeat the drilling and securing process for flawless results.
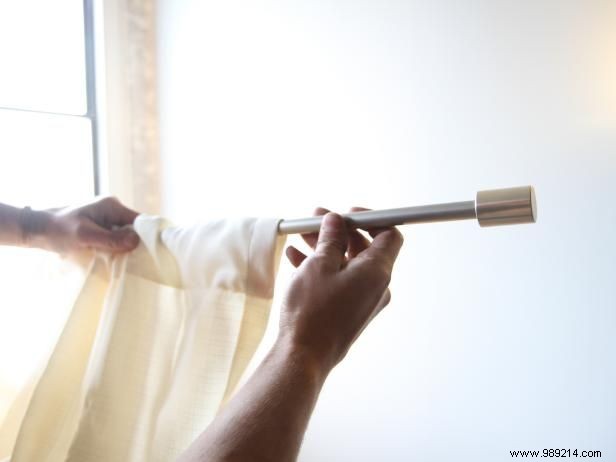
Slide your curtain panels onto the rod for easy, professional installation.
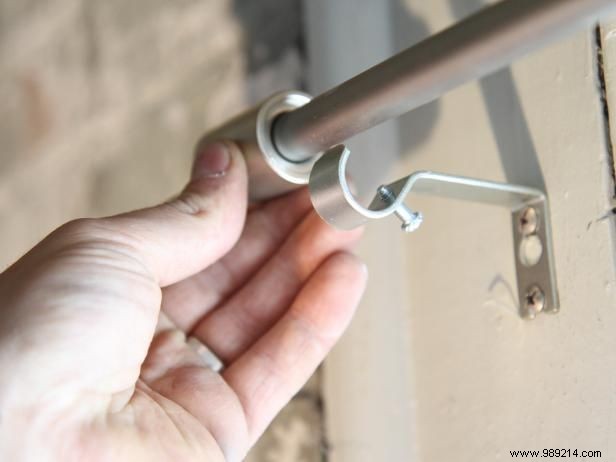

Place the rod onto the brackets and tighten the set screws on the back of each for a secure, wobble-free finish that lasts.