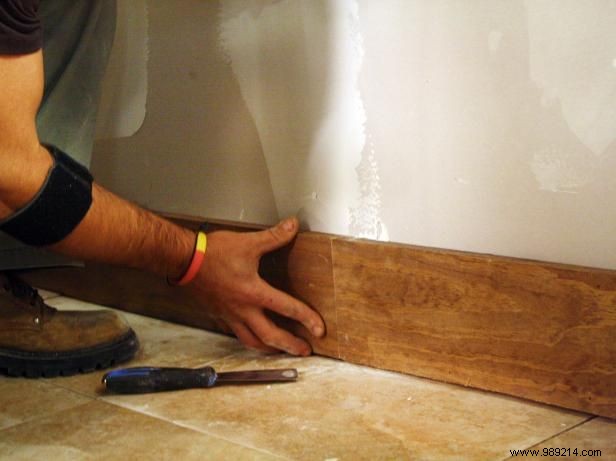
Frame the wall perimeter with pine boards: use 1x8 boards for the outer vertical pieces and 1x4 boards for horizontal runs. Apply construction adhesive to bond them securely to the wall, then fasten in place for a stable base.
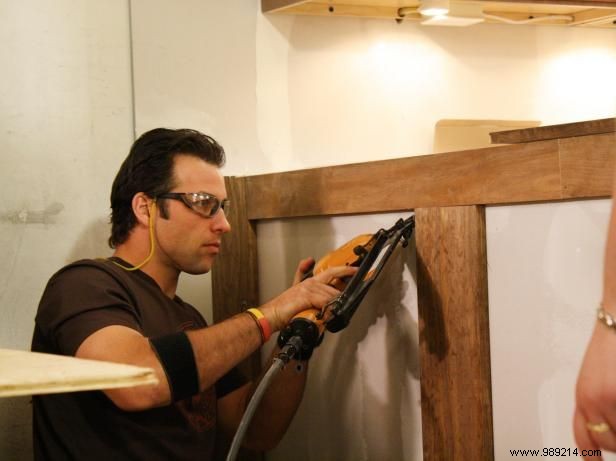
Cut three additional 1x8 boards to fit between the horizontal runs. Glue them evenly spaced, wrapping around corners on horizontals to minimize visible fasteners where possible, ensuring a professional finish.
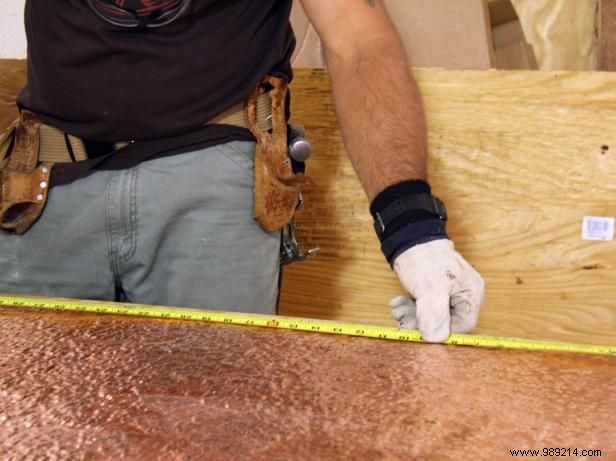
Lay the copper sheet face down on a work surface. Measure each 'window' created by the frame and mark the shapes precisely with a felt-tip marker for accurate cuts.

Use scissors to cut along your marked lines. Always wear heavy-duty work gloves to protect against sharp edges during this step.
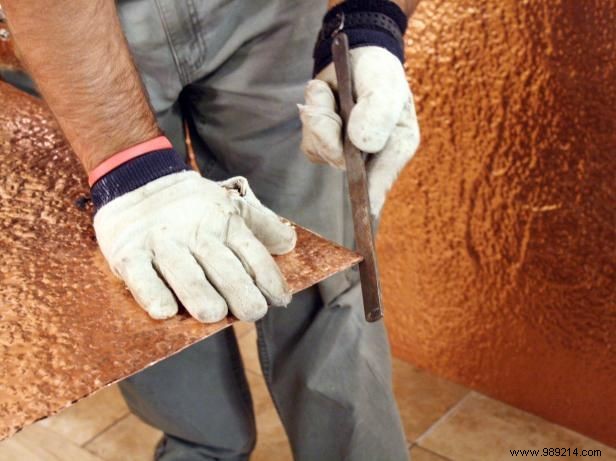
File down any sharp corners or burrs from cutting with a metal file, creating safe, professional edges ready for installation.
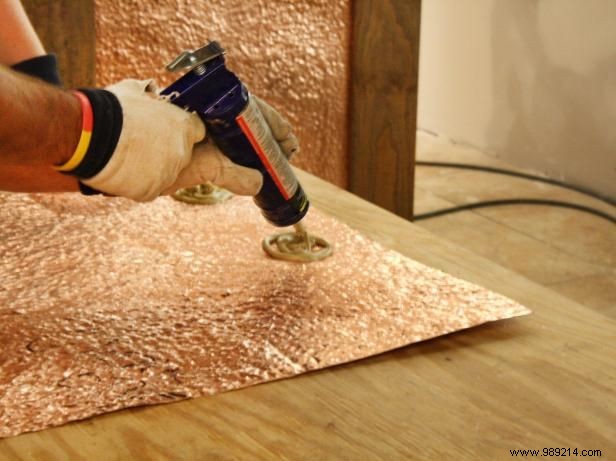
Generously apply high-strength construction adhesive to the back of each copper piece in large dollops, using more on uneven valleys. You may need multiple tubes per sheet for optimal adhesion.
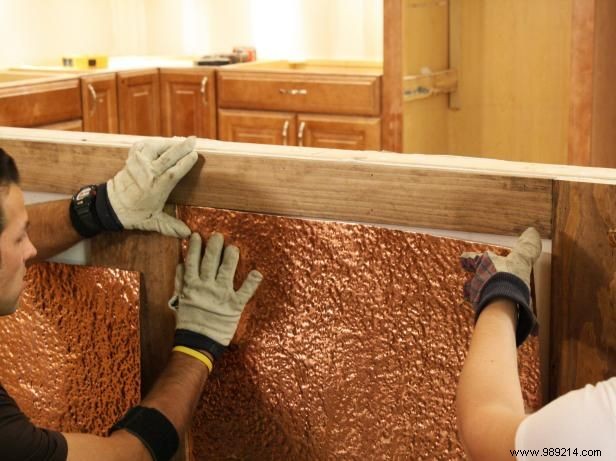
Press each copper sheet firmly into its frame 'window.' Apply extra pressure and hold for several seconds on any lifting areas to ensure a flat, secure bond.
Repeat for the other copper sheets. Allow at least 24 hours of drying time before any further work on or around the wall for maximum durability.