1. Place your pattern on the carbon paper and affix it to the pumpkin. Trace around the edges—the image will transfer onto the pumpkin, making it simple to follow the lines when cutting.
2. For the best results, use the small carving tools from a Halloween pumpkin carving kit—they're safe and manageable for all ages. Serrated fillet knives and grapefruit knives also work well. For finer details, wood carving or pottery tools are excellent choices.
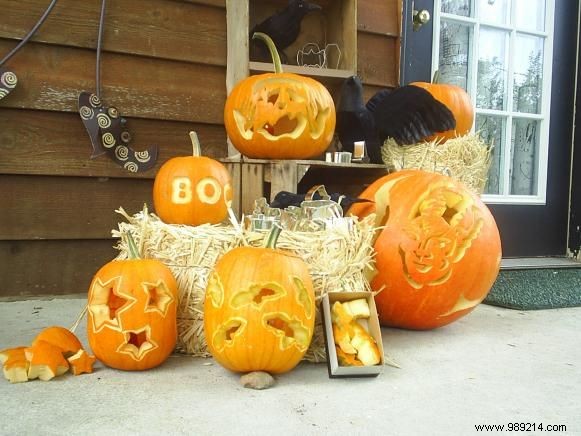
Pro Tip: The ultimate hack is using Halloween-shaped metal cookie cutters for effortless designs.
3. Position the metal cookie cutter on the pumpkin. (Plastic ones can work too, but metal is more flexible.)
Note: Skip cutting the lid or cleaning for now—complete all your designs first.
4. Gently tap the cookie cutter into the pumpkin with a light-duty hammer, rocking it side to side as you go.
5. Hammer until the cutter is nearly fully embedded.
6. Use pliers to carefully pry out the cookie cutter.
7. Repeat with additional shapes across the pumpkin. Once your designs are stamped, cut off the top and scoop out the insides.
8. With the pumpkin cleaned, finish carving the shapes using small serrated blades and remove the pieces from inside.
Fun Option: Save the pieces in a bucket beside the pumpkin. Kids love turning it into a puzzle, deciding which designs to illuminate each night!