As a crafter with years of experience creating enchanting miniatures, I've seen how both kids and adults are captivated by tiny worlds—think fairy gardens or Lilliputian villages. For this durable Halloween pumpkin town, I used handcrafted craft pumpkins that hold up beautifully season after season.
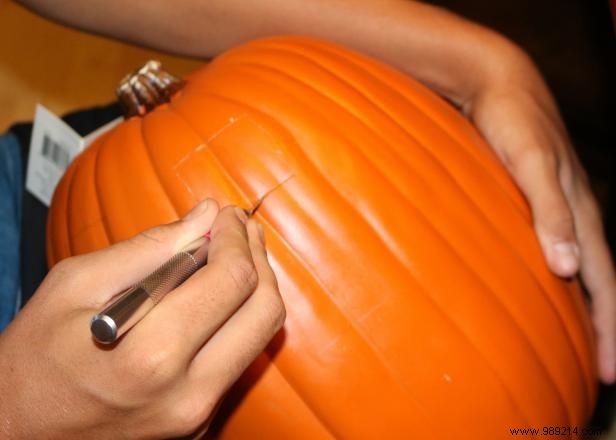
Craft pumpkins carve easily with a utility or craft knife. Sketch window outlines in pencil, then precisely cut them out with a sharp blade for clean edges.
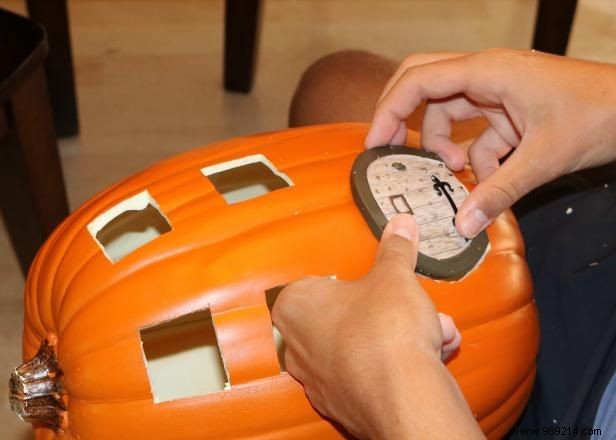
Pencil-trace a door shape on the pumpkin. I opted for store-bought doors since finding perfectly curved wood was tricky. Raising the door slightly accommodates the pumpkin's curve and allows for charming porches below.
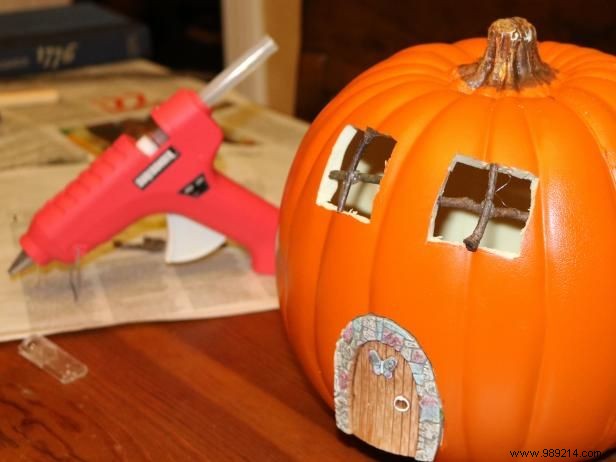
Cut twigs to fit snugly across the window openings. Secure them with hot glue for authentic divided-lite windows that add realistic detail.
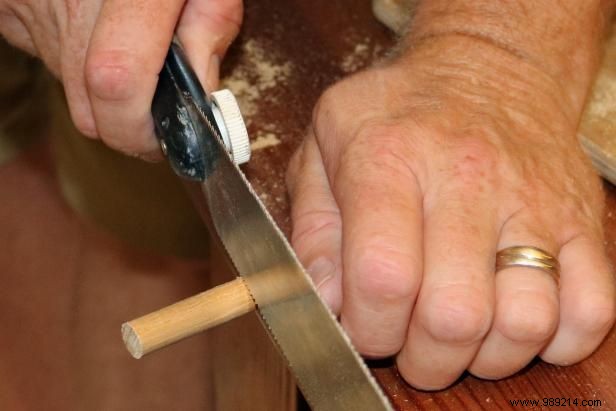
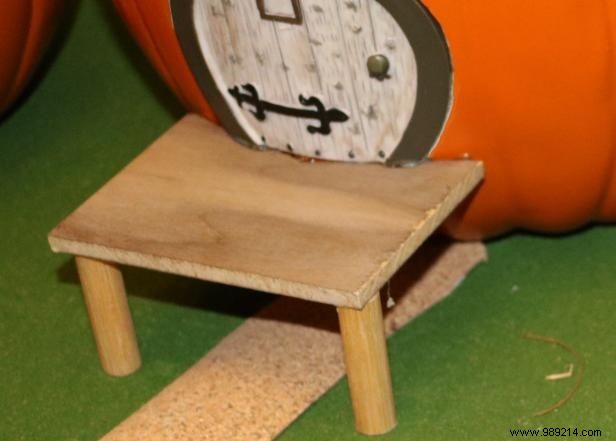
Cut dowels to porch height, then size balsa wood for the platform—angle the back to match the pumpkin's curve. Hot glue dowels to the wood, then attach to the pumpkin and base for sturdy support.
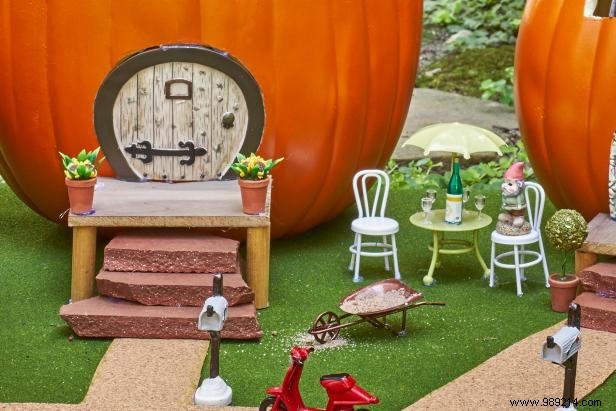
Broken terra cotta tile pieces make perfectly scaled steps to the porch. Bring your village to life with moss or faux plants, plus fairies, gnomes, and whimsical flamingos.

Use a walnut shell as the base. Dip yellow, orange, or red feathers in contrasting craft paints for flame variation, dry, then hot glue into drilled holes for a flickering glow.