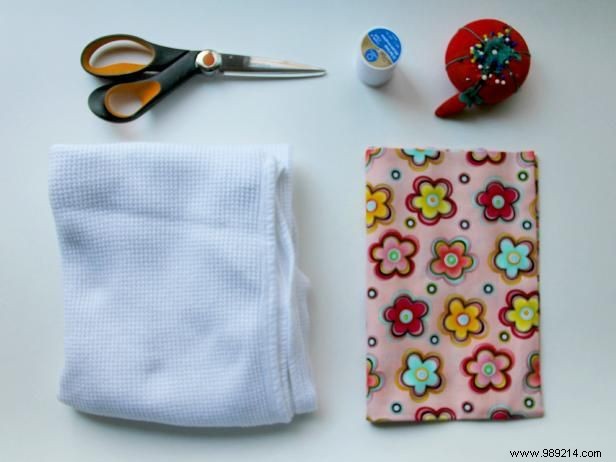
With just a fat quarter of fabric and terry cloth, you can create practical baby burp cloths that showcase adorable prints. As a sewing enthusiast with years of teaching beginners, I recommend this quick project—perfect for newbies and ideal for baby gifts.
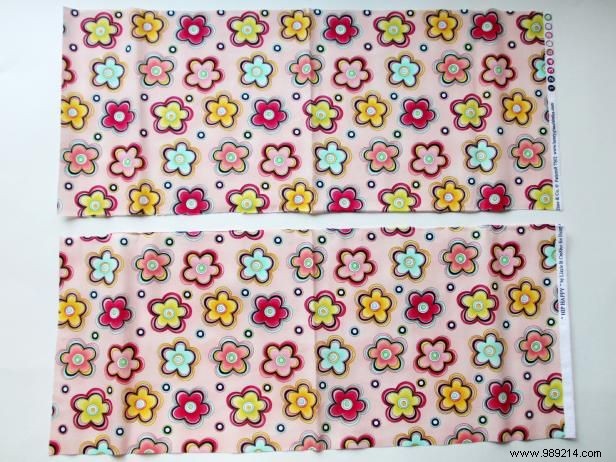
Cut the fat quarter in half to yield two rectangles—enough for two burp cloths. Cut in any direction.
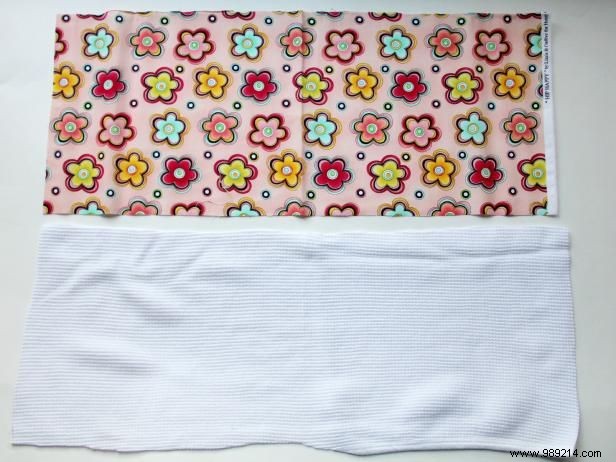
Cut terry cloth or waffle knit to match the dimensions of your fabric rectangle.
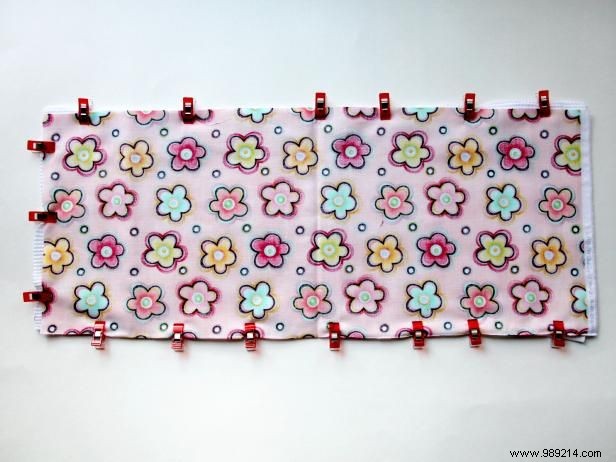
Place the terry cloth right side down on the fabric rectangle, aligning all edges. Pin three sides, leaving one short edge open. Sew with a straight stitch.
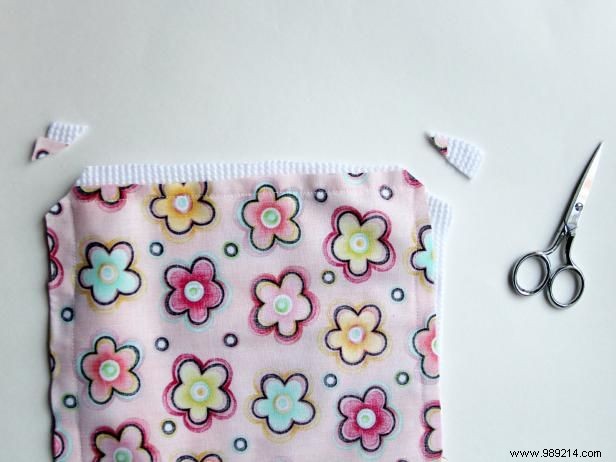
Trim the corners to reduce bulk for a crisp finish after turning.
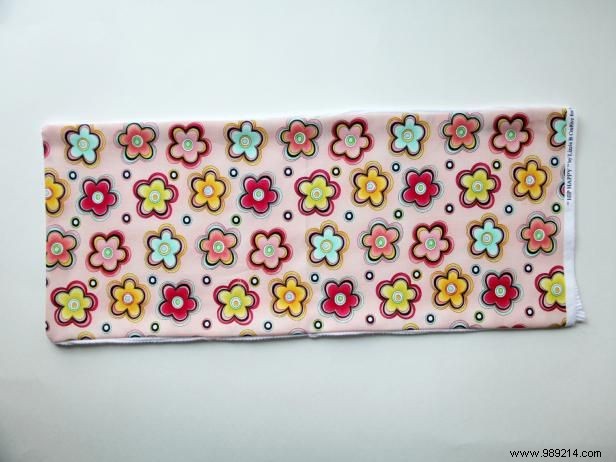
Turn the burp cloth right side out, gently push out corners with your finger, and press flat with an iron.
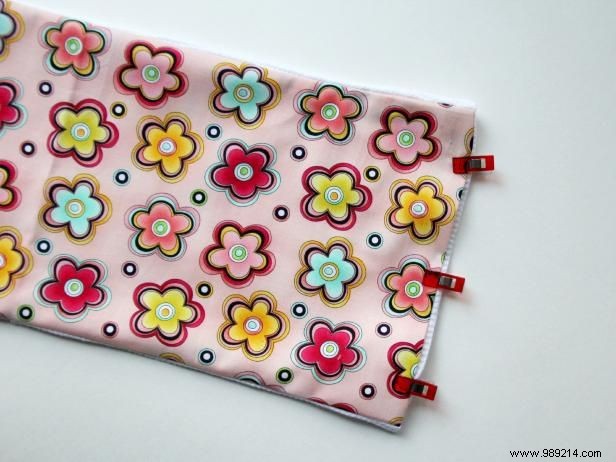
Fold the raw opening edge inside, press, pin closed, and sew to secure.
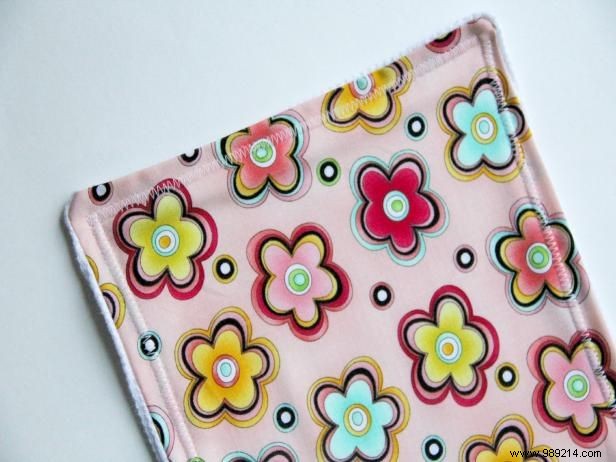
Topstitch all four edges with a decorative or zigzag stitch for a professional finish.
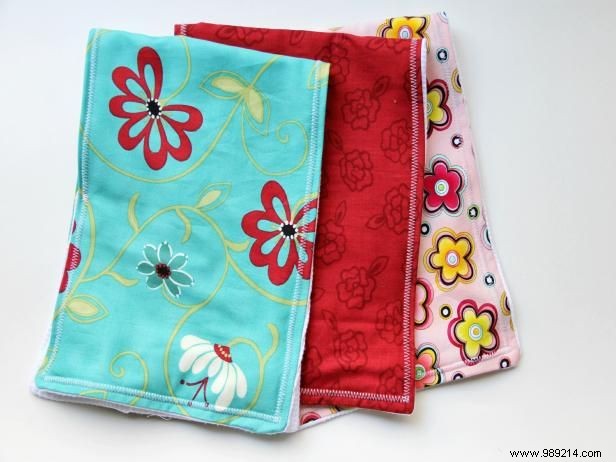
Repeat with the second fabric rectangle. Super simple and a thoughtful handmade baby gift.