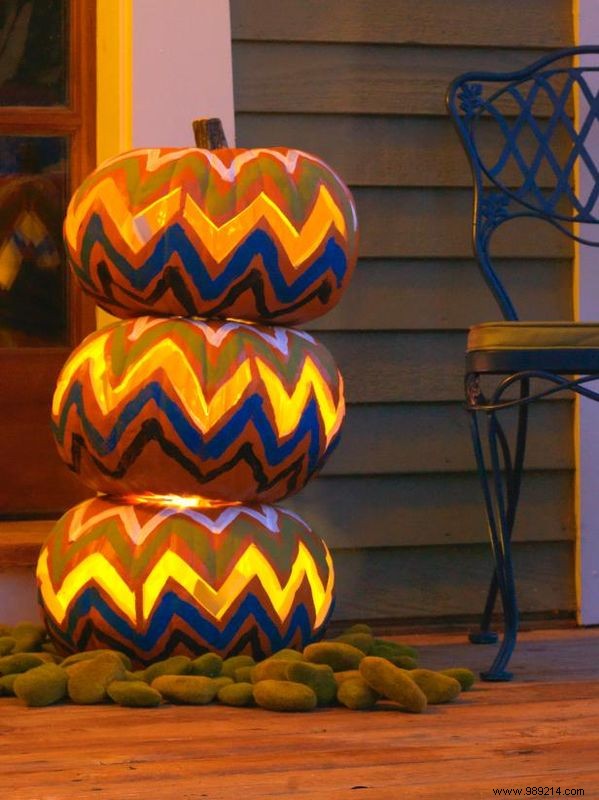
Experienced crafters painted and carved striking chevron patterns on three gourds, added tea lights inside, and stacked them into a retro-inspired topiary. Moss-covered stones at the base provide an earthy, mysterious finish.
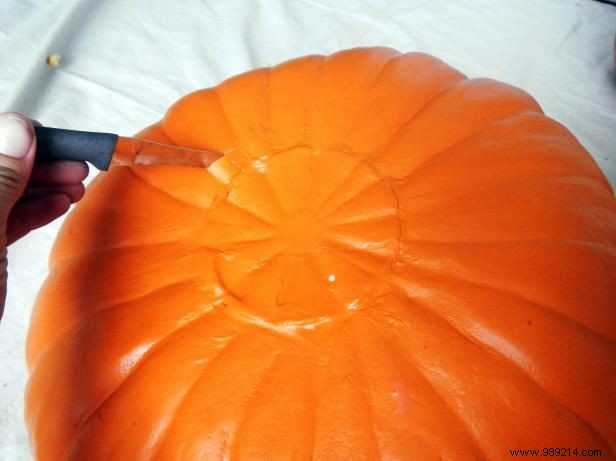
Cut a hole in the bottom of each gourd and thoroughly clean out the insides.
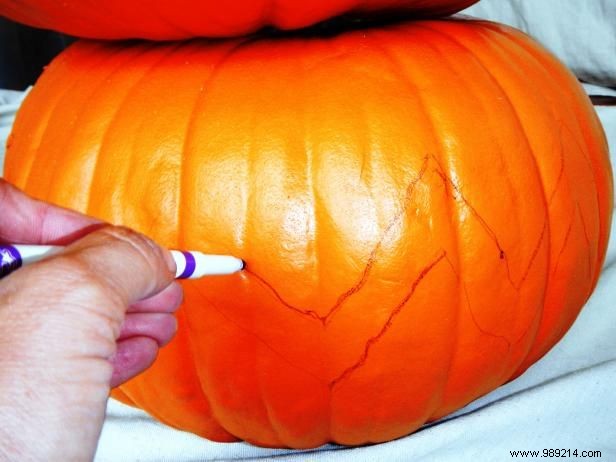
Stack the gourds one atop the other. Using a dry-erase marker, draw a chevron pattern in the center of each, extending just over halfway around. Avoid encircling the entire gourd. Disassemble, labeling top, middle, and bottom for reference.
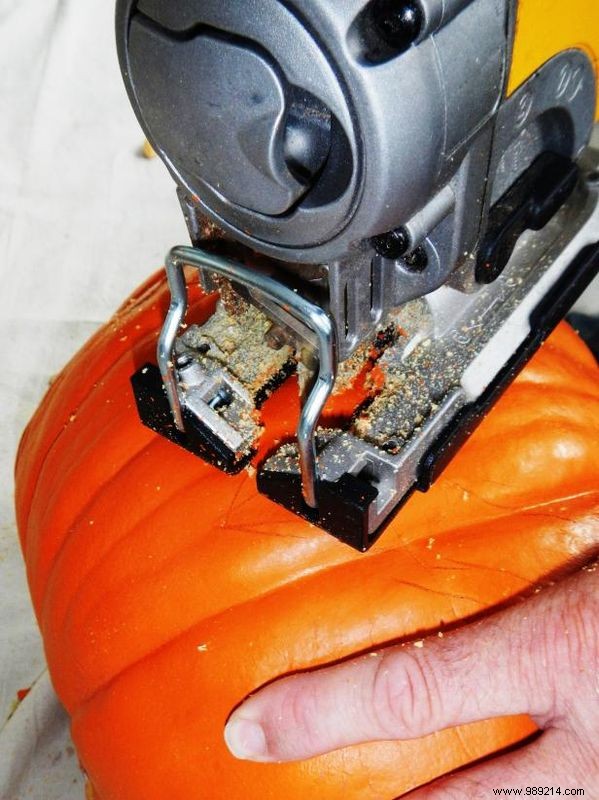
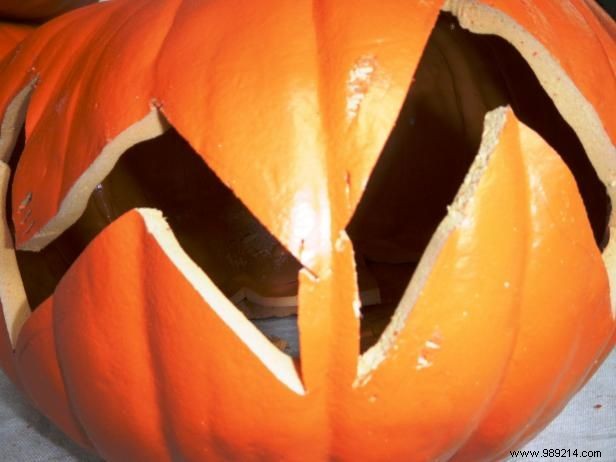
Precisely cut out the patterns with a serrated knife or jigsaw—drill a starter hole first for the jigsaw. Retain two stabilizers in each carved section to support the weight of upper gourds and prevent collapse.
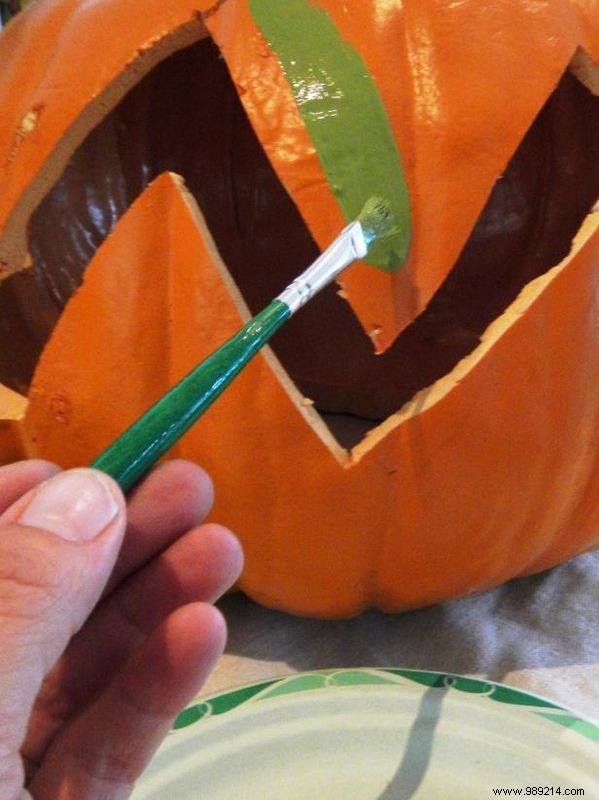
Apply two zigzag patterns above and two below each cutout using four distinct paint colors. Align colors identically across all three gourds for cohesion. Allow paint to dry fully.
Susan Teare, Joanne Palmisano
Insert battery-operated lights into each gourd, securing with tape if needed. Re-stack securely, then enhance the base with moss-covered rocks for a whimsical touch.