Family Encyclopedia >> Home & Garden

DIY Wooden Bathtub Tray: Craft a Stunning Mountain Illustration That Doubles as Wall Art

Skill level: Intermediate
Estimated time: Midday
Estimated cost: $50

DIY Wooden Bathtub Tray: Craft a Stunning Mountain Illustration That Doubles as Wall Art

Gary Payne

Tools and Materials

  • Nail gun with nails
  • Compressor
  • Miter saw
  • 1" x 16" x 28-1/2" plywood (or size to fit your tub)
  • (1) 1x3x8'
  • (20) 3/8x3x3'
  • Wood glue
  • Tape measure
  • Straight edge
  • Drawer handle with screws
  • (2) D-rings
  • Drill with 1/4" countersink bit
  • Stain
  • Paint
  • Paint brush

Step 1: Cut Plywood to Size

DIY Wooden Bathtub Tray: Craft a Stunning Mountain Illustration That Doubles as Wall Art

Gary Payne

DIY Wooden Bathtub Tray: Craft a Stunning Mountain Illustration That Doubles as Wall Art

Gary Payne

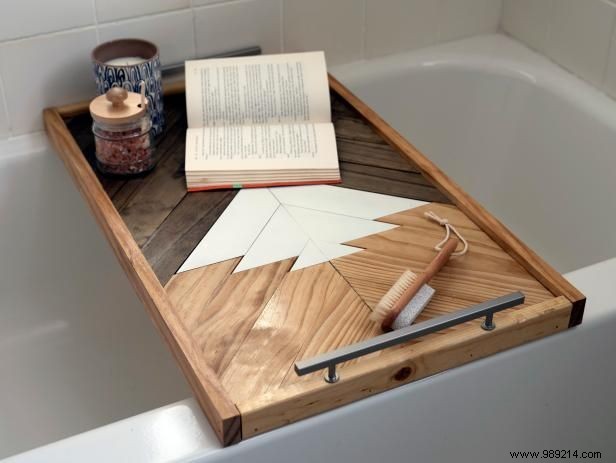
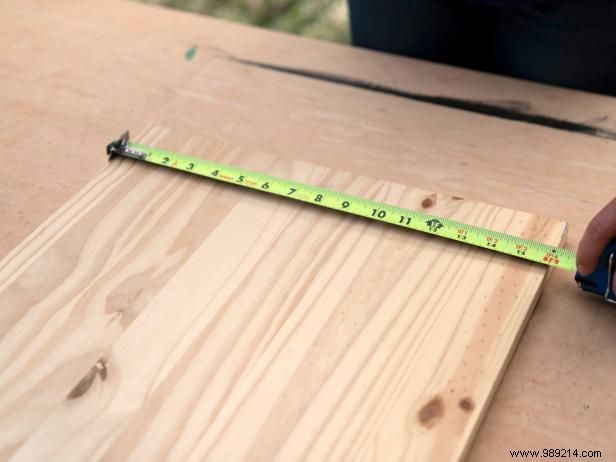
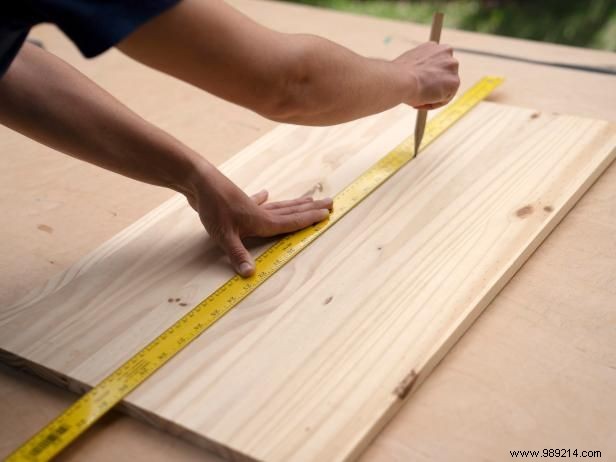
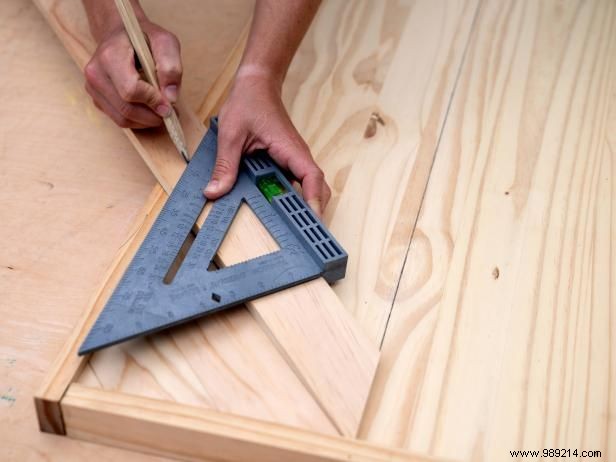
Measure the span across your tub to size the tray, then cut the plywood to fit. We used craft boards trimmed to 16" x 28-1/2". Mark a vertical centerline down the board for alignment.

Step 2: Add the Frame

DIY Wooden Bathtub Tray: Craft a Stunning Mountain Illustration That Doubles as Wall Art

Gary Payne

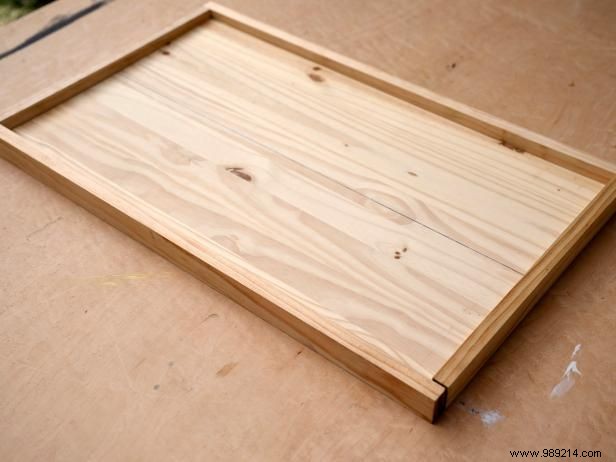
Cut two 1x3s to 29" and two to 16-1/4" to frame the plywood. Secure them with a nail gun for a sturdy base.

Step 3: Create the Layout

DIY Wooden Bathtub Tray: Craft a Stunning Mountain Illustration That Doubles as Wall Art

Gary Payne

DIY Wooden Bathtub Tray: Craft a Stunning Mountain Illustration That Doubles as Wall Art

Gary Payne

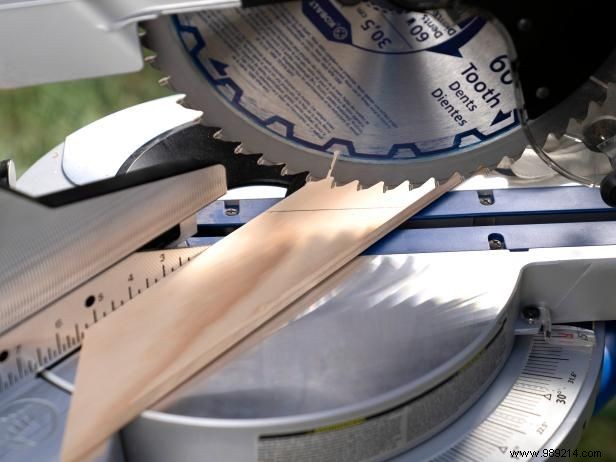
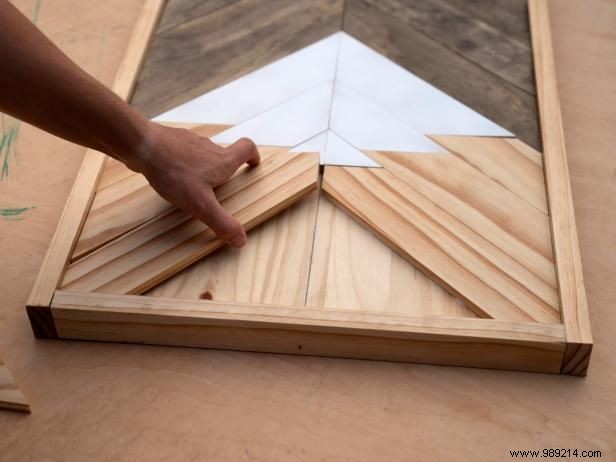
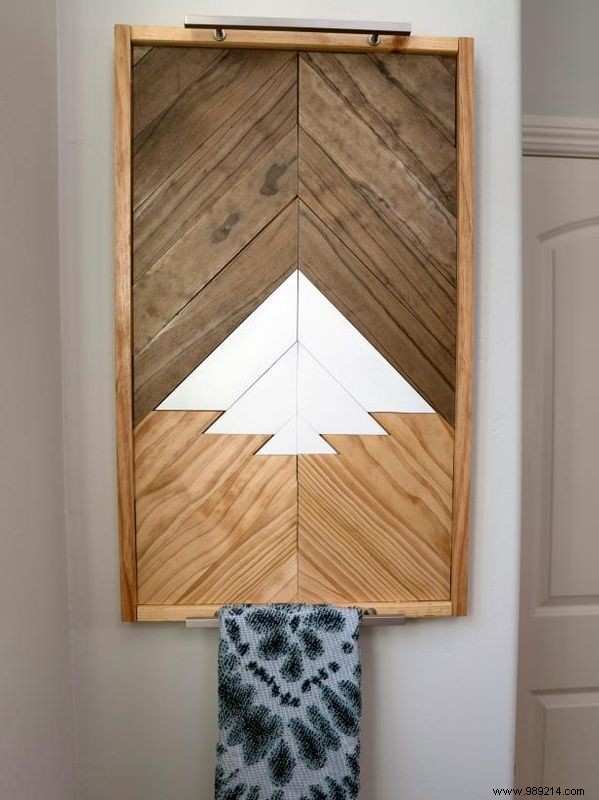
Lay out the design using 3/8x3" boards. Cut the first piece at 45° to align with the centerline. Position it flush with the frame top, use a speed square to mark and cut the outer edge. Repeat on both sides, working outward.

Step 4: Shape the Mountain Tops

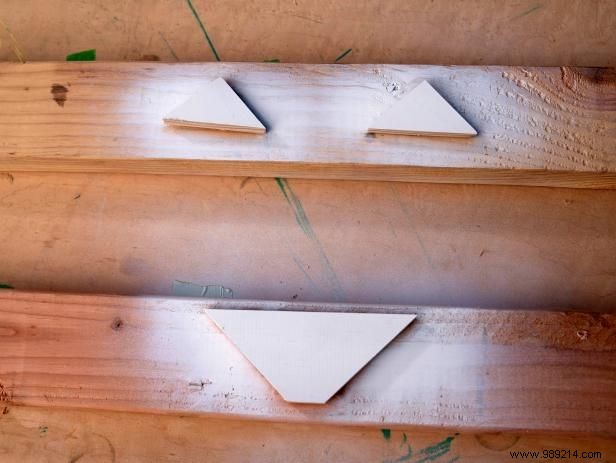
With all boards fitted, use a straight edge to mark "mountain tops" about 1-1/2" apart—three on the left, one on the right. For snowier peaks, extend cuts beyond 1-1/2"; for subtler ones, shorten them.

Step 5: Stain and Paint

DIY Wooden Bathtub Tray: Craft a Stunning Mountain Illustration That Doubles as Wall Art

Gary Payne

DIY Wooden Bathtub Tray: Craft a Stunning Mountain Illustration That Doubles as Wall Art

Gary Payne

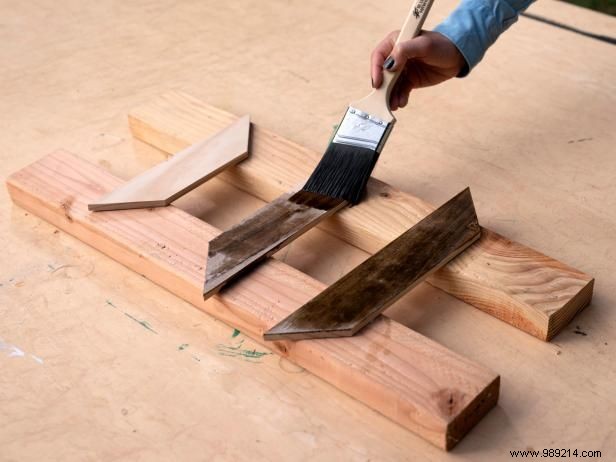
Decide on colors, label each board's back with position (left/right, board number) before removal. Stain or paint individually, including the frame, for a professional finish.

Step 6: Assemble with Glue

DIY Wooden Bathtub Tray: Craft a Stunning Mountain Illustration That Doubles as Wall Art

Gary Payne

DIY Wooden Bathtub Tray: Craft a Stunning Mountain Illustration That Doubles as Wall Art

Gary Payne

Apply wood glue and reposition each board per markings for precise reassembly.

Step 7: Install Handles

DIY Wooden Bathtub Tray: Craft a Stunning Mountain Illustration That Doubles as Wall Art

Gary Payne

DIY Wooden Bathtub Tray: Craft a Stunning Mountain Illustration That Doubles as Wall Art

Gary Payne

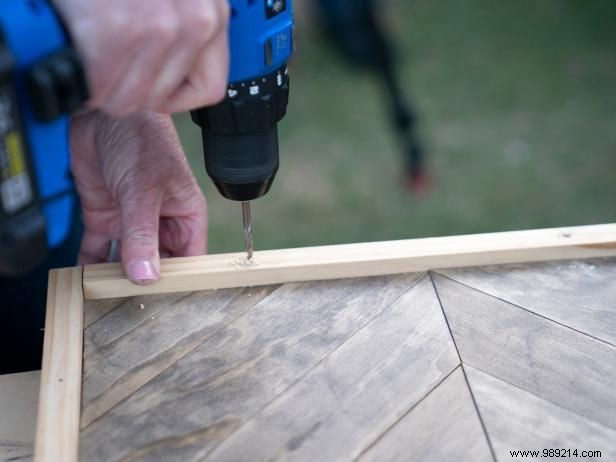
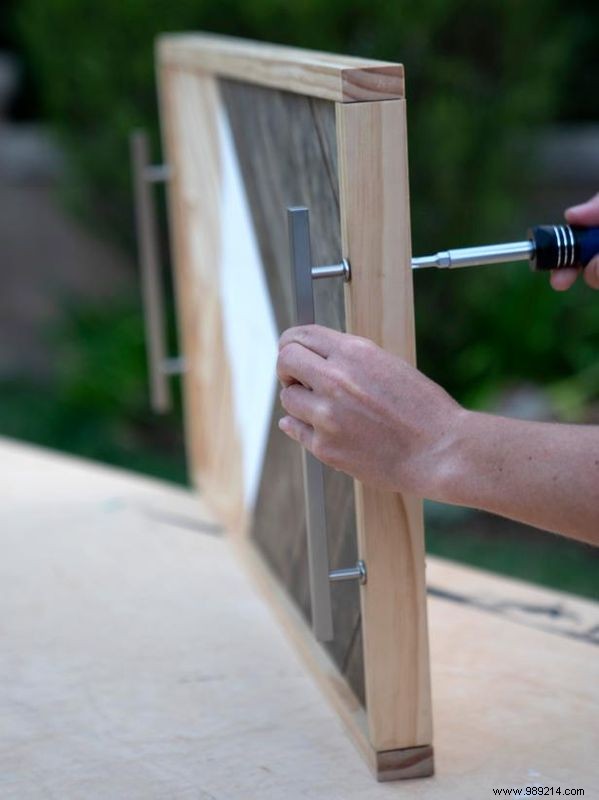
Large knobs serve as handles and towel racks when wall-mounted. Pre-drill frame holes, countersink screws to avoid scratching the tub.

Step 8: Add Hanging Hardware

DIY Wooden Bathtub Tray: Craft a Stunning Mountain Illustration That Doubles as Wall Art

Gary Payne

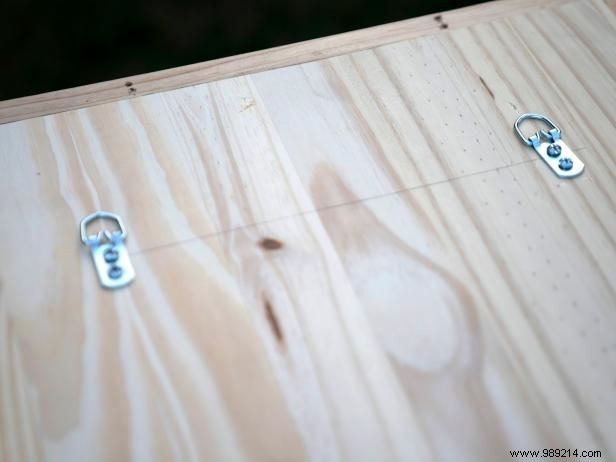
Attach D-rings to the back, positioning them to align with tub edges for secure hanging.

DIY Wooden Bathtub Tray: Craft a Stunning Mountain Illustration That Doubles as Wall Art

Gary Payne