One of my favorite fall rituals is foraging in my yard and garden for natural treasures to craft a stunning seasonal wreath. This spring, we planted new hydrangea bushes in our Cape Cod gardens—hydrangeas are practically a coastal staple here. I love using their dried blooms, which fade beautifully into shades of green, pink, maroon, and brown, for authentic fall decor.
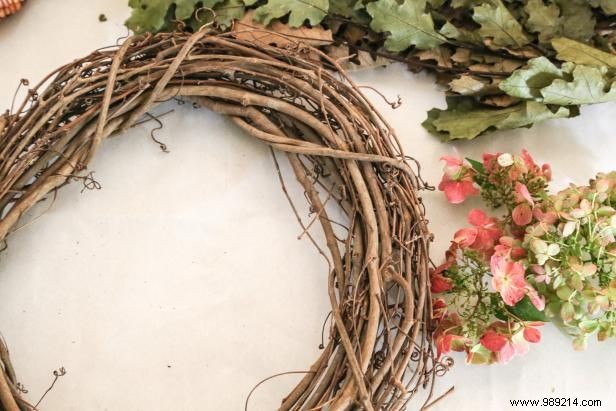
Photo by Melissa Caughey
Lay down paper to protect your surface. Start with a vine wreath base and use scissors to trim any unruly parts.
After sweeping your yard, visit a local craft store for dried florals. They stock excellent seasonal fillers perfect for wreaths.
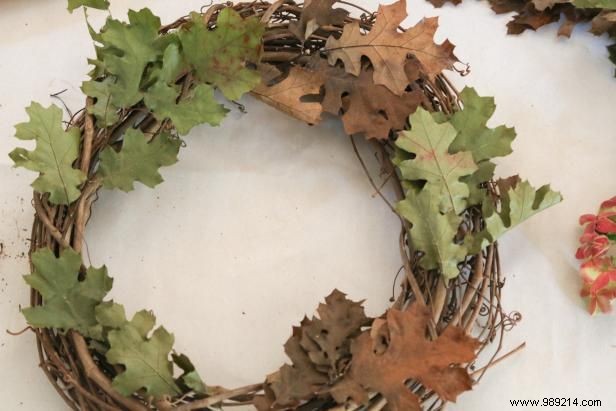
Photo by Melissa Caughey
I used foraged oak leaves as filler, gluing them in a circular pattern to form a lush foundation for the wreath.
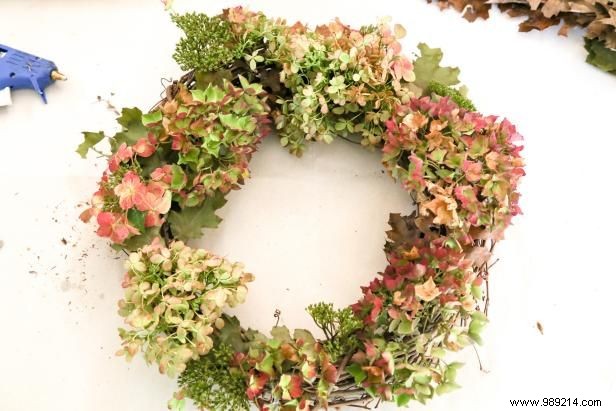
Photo by Melissa Caughey
Position the dried hydrangea blooms on the wreath first, then secure with hot glue for your desired arrangement.
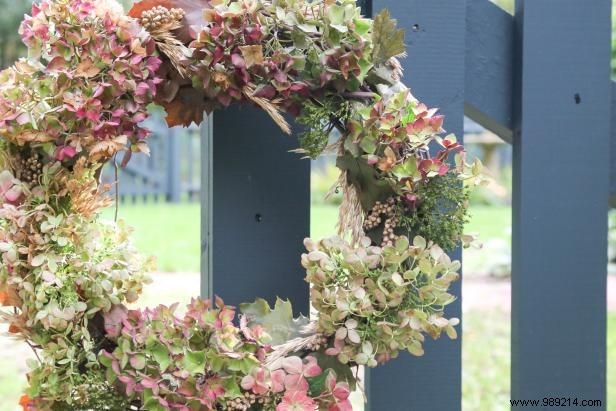
Photo by Melissa Caughey
Trim dried wheat stalks and glue them in place. Add small dried berries for a polished, natural look.
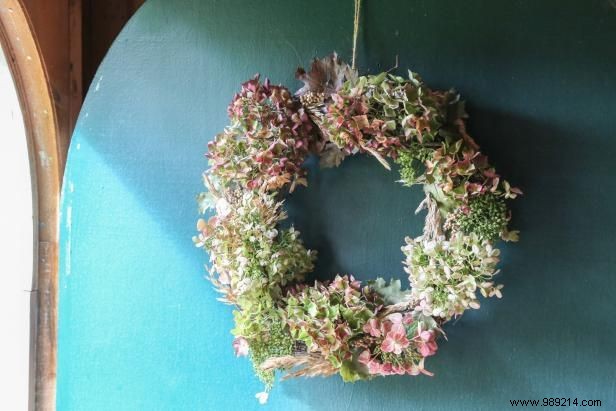
Photo by Melissa Caughey
Cut 12 inches of ribbon or twine to form a hanger at the top. Protect it from weather by hanging indoors—over a doorway, fireplace, or as a table centerpiece with pumpkins or candles.
Lightly mist dried hydrangeas with hairspray to seal and extend their vibrancy.