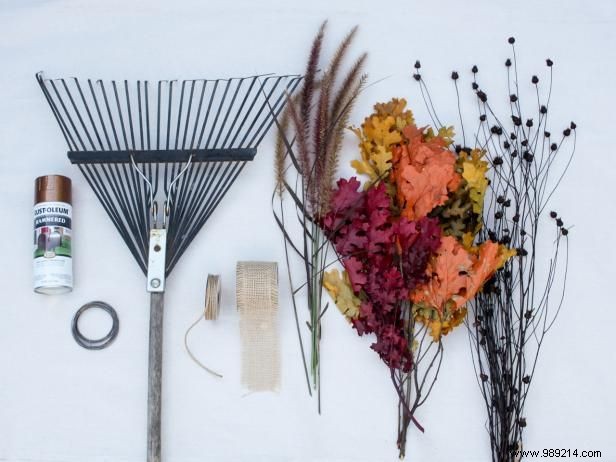
Repurpose a broken rake no longer suitable for yard work into stunning fall decor. This project works beautifully with metal, plastic, or bamboo rakes, showcasing sustainable crafting at its best.
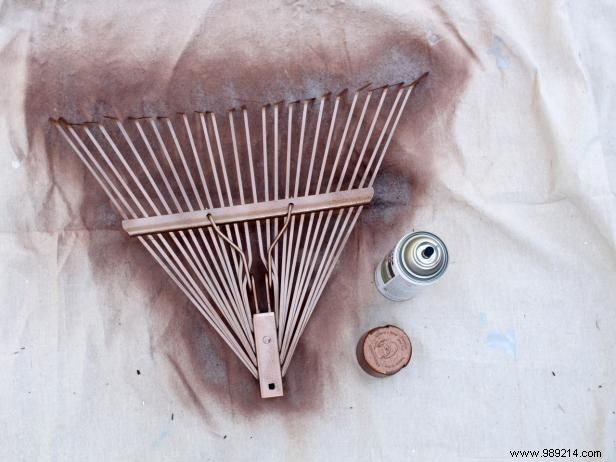
Separate the rake head from the handle, then spray paint both sides evenly. Allow full drying for a professional, weather-resistant finish I've relied on for years of outdoor displays.
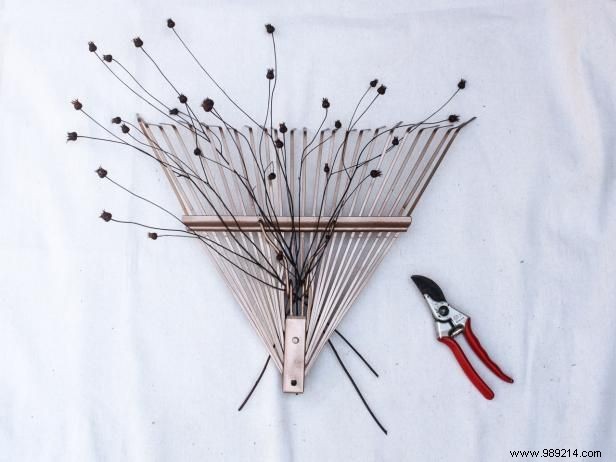
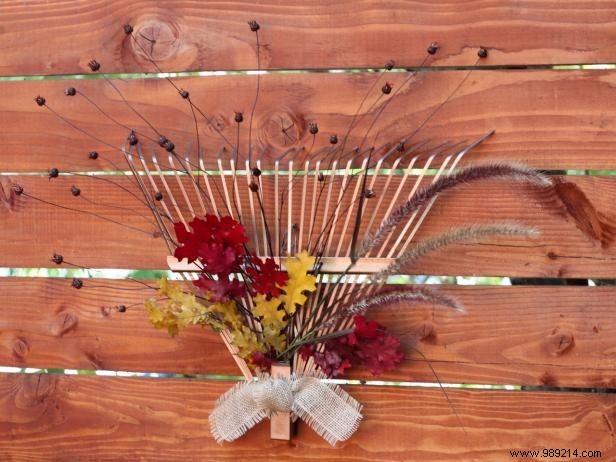
Thread your longest foliage pieces through the rake tines first. This foundational step, a staple in my floral designs, ensures balanced height and visual impact.

Tuck leaves into the rake base to build volume and texture, creating that lush, authentic autumn vibe.
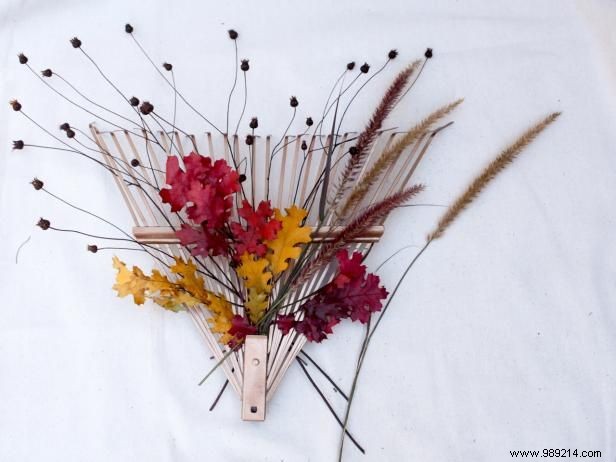
Keep layering elements until the arrangement feels just right. Group in threes and place asymmetrically—a technique from professional designers that mimics nature's organic flow.
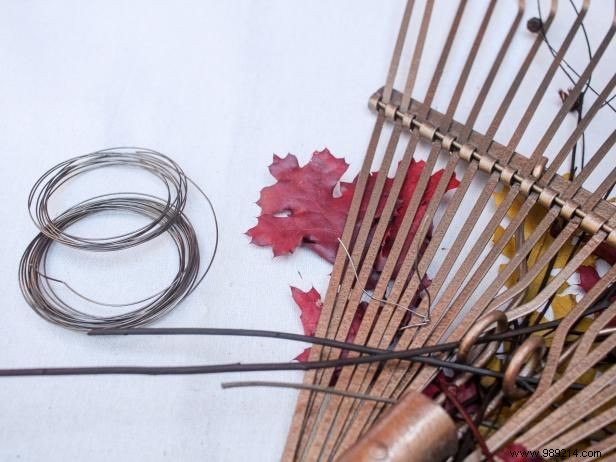
Fasten branches to the tines using small wire twists. This secure method withstands wind and weather, based on my experience hanging wreaths in exposed spots.
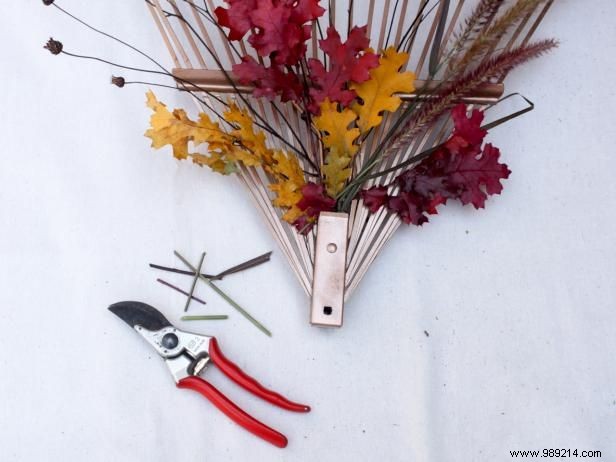
Snip any protruding branch ends for a tidy, polished look that elevates the craftsmanship.
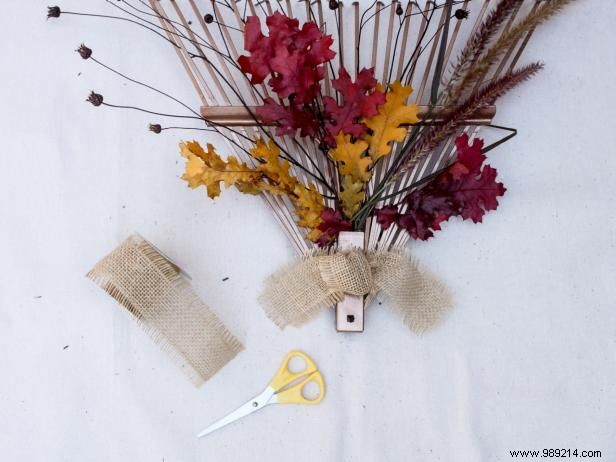
Wrap burlap ribbon or twine around the base for a charming, rustic accent that ties the design together.
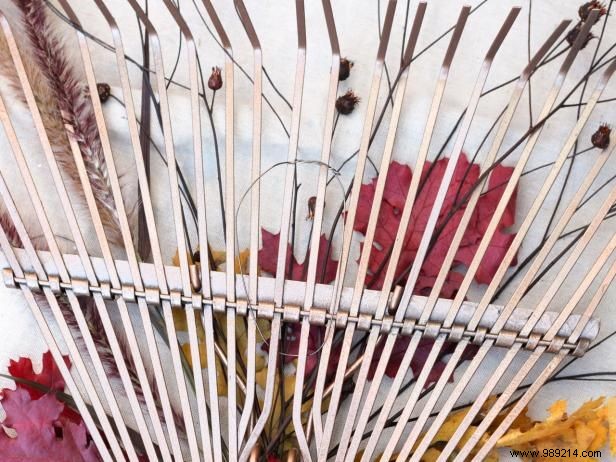
Use a 5-inch wire piece to form a sturdy loop under the crossbar holding the tines. Twist securely for reliable hanging on nails or hooks.
Hang from a nail or wreath hook and celebrate the season in style—your porch centerpiece is ready!