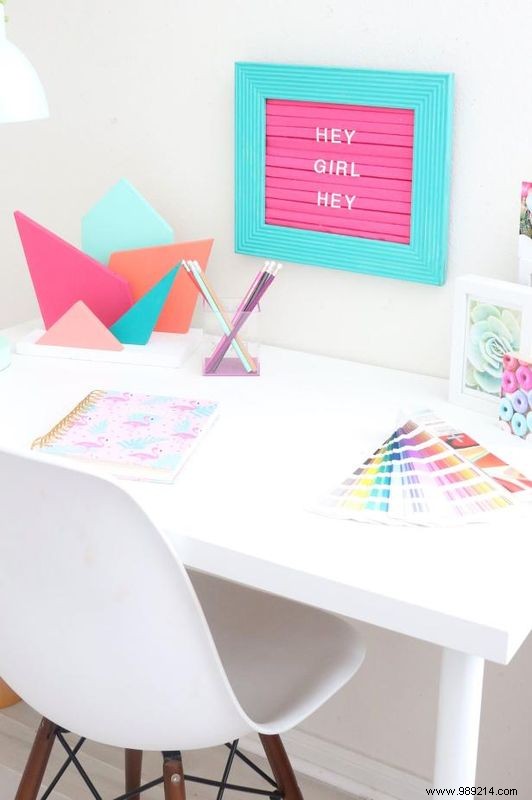
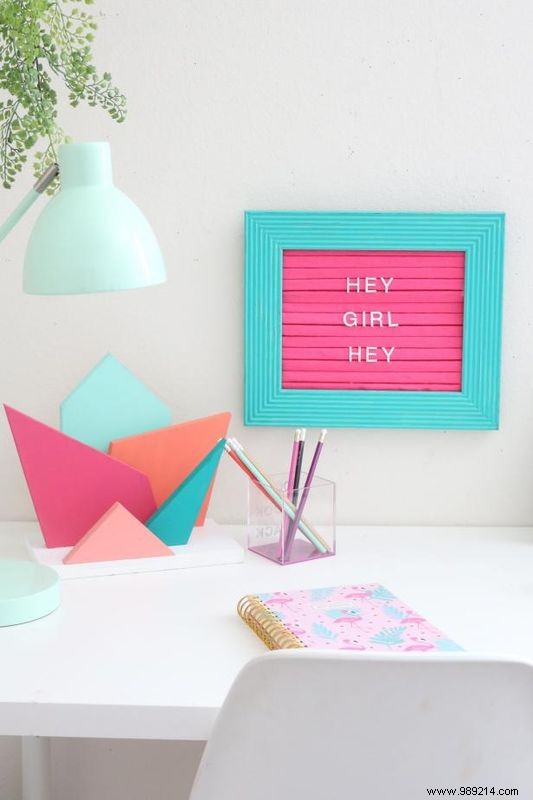
As a seasoned crafter with years of hands-on DIY projects, I've found felt marquee letter boards to be the perfect versatile message center. Showcase inspiring affirmations, your evening menu, or witty family jokes—whatever suits your vibe. Ditch the standard black-and-white office supply versions and craft your own in any hue, shape, or frame style. Your only constraints? Letter size, felt color, and frame design.
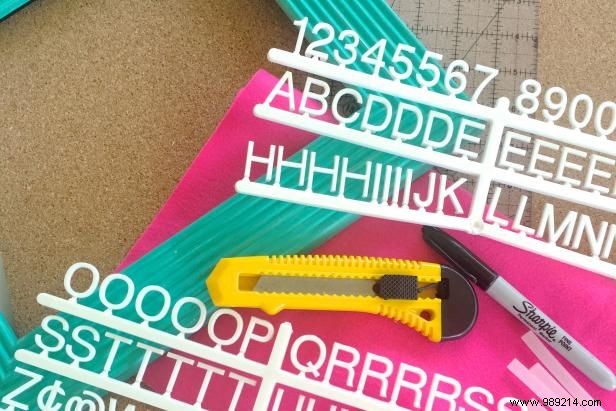
First, measure your letters for accuracy. Most are standard, but sizes vary—ours were 3/4 inch.
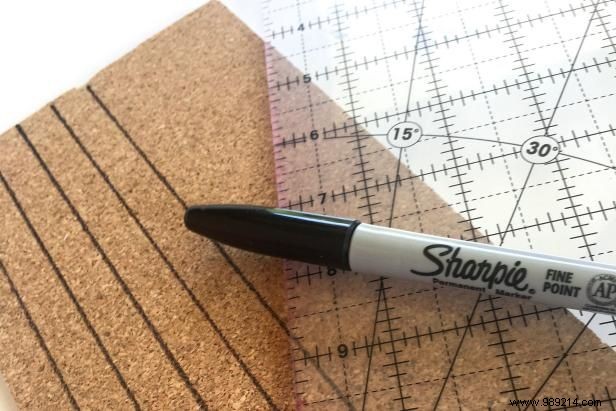
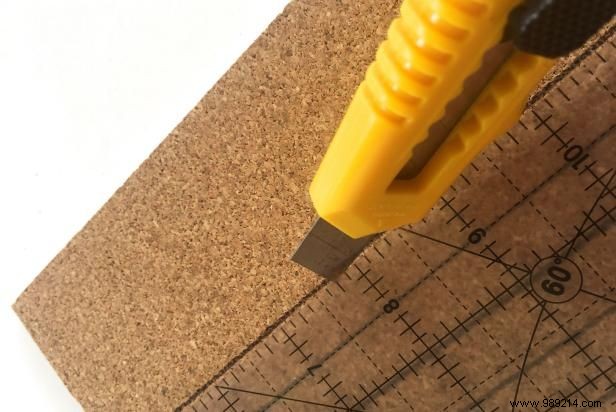
The foam-backed cork board creates the grippy sections for your letters. Measure and mark 1/2-inch lines across it, leaving extra space for the felt channels in between.
Using a utility knife and straight edge, cut the foam into strips. The quantity depends on your frame size.
On your felt sheet, mark lines twice as many as your foam strips—each extra inch folds into the channels between pieces.
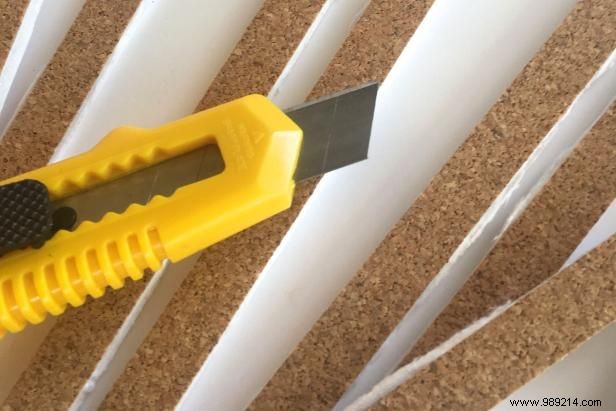
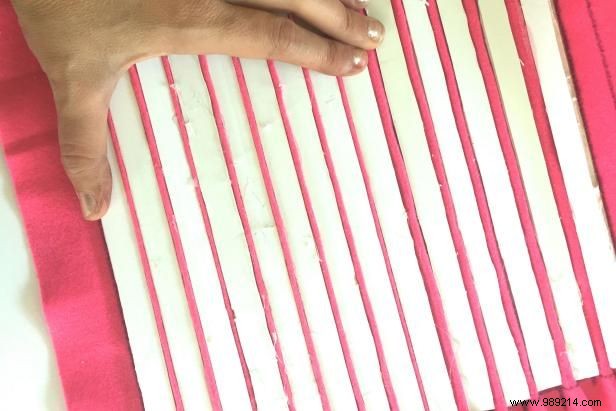
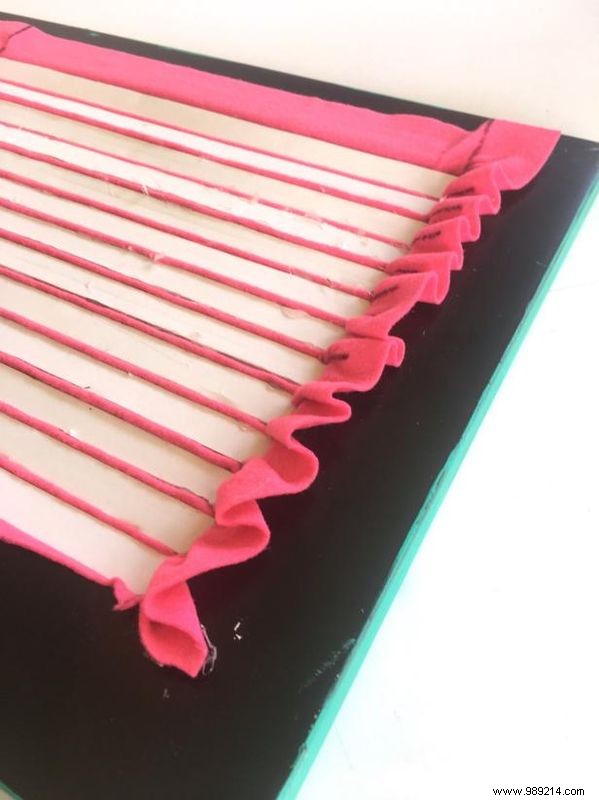
Apply glue to attach foam strips to every other marked line on the felt.
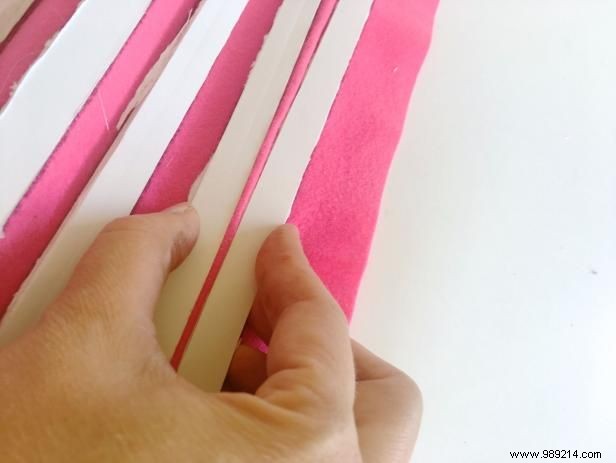
Gather and glue excess felt strips along the sides of each foam piece to form those signature felt board grooves.
Press the assembled board and felt firmly into your frame.
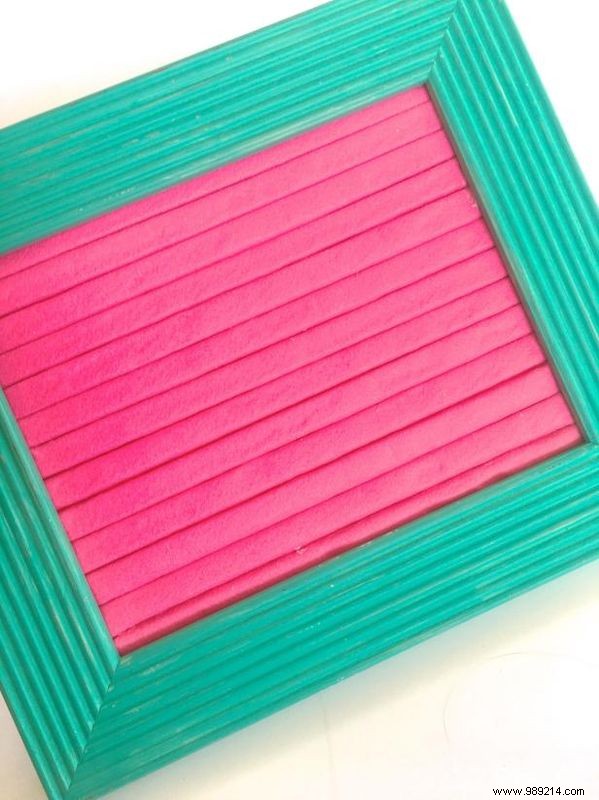
Trim any overhanging felt and secure the backing on the frame.
Now, what inspiring message will grace your new handmade felt board?