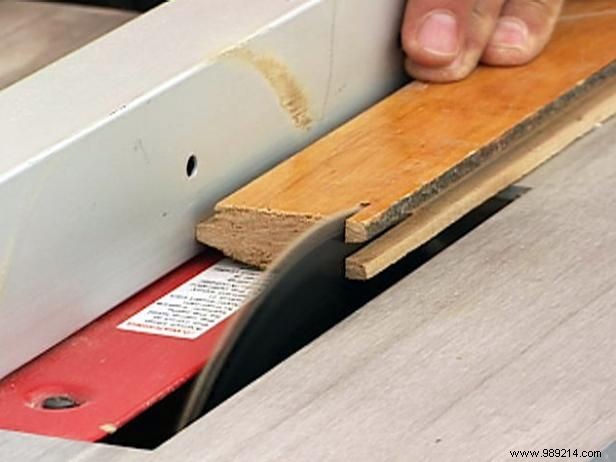
Start by cutting reclaimed flooring boards into 2-foot sections, ensuring the rough width exceeds your final cutting board dimensions. Rip each board on the table saw—you'll need two rips per piece. For tongue-and-groove flooring, remove the tongue by running that side against the fence first. Process all tongues across your material for efficiency, then reset the fence to trim the grooves from the opposite edges.

Joint each flooring strip flat on all four sides using a tabletop jointer set to the proper height. Feed the material through one side at a time—top, bottom, left, and right. Batch-process one side across all pieces before resetting for the next to streamline the workflow.
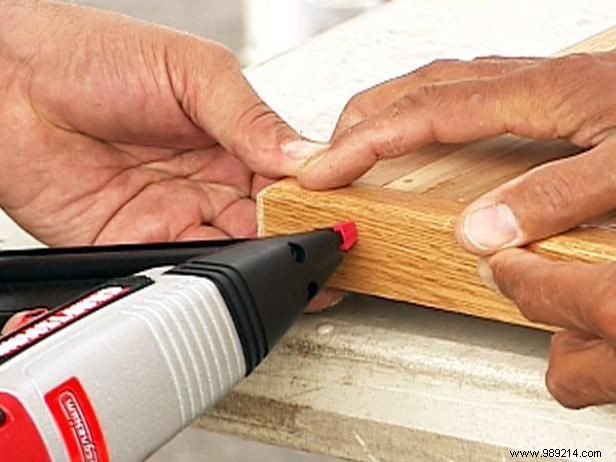
Apply food-safe glue along the edges and secure the strips together with pin nails, ensuring tight joints. Work on a flat, sturdy surface and clamp firmly. Allow the glue to cure fully before proceeding—this step is crucial for stability.
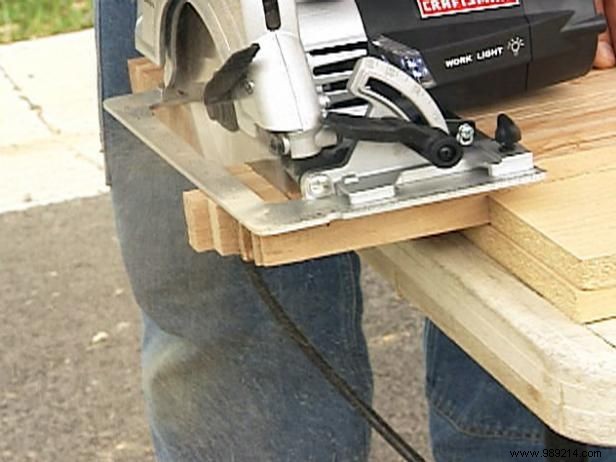
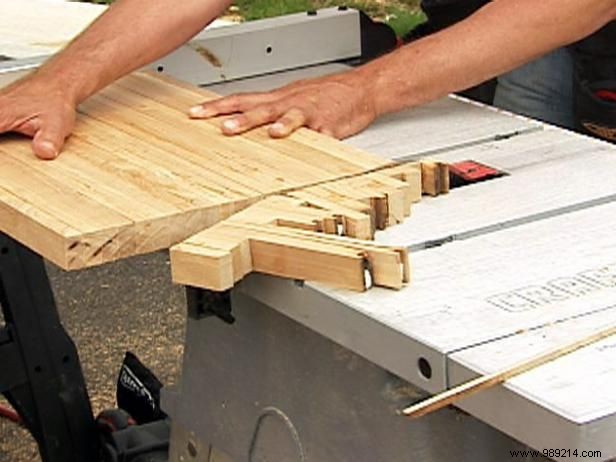
Once cured, trim one side straight with a circular saw (Image 1), square the opposite edge on the table saw (Image 2), and cut the ends using matching strips or hardwood (Image 3).
Sand the surfaces and edges with a belt sander using coarse grit, refining to fine grit on an orbital sander for a silky smooth feel. Dust thoroughly, then apply multiple coats of mineral oil or butcher block conditioner to highlight the wood's character and ensure food safety.