As a seasoned crafter with years of experience creating custom kids' costumes, I know how thrilling it is to spark imagination. This simple dinosaur hat and tail set will have your child roaring with delight—ideal for Halloween, parties, or playtime. Uses stretchy knit fabric and felt for comfort and durability.

Image 1
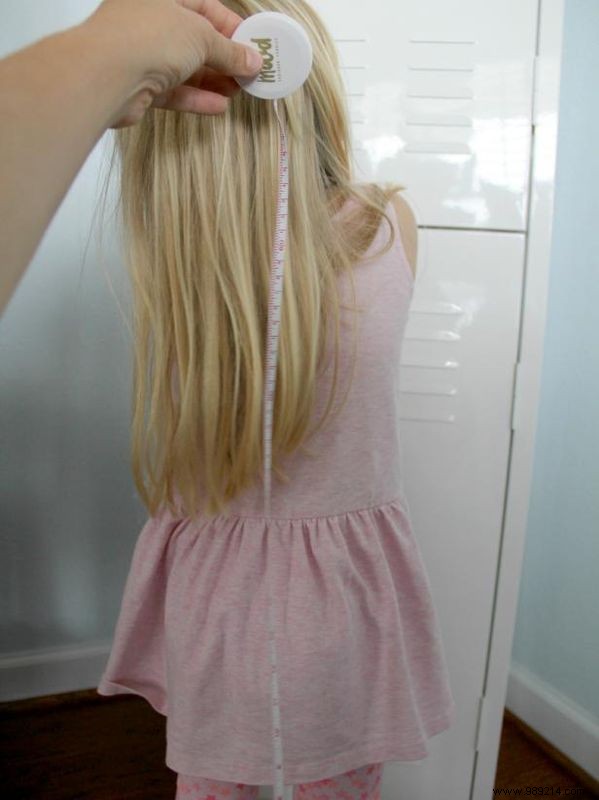
Image 2
Start by measuring your child's head circumference (Image 1). For the tail, measure from the middle of the back of their head down to the desired tail end point (Image 2). Accurate measurements ensure a perfect fit.
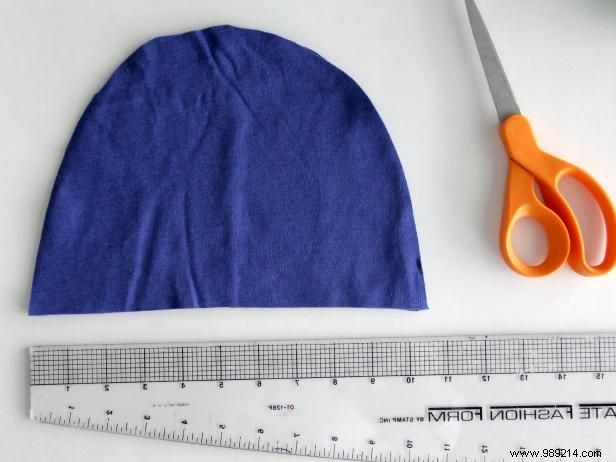
Image 1
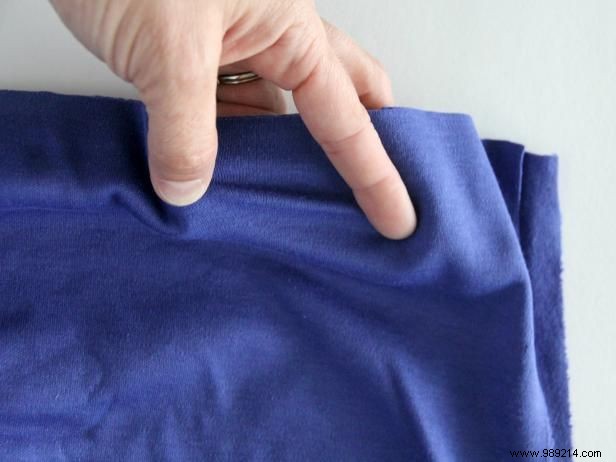
Image 2
Cut four hat-shaped pieces (elongated ovals) across the stretch direction. The bottom straight edge equals half the head circumference. The center top should be about 10 inches tall, curving down on both sides (Image 1).
Ensure the fabric's stretch runs left to right, not vertically. Gently pull the knit to confirm (Image 2)—this keeps the hat flexible.
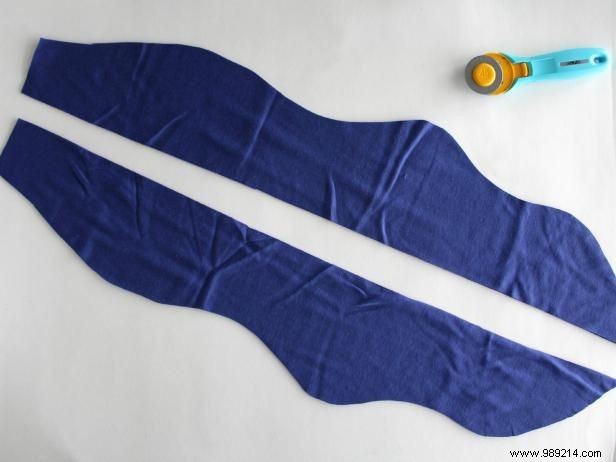
Cut four tail pieces matching your tail length measurement: one long straight edge and a curved outer edge for that classic dino look.
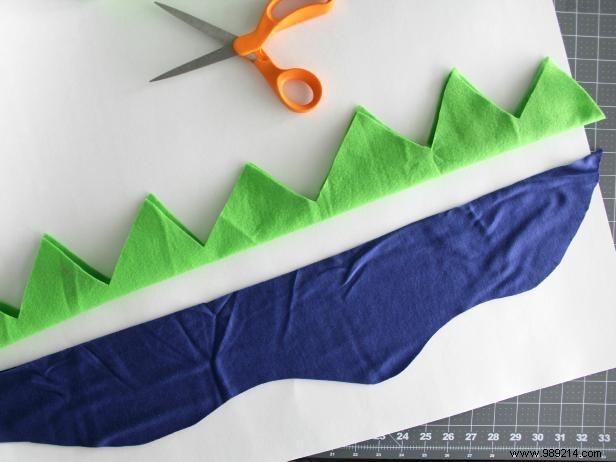
Image 1
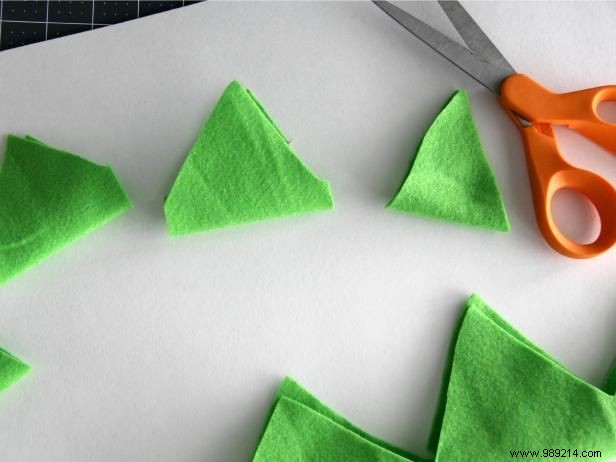
Image 2
For tail spikes, cut a felt strip matching tail length by 10 inches wide. Fold lengthwise to 5 inches, then cut triangles along the top edge while keeping the base intact. Make two or three strips for volume (Image 1). Cut extra triangles for the hat spikes (Image 2).
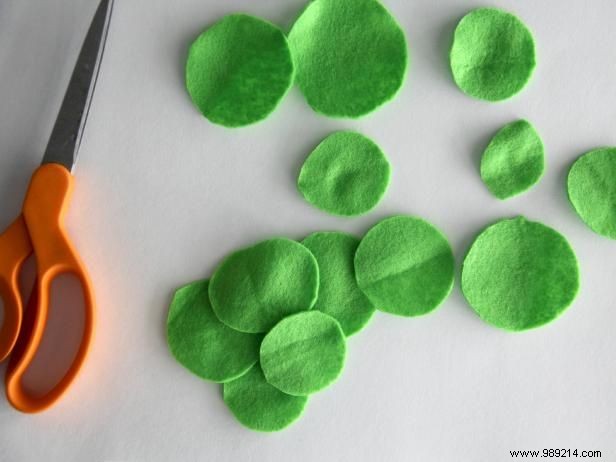
Image 1
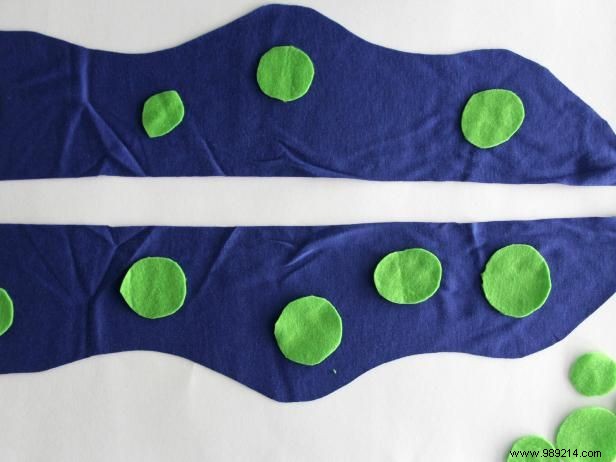
Image 2
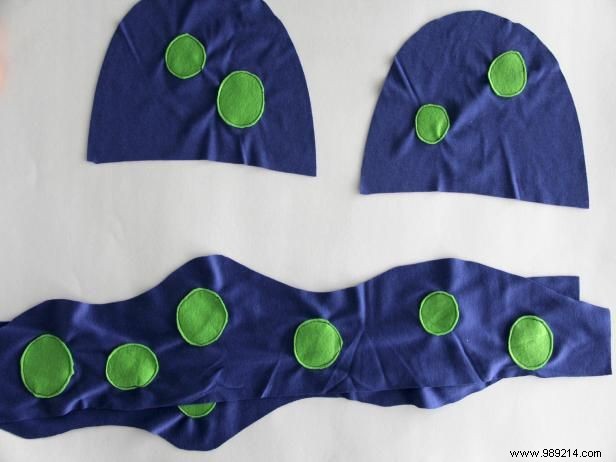
Image 3
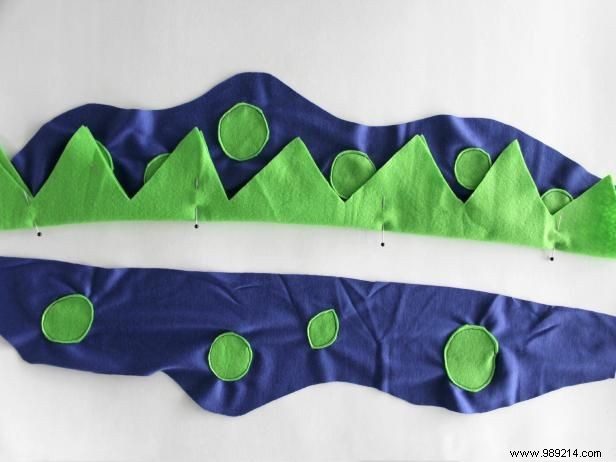
Cut assorted felt circles for spots (Image 1). Pin to the two tail fabric pieces, then glue or sew a curved line around each (Image 2). Repeat on the two hat pieces (Image 3). These details make it roar with personality.
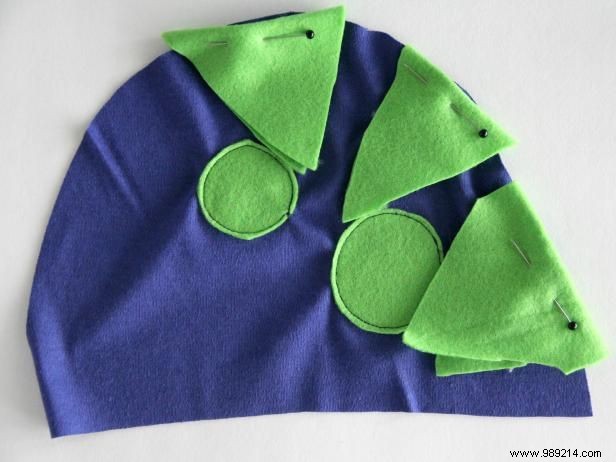
Pin felt triangle spikes along the curved edge of one hat piece. Sew around the outer edge to secure firmly.
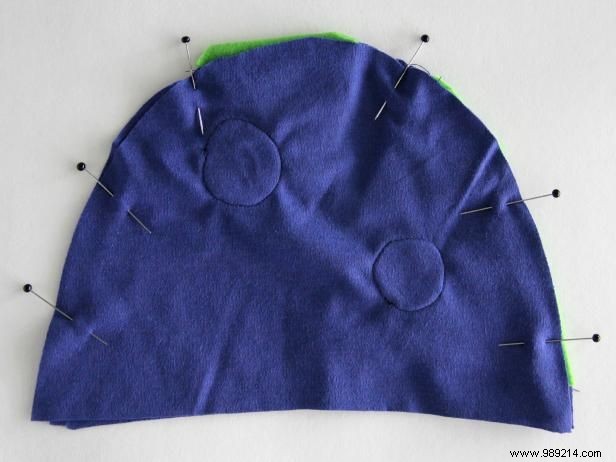
Image 1
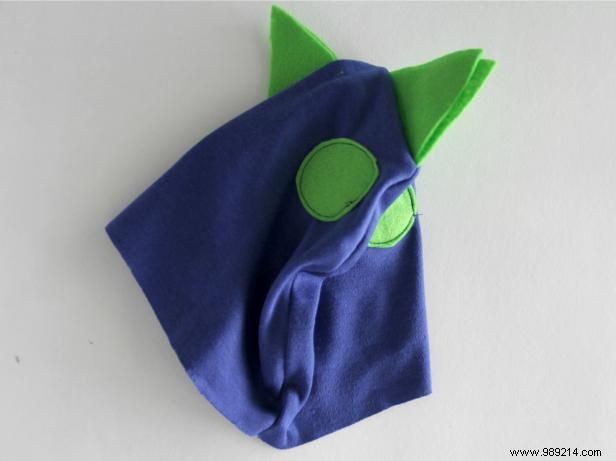
Image 2
Layer a second hat piece over the spiked one, right sides together, sandwiching spikes in between. Pin and sew the curved outer edge (Image 1). Turn right side out (Image 2). Repeat for the remaining two pieces to create the liner.
Pin the folded felt spike strip along one straight edge of a decorated tail piece. Sew to attach securely.
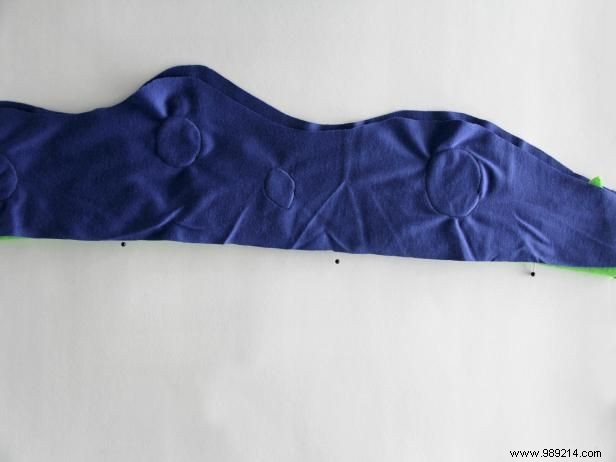
Image 1
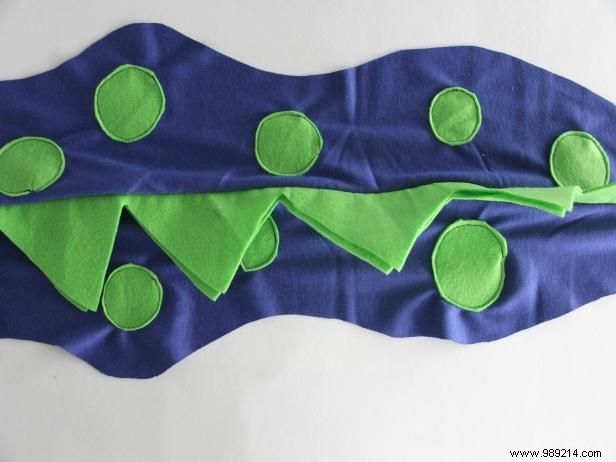
Image 2
Place the second decorated tail piece over the first, right sides together, sandwiching spikes. Sew along the long straight edge (Image 1). Turn right side out (Image 2). Sew the remaining two tail pieces similarly for the liner.
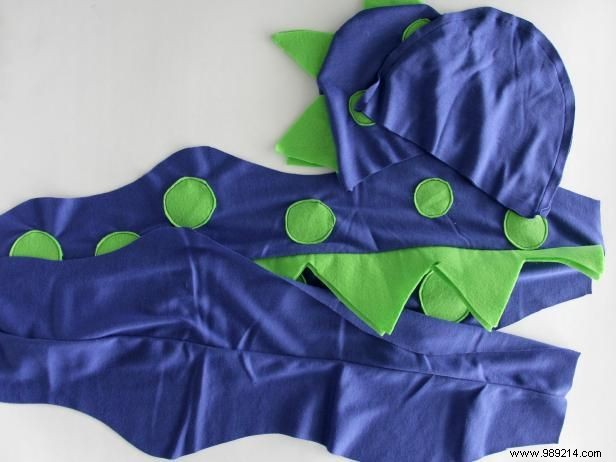
You now have the hat (outer and liner) and tail (outer and liner). Time to join them into one fierce costume.
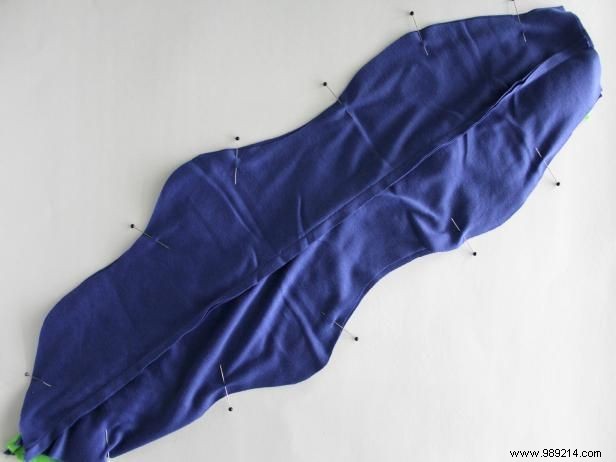
Image 1
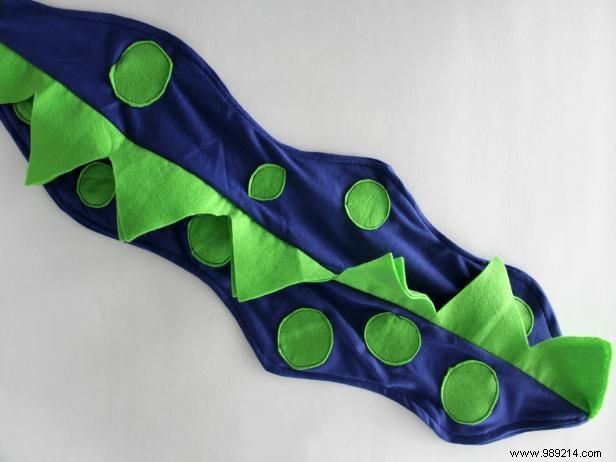
Image 2
With spikes sandwiched, pin the two tail sections (outer and liner) along sides and bottom, leaving top open (Image 1). Sew, turn right side out through the top, and press flat (Image 2).
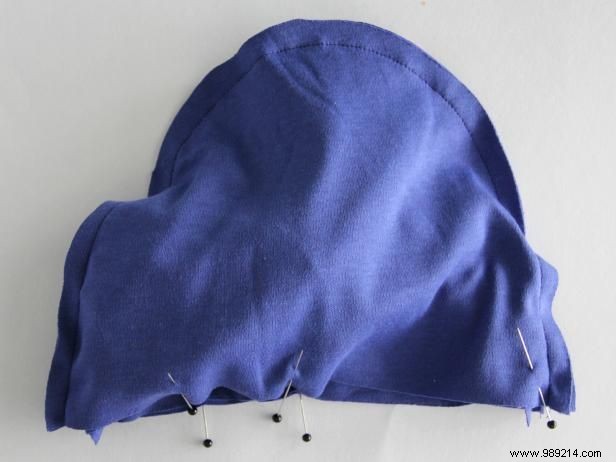
Image 1
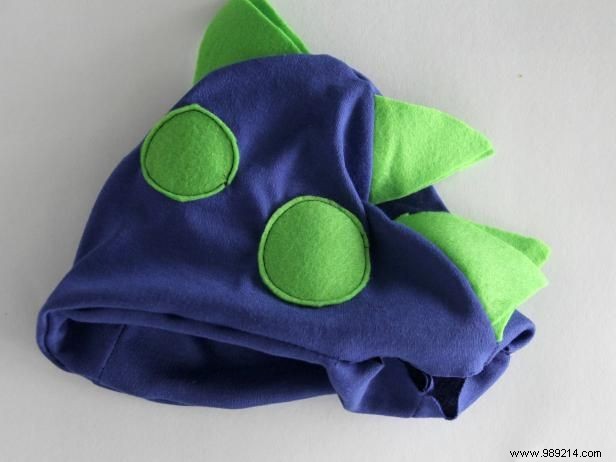
Image 2
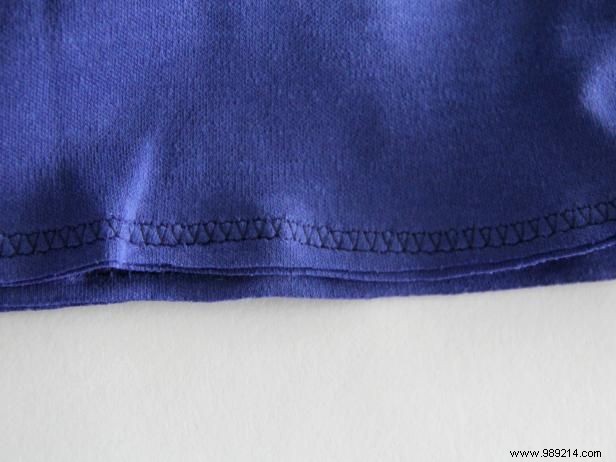
Image 3
Fit hat liner inside outer hat, right sides together, matching seams. Pin bottom edge, leaving 4-inch opening (Image 1). Sew with stretch, zigzag, or serger stitch for flexibility. Turn right side out through opening (Image 2).
Image 3 shows a stretch stitch—check your machine manual. Zigzag works too, allowing fabric to stretch unlike straight stitches.
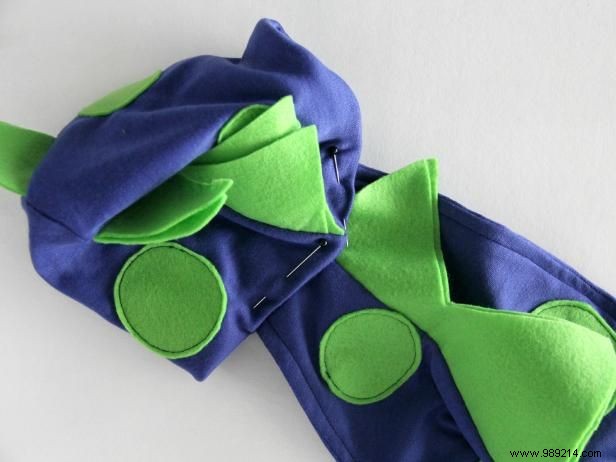
Image 1
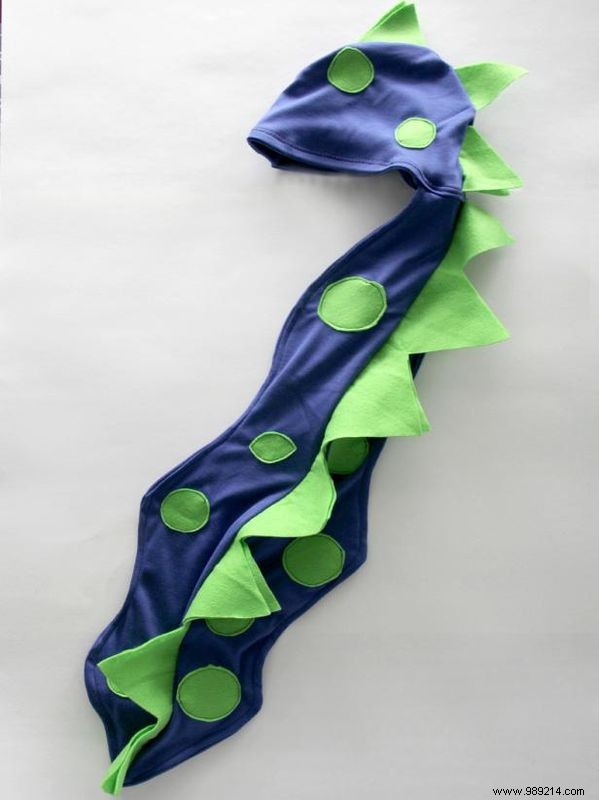
Image 2
Insert tail's top edge into the hat's 4-inch opening and pin (Image 1). Sew bottom edge closed with stretch stitch. Your dino hat is complete (Image 2)!
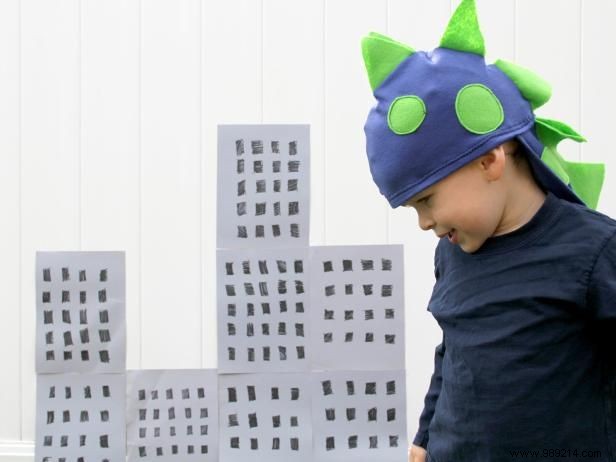
Pop the hat on your child's head and watch them stomp and roar in their custom dinosaur costume.