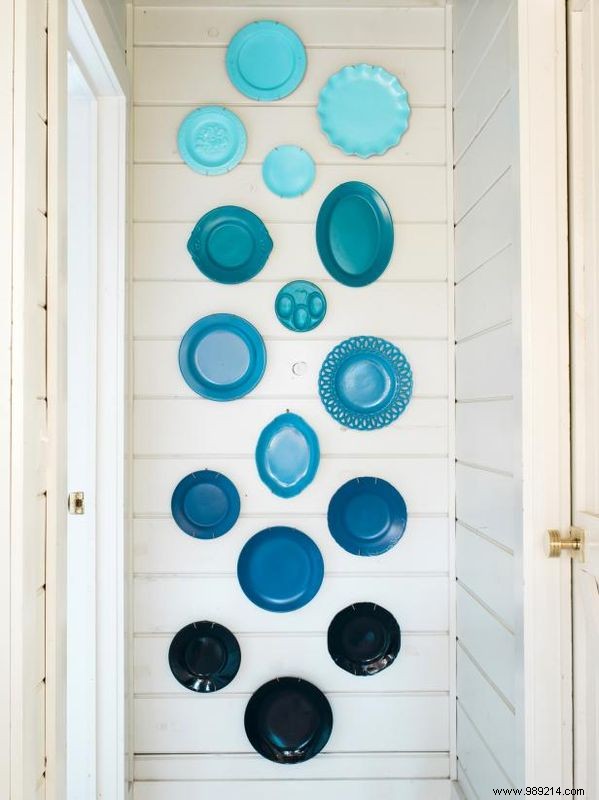
With years of hands-on DIY experience transforming thrift store finds, I've perfected this method: Collect mismatched plates from garage sales, paint them in cohesive tones, and arrange them into a striking wall display that adds personality to any room.
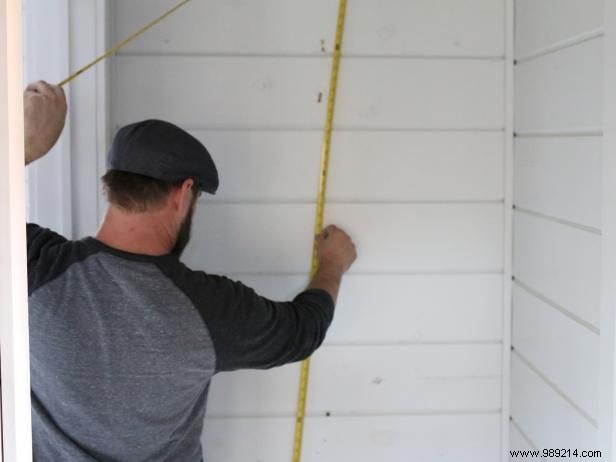

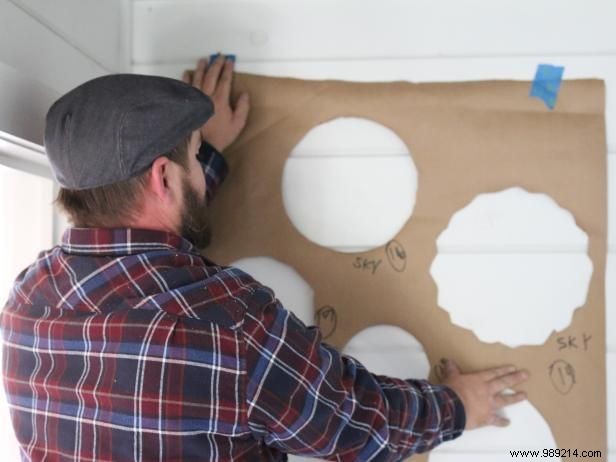
To ensure a balanced, proportional arrangement, use a tape measure for the wall's height and width. Arrange plates on unfolded craft paper, shifting them until the layout fills the space perfectly.
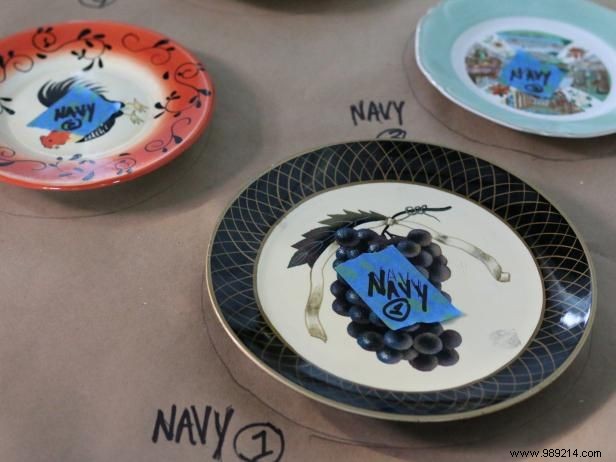
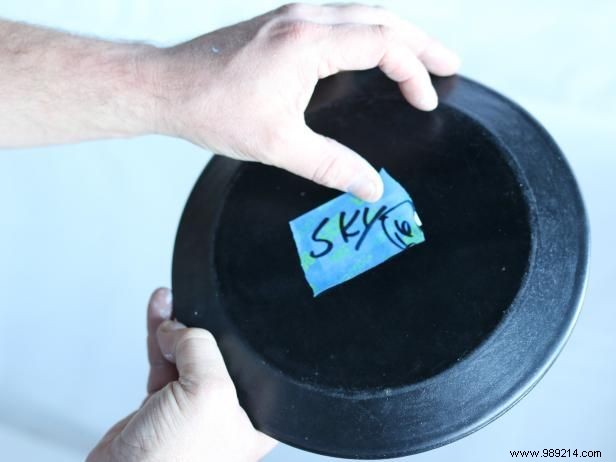
Trace each plate's outline on the craft paper with a marker, noting numbers and colors. Attach matching numbered painter's tape strips to the back of each plate for precise wall placement later.
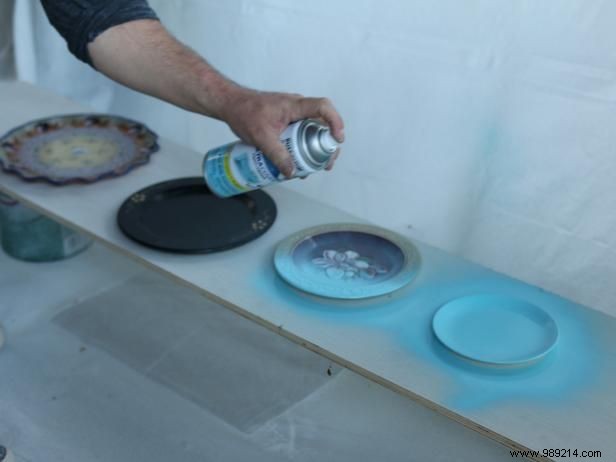
Protect your workspace with a drop cloth. Lay plates on a flat, elevated surface and spray-paint in color groups. Hold the can at least 8 inches away, moving slowly back and forth for an even, professional finish.
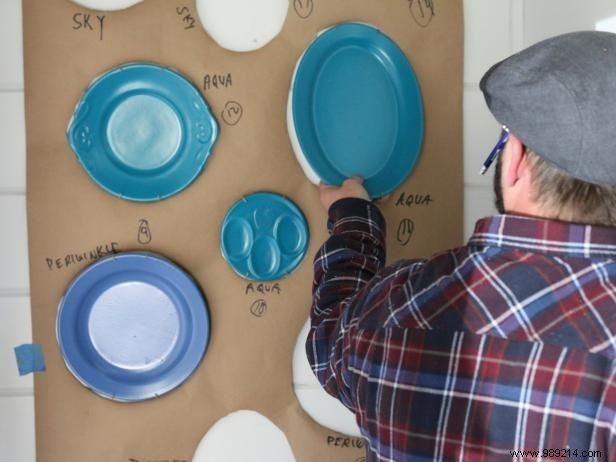
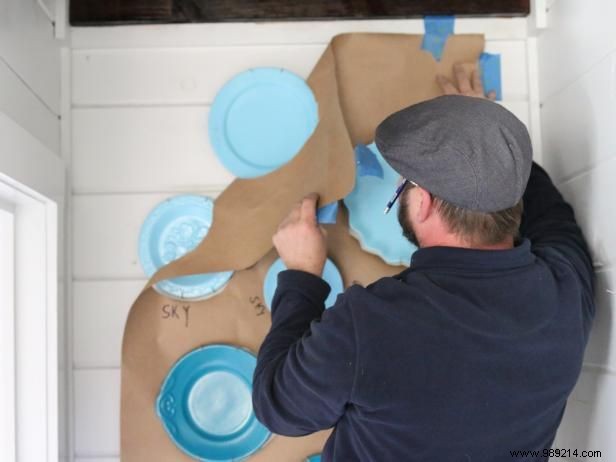
Cut out the traced plate outlines from the craft paper template with scissors, then secure the template to the wall for accurate positioning.
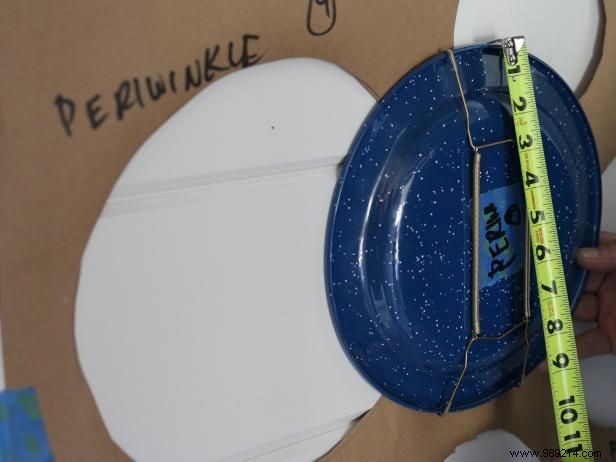
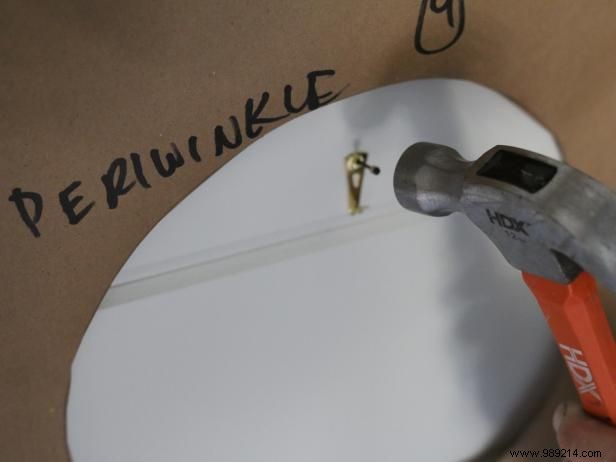
Hold each plate in position over the template, measure from the top to the hanger nail location, and pencil-mark it. Hammer the plate hanger nails securely into place.
Rustic Blank Photography, LLC
Attach hangers to the painted plates and hang them on the nails. Peel the template away from the corners and remove it to reveal your custom wall art.