
Begin by drawing your desired design directly on the wall. Avoid high-gloss surfaces, as they can prevent proper adhesion of the plaster.
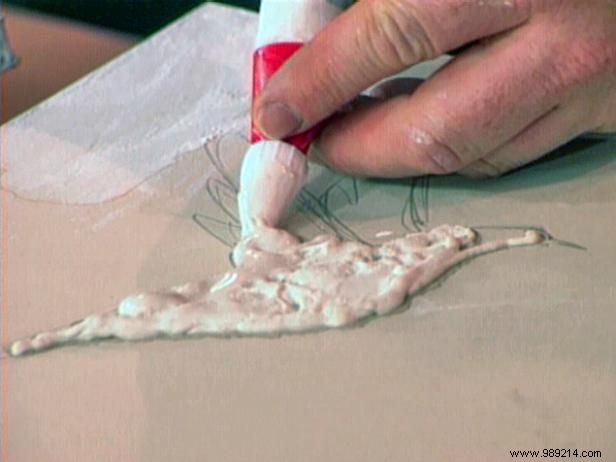
Choose any plaster type and mix small batches for 1 to 2 square feet, as it dries quickly. Combine three parts plaster, one part glue, and one part water to a thick cake-icing consistency. Load into a cake decorating bag with a tip. Pipe the mixture onto the wall, following your sketch—start with outlines and fill in the design.
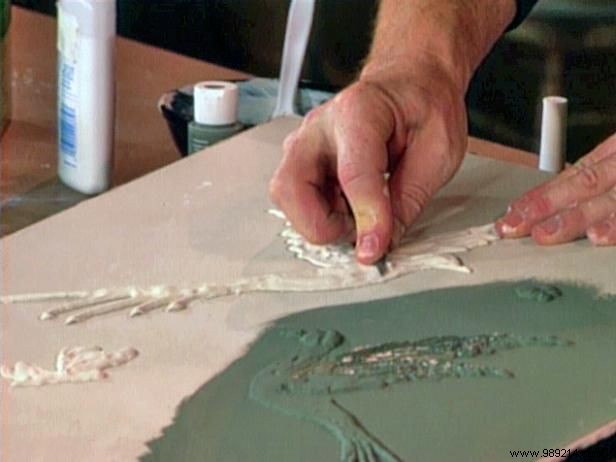
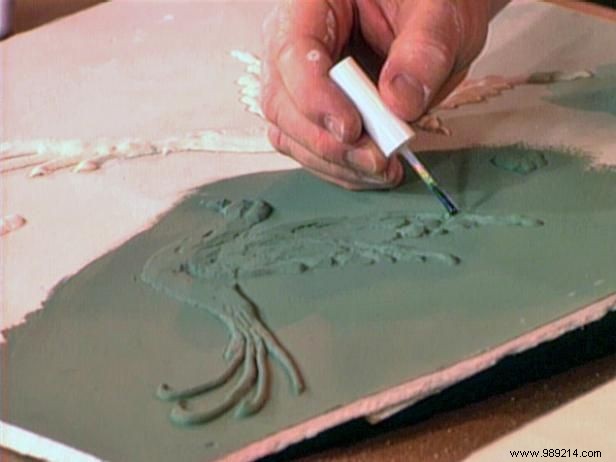
Allow the plaster to fully dry, then carve details with a utility knife (Image 1). Prime with a base coat. Once dry, apply metallic nail polish (gold or silver works best) for highlights (Image 2). Build multiple coats for an authentic aged look.