Family Encyclopedia >> Home & Garden

DIY Chair Slipcovers for Under $30: Transform Salvage Chairs Like a Pro

Introduction

DIY Chair Slipcovers for Under $30: Transform Salvage Chairs Like a Pro

Before: Yard Sale Chairs

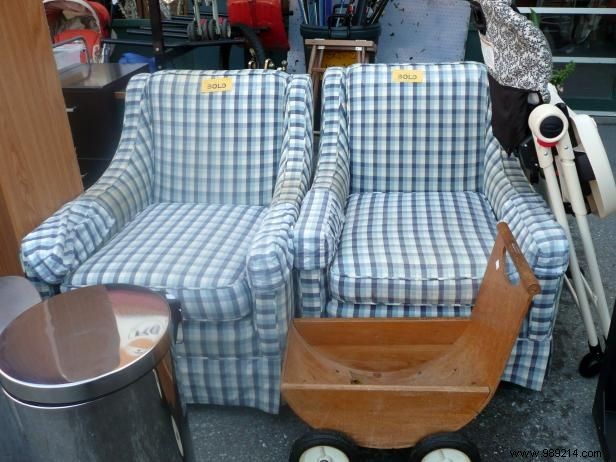
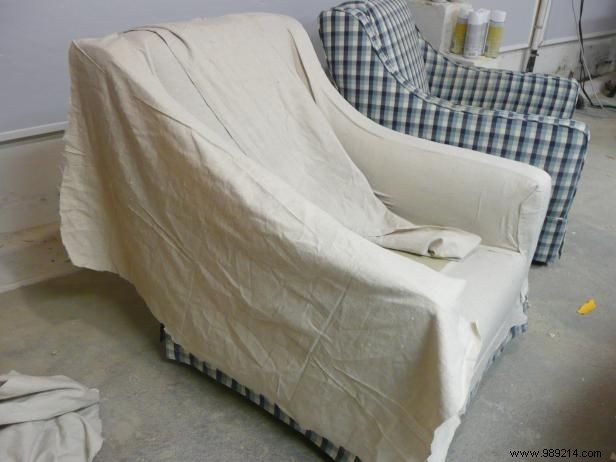
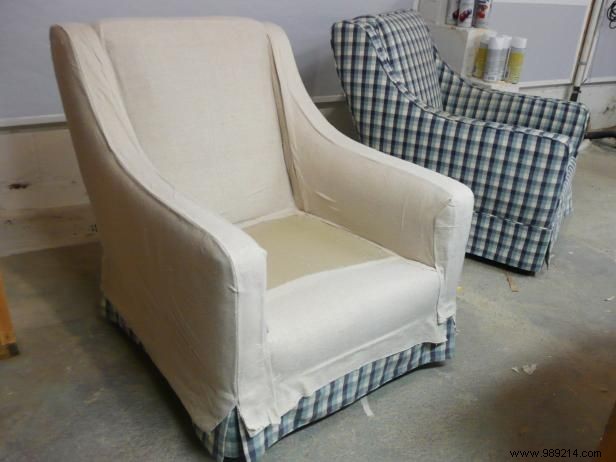
These chairs were discovered at a garage sale by Joanne Palmisano, author of Salvage Secrets (W.W. Norton, September 2011). She runs the blog Salvage Secrets. Look for sturdy chairs with good bones that just need a fresh update.

Step 1

DIY Chair Slipcovers for Under $30: Transform Salvage Chairs Like a ProDIY Chair Slipcovers for Under $30: Transform Salvage Chairs Like a ProDIY Chair Slipcovers for Under $30: Transform Salvage Chairs Like a ProDIY Chair Slipcovers for Under $30: Transform Salvage Chairs Like a Pro

Cut and Shape Each Section

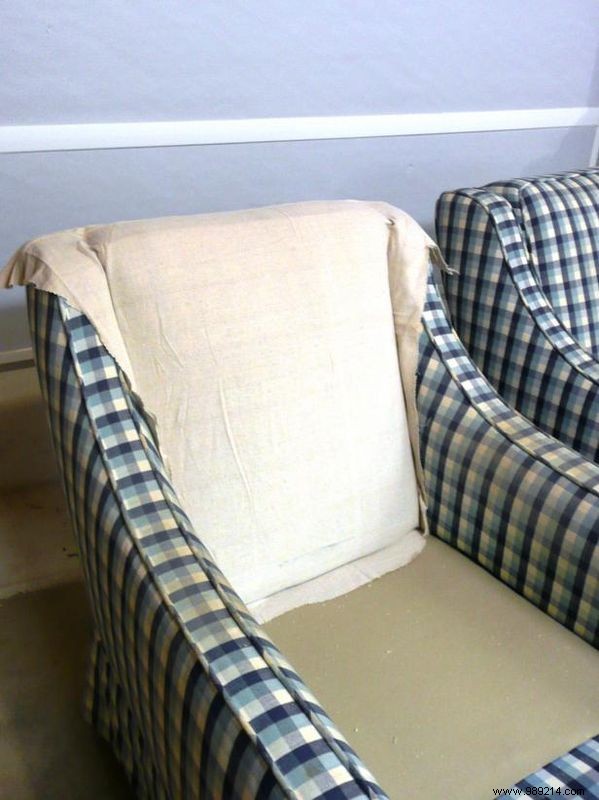
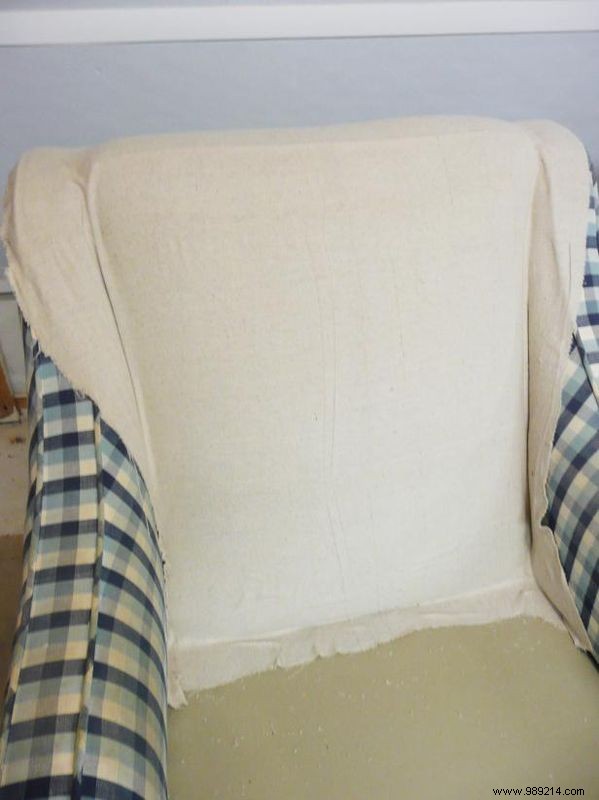
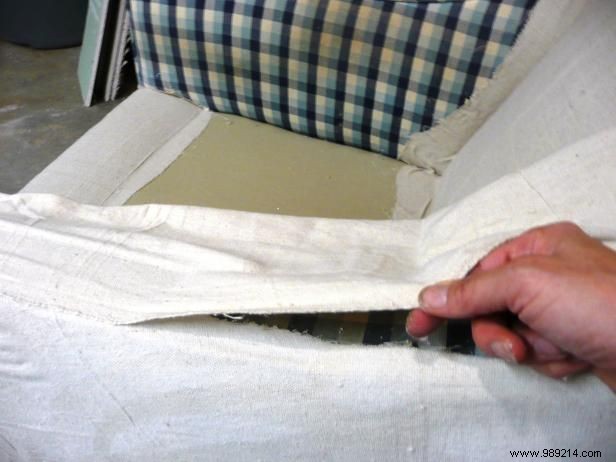
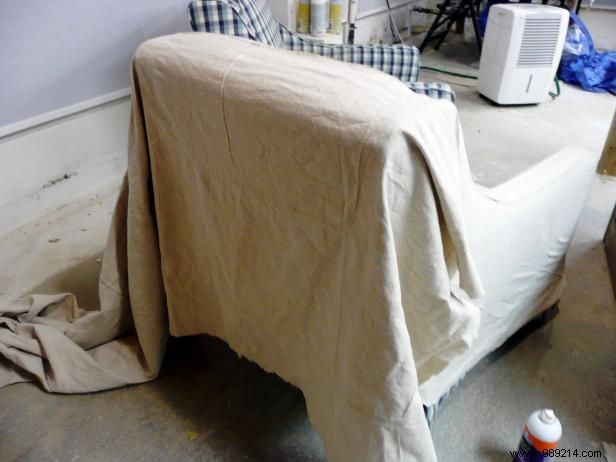
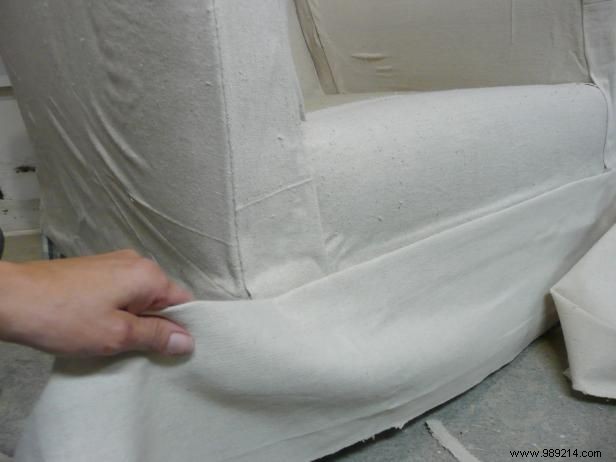
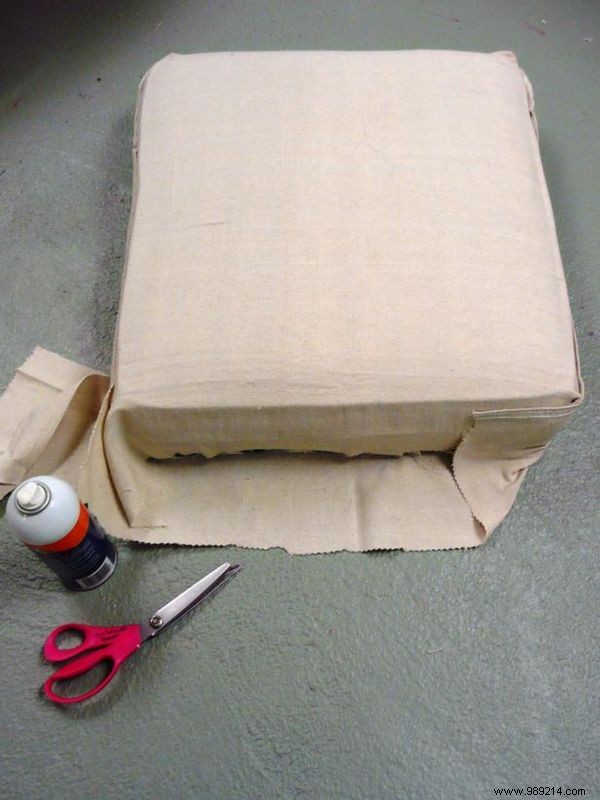
Cut drop cloth into large pieces to cover major chair sections. Tuck and fold at seams for a polished finish. In some spots, glue the fabric directly; elsewhere, hand-sew for security.

Step 2

DIY Chair Slipcovers for Under $30: Transform Salvage Chairs Like a ProDIY Chair Slipcovers for Under $30: Transform Salvage Chairs Like a ProDIY Chair Slipcovers for Under $30: Transform Salvage Chairs Like a Pro

Cover the Arms

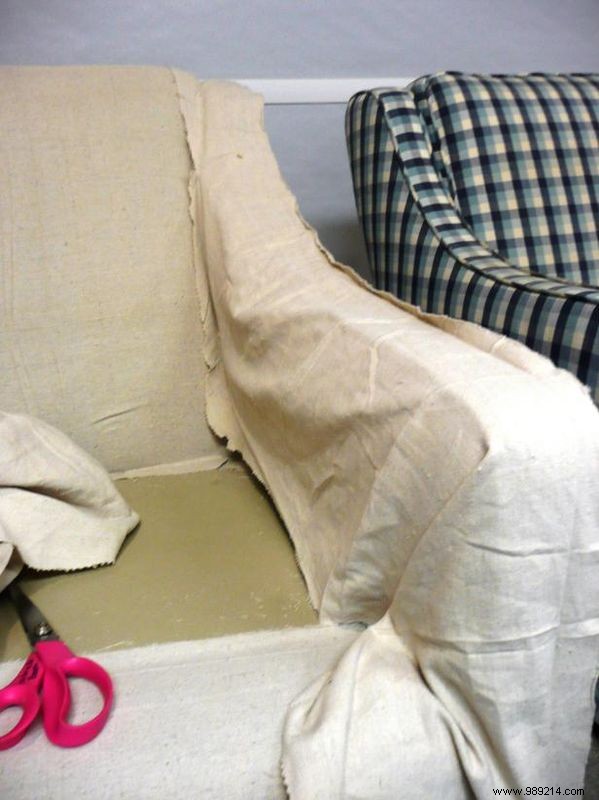
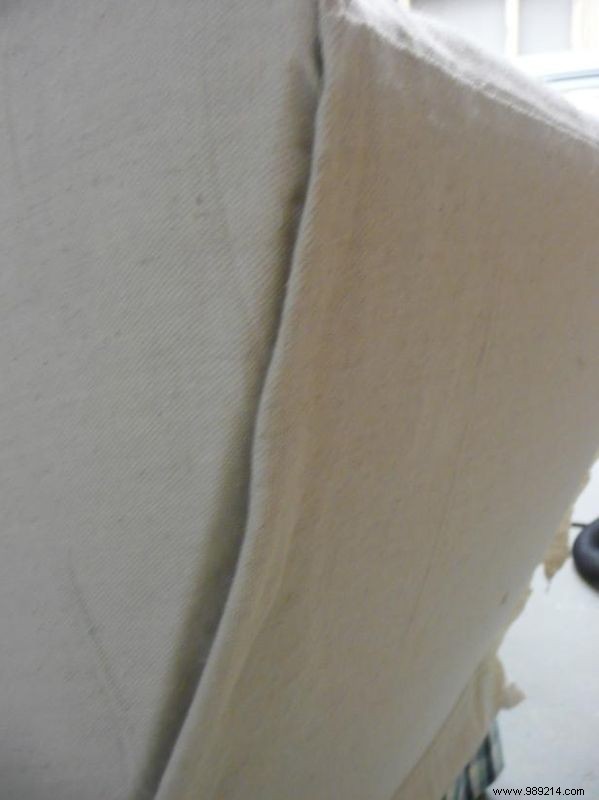
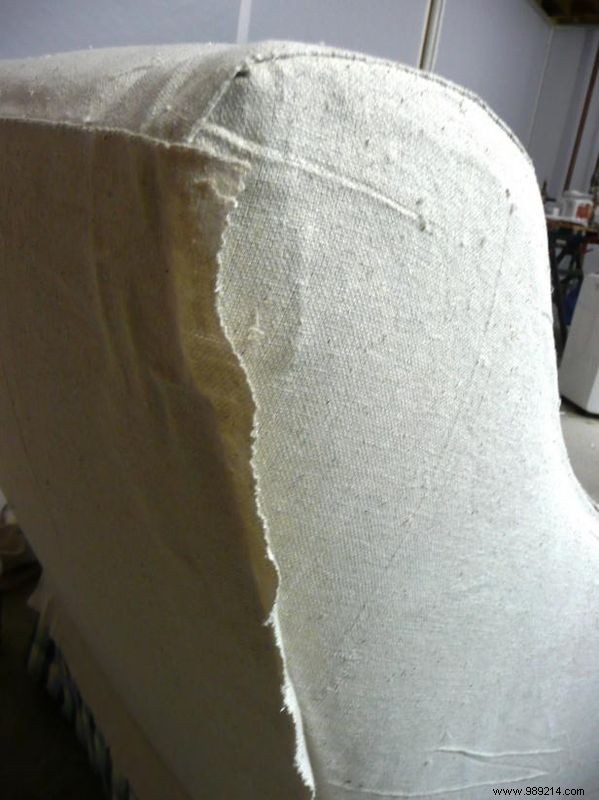
Use the drop cloth's finished canvas edges on visible areas like arms and back. Arms consist of two pieces: the inner folds over the outer.

Step 3

DIY Chair Slipcovers for Under $30: Transform Salvage Chairs Like a ProDIY Chair Slipcovers for Under $30: Transform Salvage Chairs Like a ProDIY Chair Slipcovers for Under $30: Transform Salvage Chairs Like a Pro

Attach the Pieces

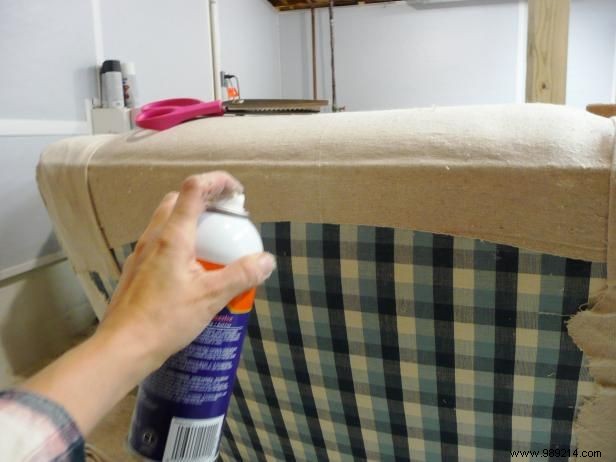
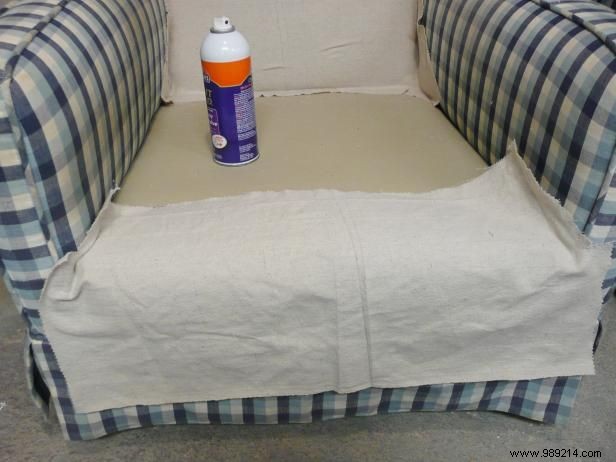
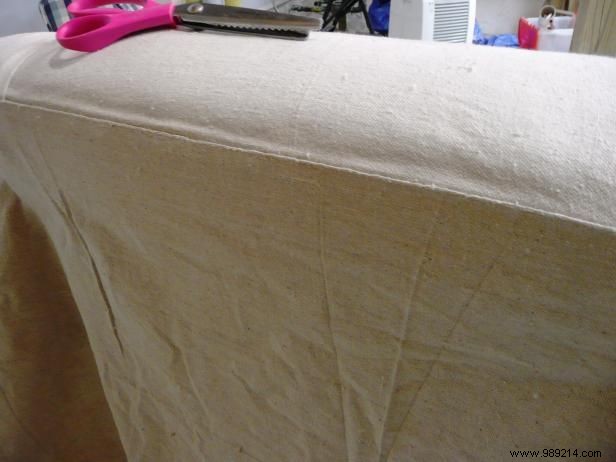
Trim pieces to size, leaving extra for curves. Apply spray adhesive gradually, pressing to smooth wrinkles. It's repositionable if needed.

Step 4

DIY Chair Slipcovers for Under $30: Transform Salvage Chairs Like a ProDIY Chair Slipcovers for Under $30: Transform Salvage Chairs Like a ProDIY Chair Slipcovers for Under $30: Transform Salvage Chairs Like a Pro

Finish Seams and Edges

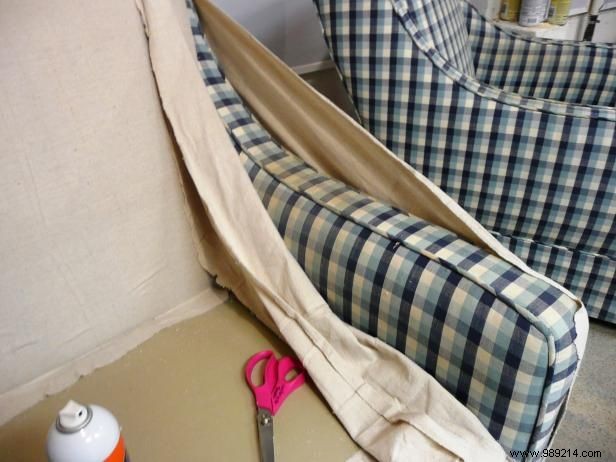
Cut one piece at a time, folding or inserting edges for a clean seam.

Step 5

DIY Chair Slipcovers for Under $30: Transform Salvage Chairs Like a ProDIY Chair Slipcovers for Under $30: Transform Salvage Chairs Like a ProDIY Chair Slipcovers for Under $30: Transform Salvage Chairs Like a Pro

Wrap the Skirt

Craft a skirt to cover bottom edges. Use one long piece wrapped around or separate panels per side.

Step 6

DIY Chair Slipcovers for Under $30: Transform Salvage Chairs Like a ProDIY Chair Slipcovers for Under $30: Transform Salvage Chairs Like a ProDIY Chair Slipcovers for Under $30: Transform Salvage Chairs Like a Pro

Cover Cushions and Add Nailhead Trim

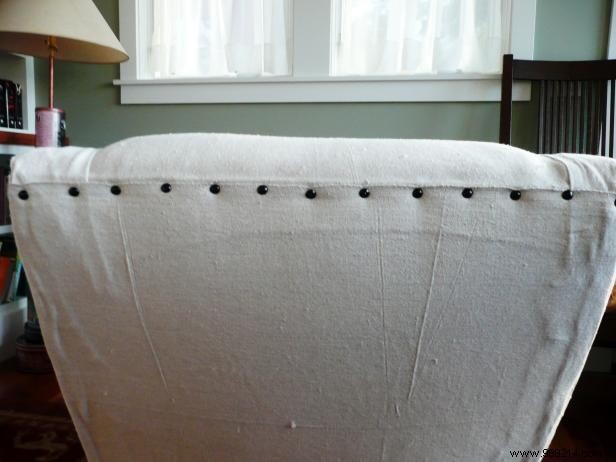
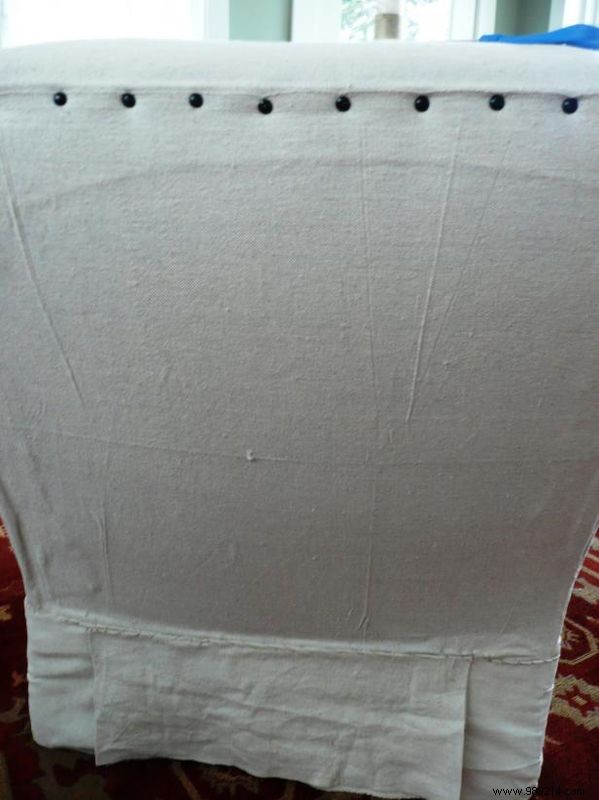
Once positioned and glued, hammer upholstery nailheads through fabric into the frame.

Pro Tip

Chairs differ: feel for the frame in arms, back, or edges to place nails accurately.

Step 7

DIY Chair Slipcovers for Under $30: Transform Salvage Chairs Like a ProDIY Chair Slipcovers for Under $30: Transform Salvage Chairs Like a Pro

Final Seams

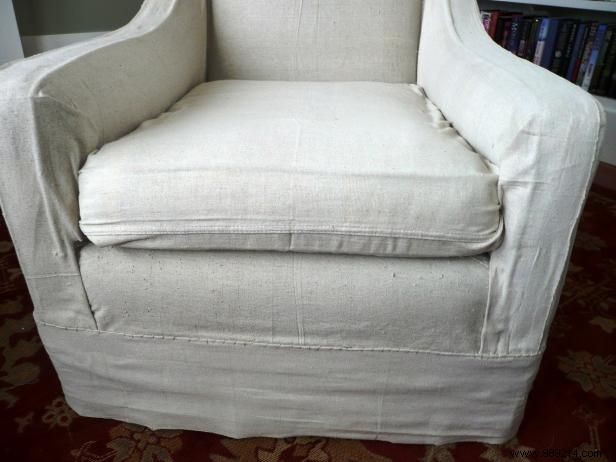
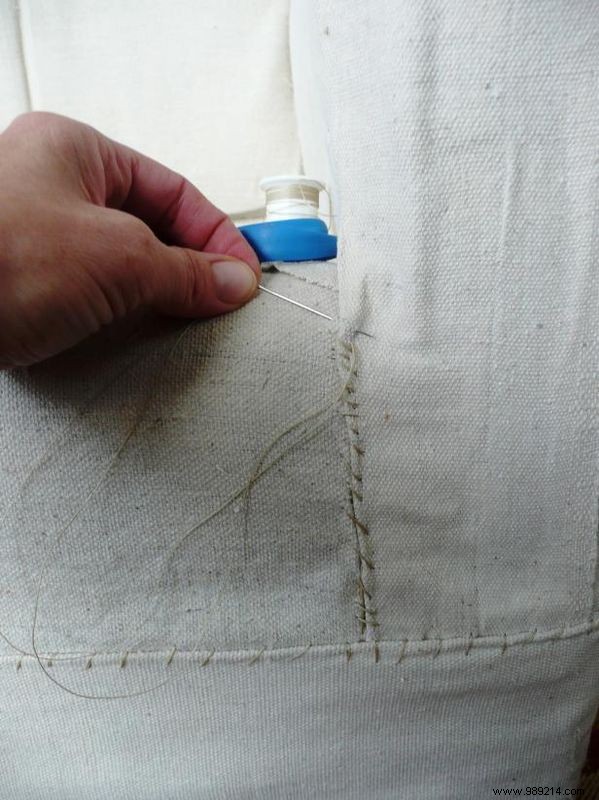
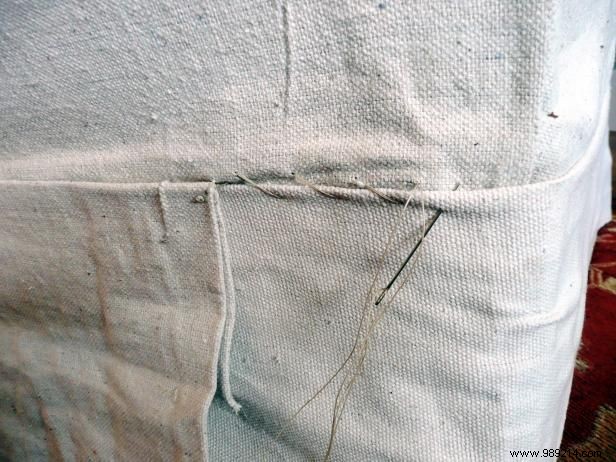
Sew most seams to secure fabric permanently. Adhesive holds temporarily; stitching delivers a durable, rustic-chic style.