As a seasoned paper florist with years of experience crafting lifelike blooms, I know tropical orchids dazzle but often come with a hefty price tag. This proven DIY method lets you create stunning, affordable replicas that look just as exquisite.
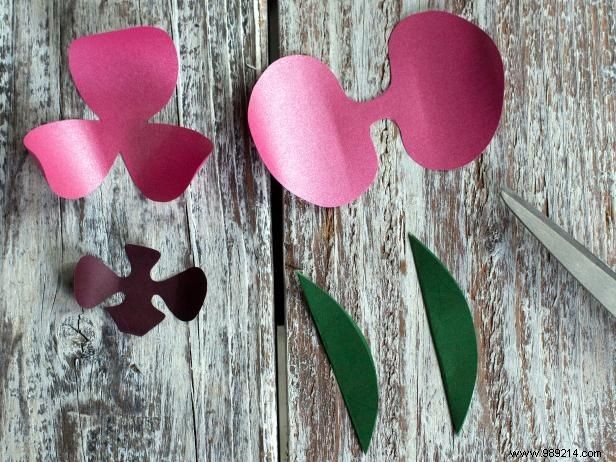
Print the orchid petals from the PDF onto your main color paper, the center onto a secondary color paper, and the leaf template onto green paper. Cut out two sets of petals, one center piece, and two leaves per flower.
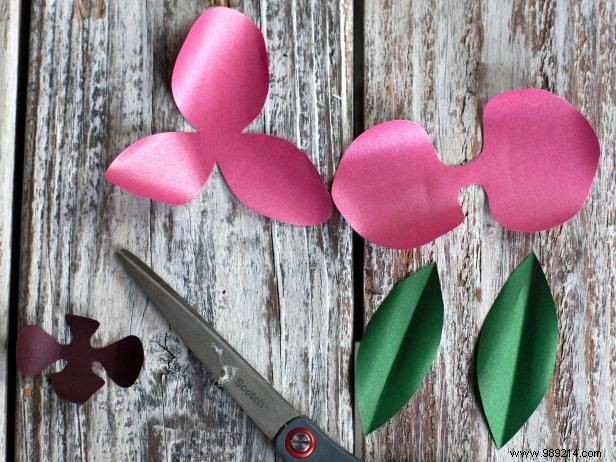
Gently curl each petal and center segment using the edge of scissors. Fold the leaves in half lengthwise. Curl the petals in the opposite direction to form cup shapes, and curl both sides of the leaves.
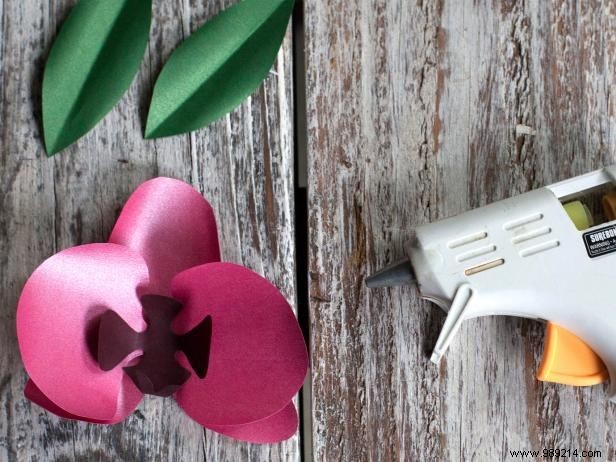
Position the larger three-petal set facing up. Glue the two-petal piece in the center, then layer the center piece on top.
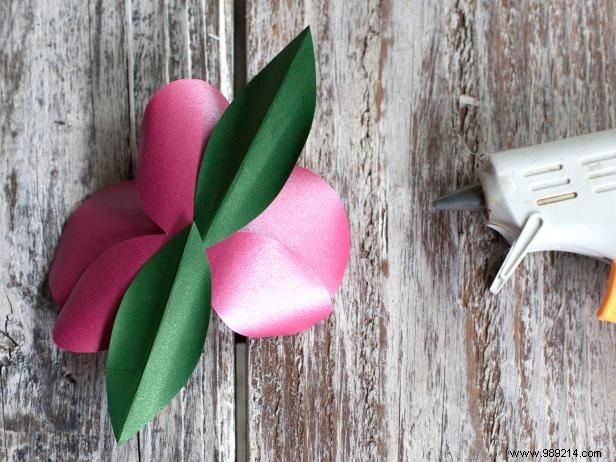
Turn the flower over and glue the two leaves to the back.
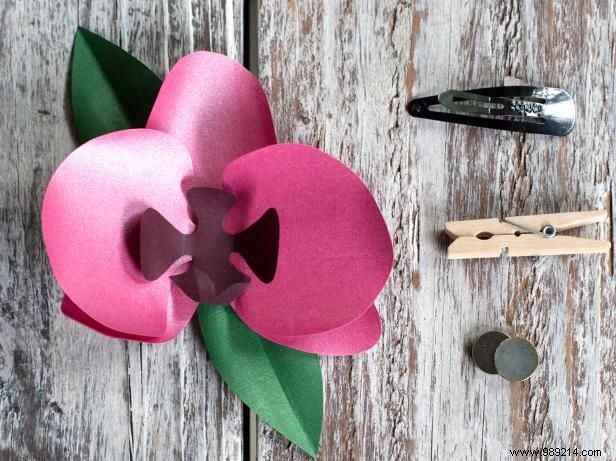
For a hair clip, corsage, or gift decoration, attach a clip to the back. For a wrist corsage, glue a ribbon or elastic band sized to fit around your wrist.
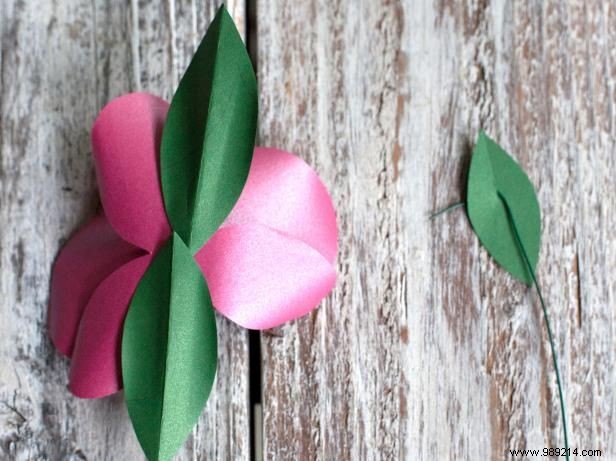
For a stemmed orchid, bend the end of 22-gauge wire at an angle. Cut a small leaf shape with a one-third slit in the center, slip the wire's corner into the slit, and glue it to the back of the flower.
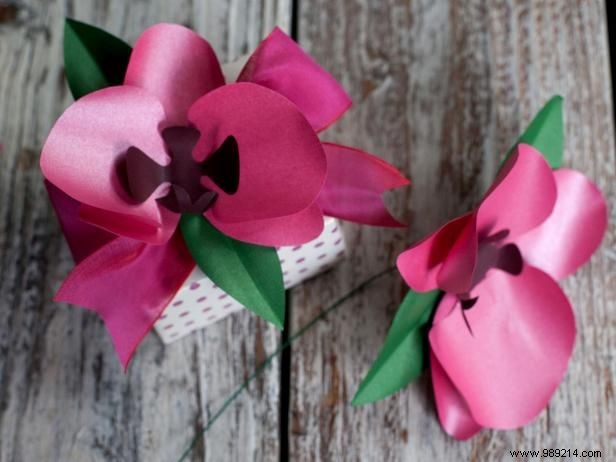
Use your finished orchids to elevate gifts, assemble bouquets, or accessorize your sweater or hair.
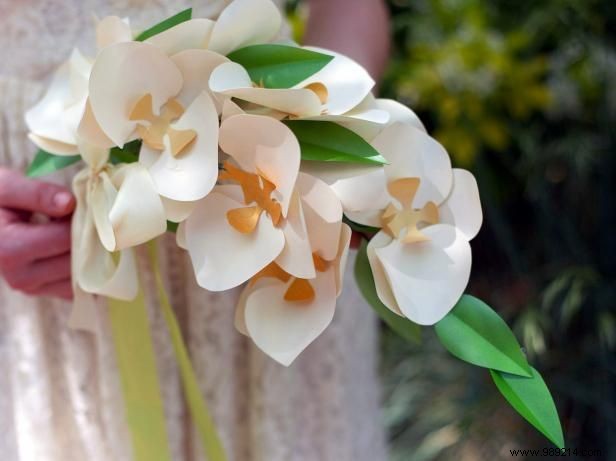
These detailed paper orchids create a breathtaking, durable wedding bouquet or elegant decor.