As a seasoned crafter with years of experience designing unique holiday decor, I've found that a hanging centerpiece adds a fresh, mid-century modern twist to your table. It keeps conversations flowing without cluttering the surface, leaving ample space for festive dishes and treats that everyone will enjoy.
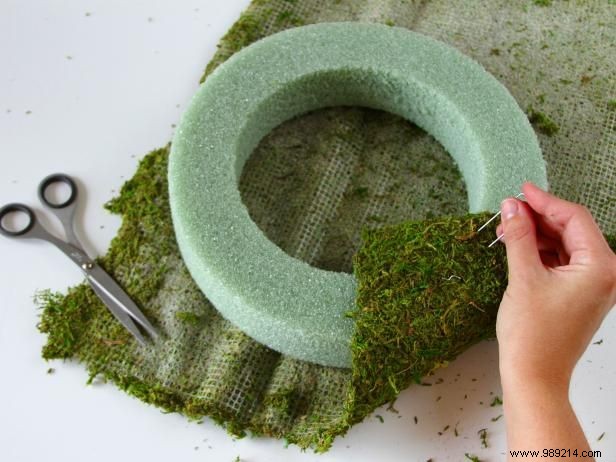
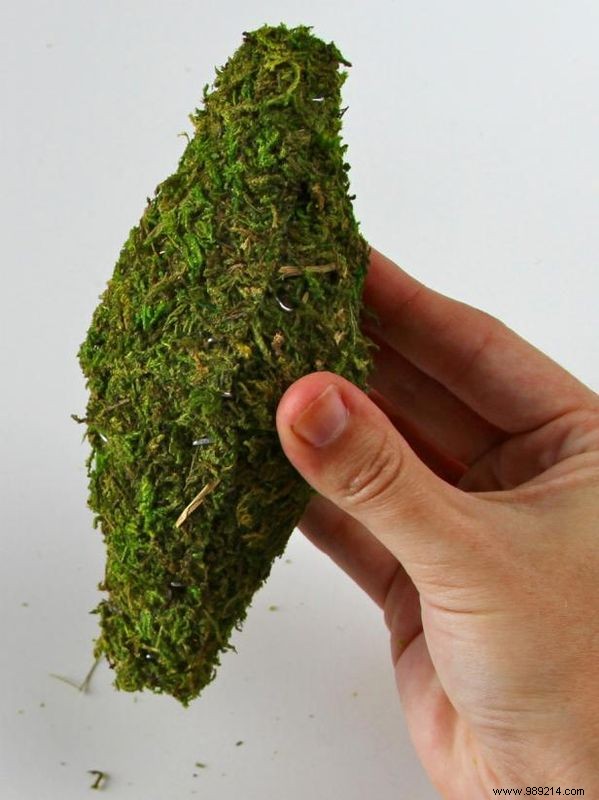
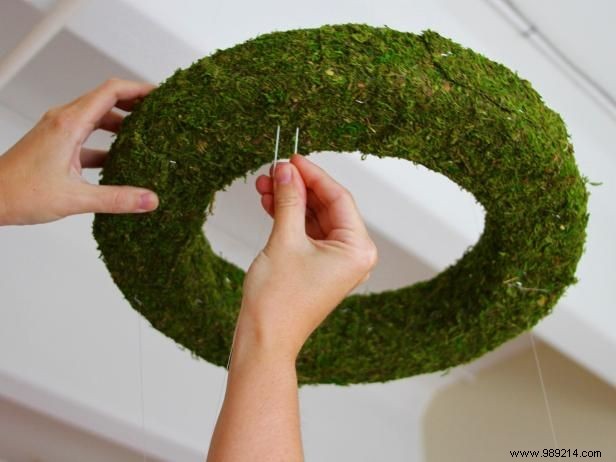
Spread out the moss and attach it to the Styrofoam wreath using floral pins. Cut large pieces from the moss roll, wrap them around the wreath, and secure with pins every four to five inches—or wherever the moss doesn't lie flat against the Styrofoam.
Identify the bottom and top sides early. Position most pins at the top (the side facing the ceiling when hung) to keep them hidden.
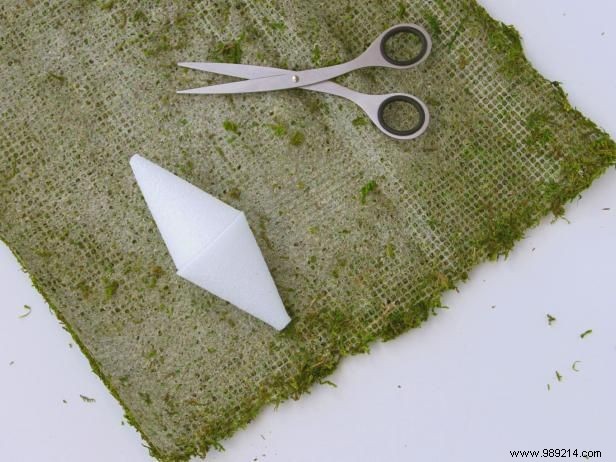
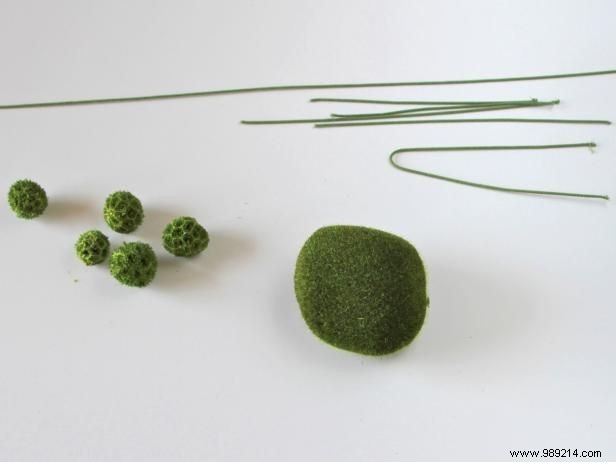
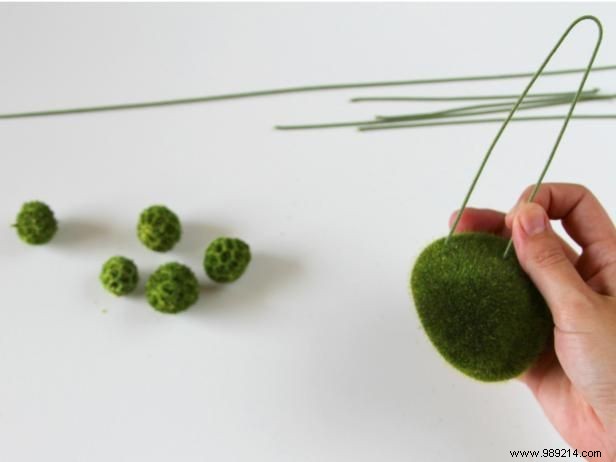
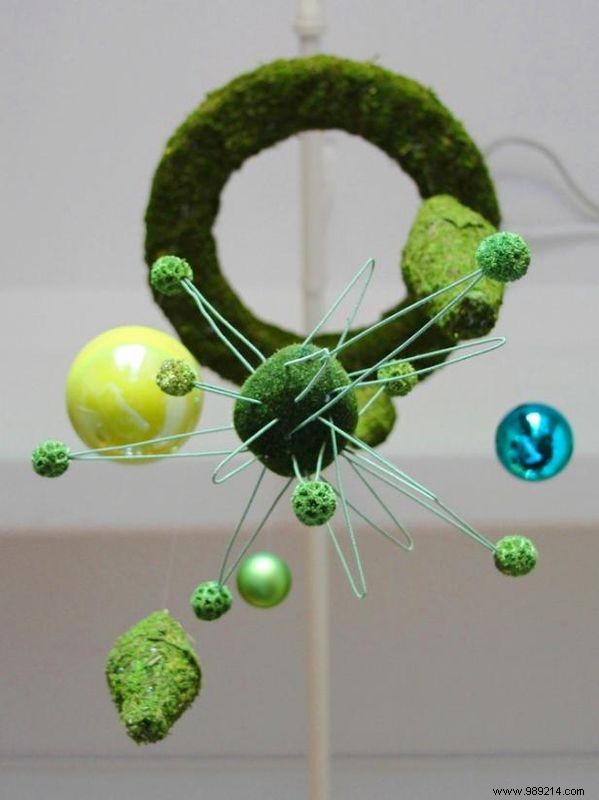
Group your Styrofoam cones by size: small with small, large with large. Pair two cones of the same size, point-to-point, to create 3D diamond shapes, securing them with floral pins. You'll end up with three diamonds— one large and two small.
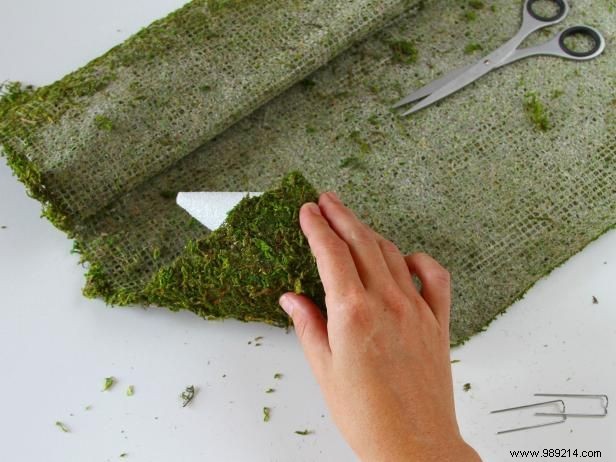
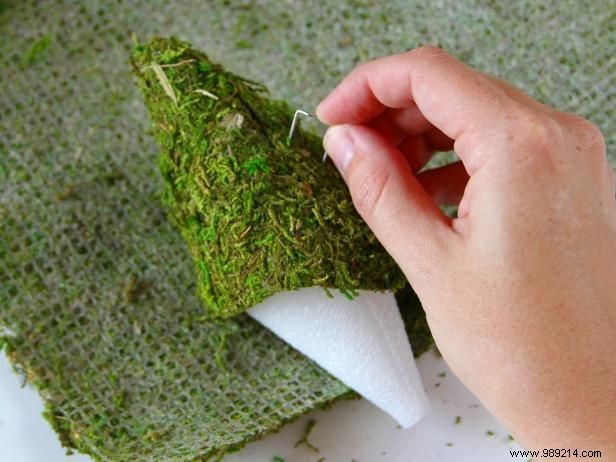
Roll moss around each of the three diamond shapes and secure with floral pins. Trim excess moss and clip loose ends. Repeat until fully covered.
Insert an extra floral pin at the top of each diamond. Attach a long piece of monofilament (1 to 2 feet) to each pin—you can adjust lengths later.
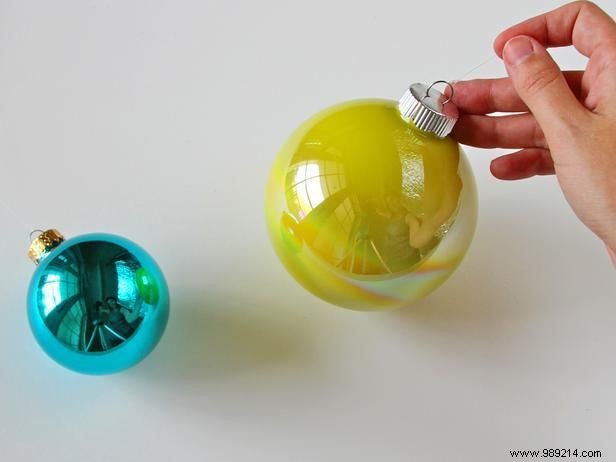
Cut three 18- to 20-inch pieces of monofilament for the glass ornaments. Thread each through an ornament, secure with a triple knot, trim excess from the knot, and leave the line ready for hanging.
Time to build the signature atomic star. Cut floral wire into varying lengths (mostly 8 inches and 5 inches here). Fold longer pieces in half, pierce through a moss-covered Styrofoam ball with both ends, and secure with craft glue.
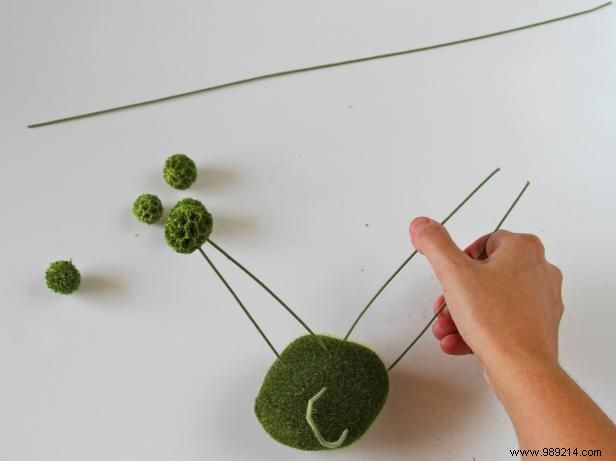
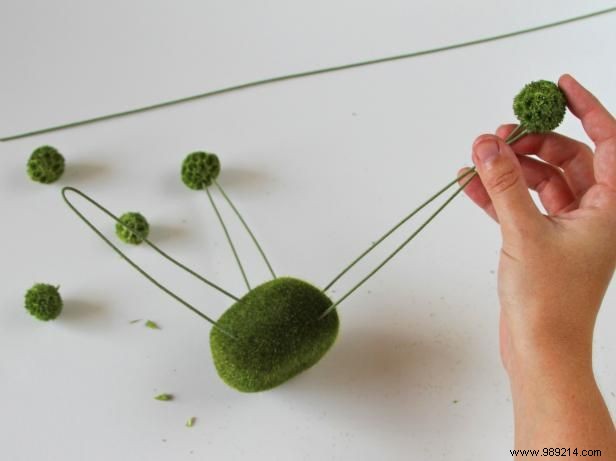
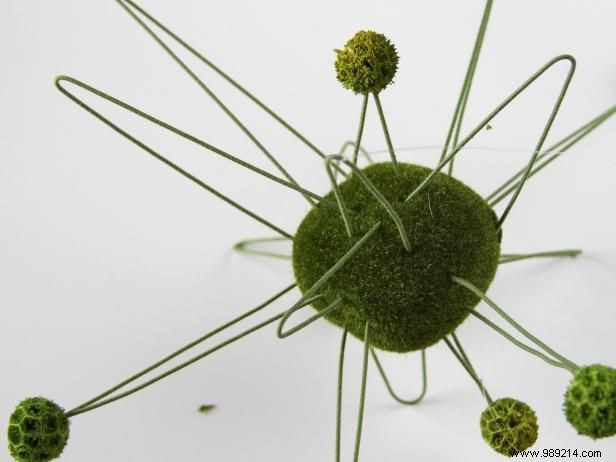
For pointed elements with round pods, insert two wires through the Styrofoam ball about an inch apart. Bend protruding ends together into a triangle, glue them, and thread through a foam ball for the pod.
Combine techniques to complete the star. Let it dry fully, then tie a 2- to 3-foot monofilament to a round point without a pod.
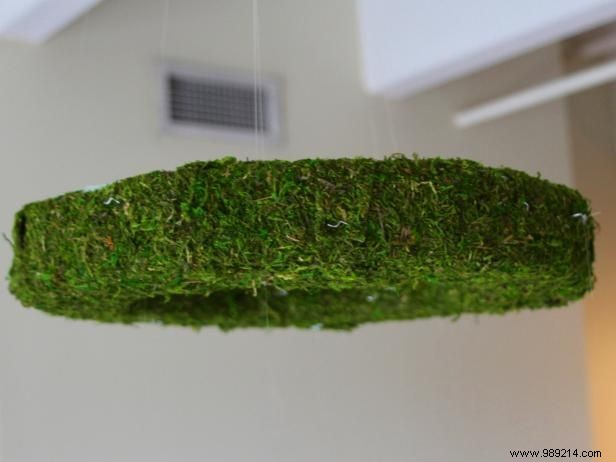
Assemble by deciding the wreath's hanging height from the ceiling, then double it for monofilament length. For example, for a 3-foot drop, cut four 6-foot pieces.
Loop strings around the wreath at 12, 3, 6, and 9 o'clock positions, evenly spaced. Gather above, knot securely three or four times, and hook to the ceiling.
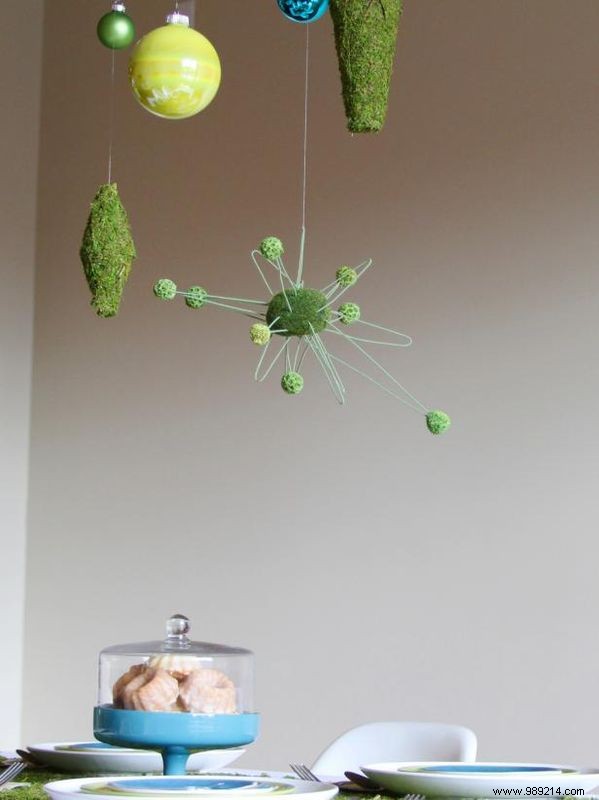
With the wreath hanging, insert floral pins halfway down its bottom edge. Attach ornaments, atomic star, and diamonds by threading their monofilament through pins at varied lengths for dimension. Triple-knot at desired heights, trim excess, and push pins flush.
Conceal any visible pins with moss patches and glue.