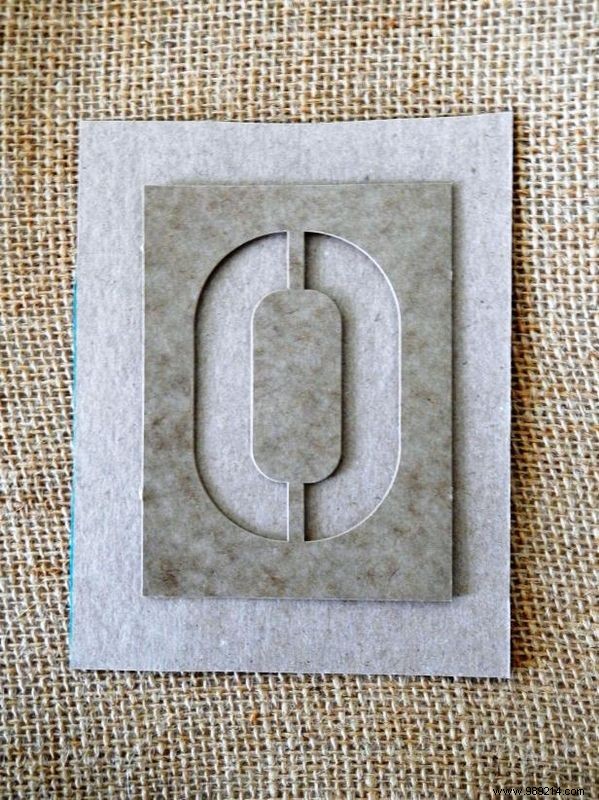
From years of crafting custom gifts, I recommend starting with a postcard-sized piece of sturdy cardboard as your template. Align it precisely with the burlap's grid lines for clean cuts. To make four tags, cut eight pieces (fronts and backs) from half a yard of burlap.
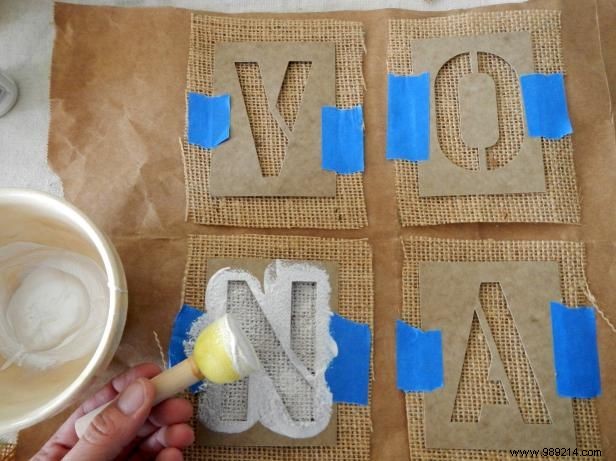
Place four burlap fronts in a paper bag to protect your surface—the other four are for backs. Center the stencil on each, securing it lightly if needed. Hold the stencil firmly and brush on the lighter paint color onto the burlap. Remove the stencil carefully and let it dry completely.
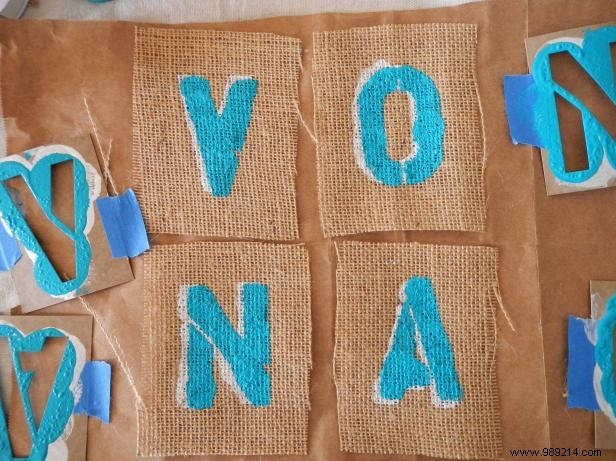
Once dry, reposition the stencil slightly off-center over the first letter, allowing a hint of the base color to show through. Apply the second paint color. Remove the stencil and let it dry fully for a layered, professional monogram effect.
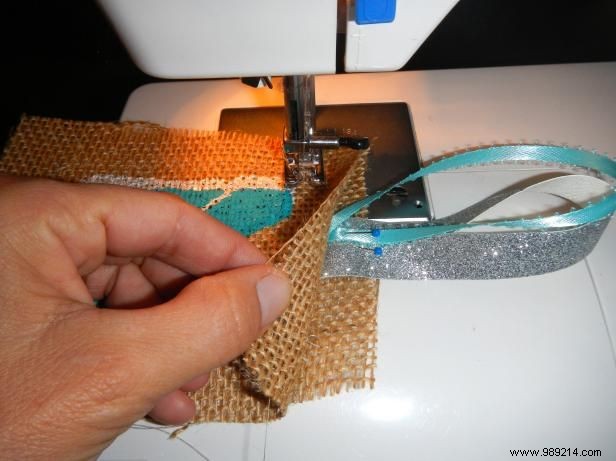
Pin the unpainted backs to the painted fronts. Fold one or two ribbons (two for extra strength) into loops for hanging, and tuck them between the layers. Sew straight stitches around the edges, securing the ribbon loops firmly in place.
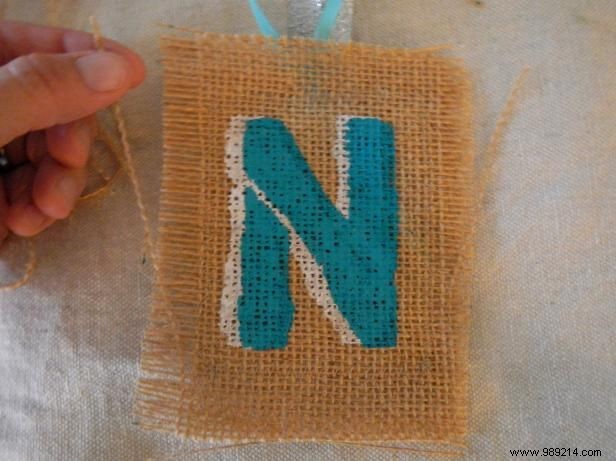
Achieve that signature burlap rustic look by gently pulling the end threads along the edges, working close to the stitching but not into it. This creates a charming fringe finish.