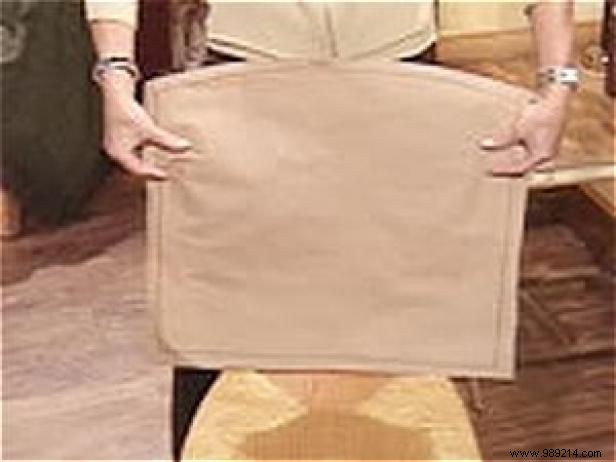
Start by cutting a paper pattern from sturdy craft paper. Position it against the back of your chair, ensuring it's cut generously to include seam allowances for a perfect fit.
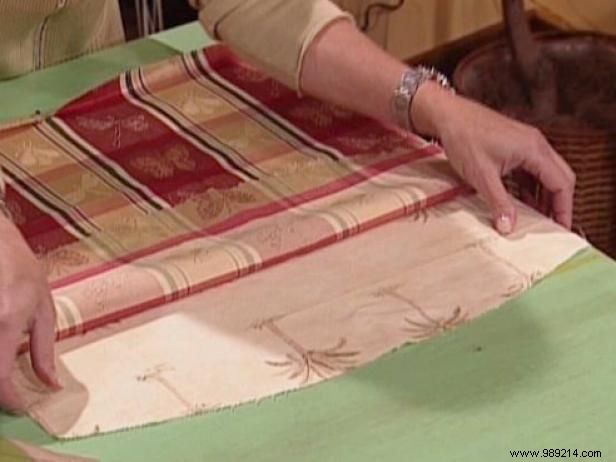
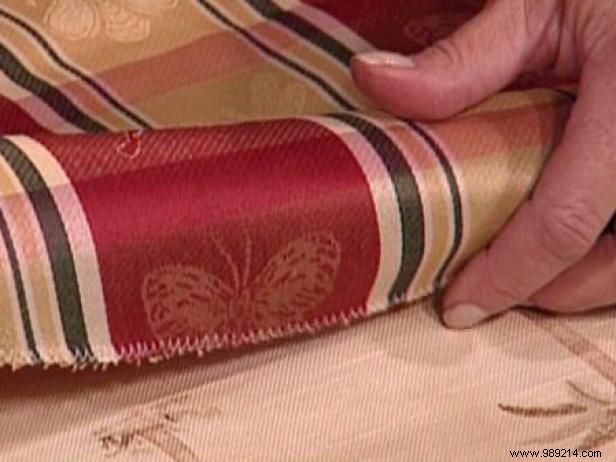
Choose fabrics that harmonize with your room's decor. For this project, we selected two complementary cotton fabrics for the front and back panels, creating a distinctive, custom look (Image 1). Since cotton frays easily, secure the raw edges with a zigzag stitch for a clean finish (Image 2). Alternatives include serging or fabric glue. Hem the bottom edges with a straight stitch (Image 3).
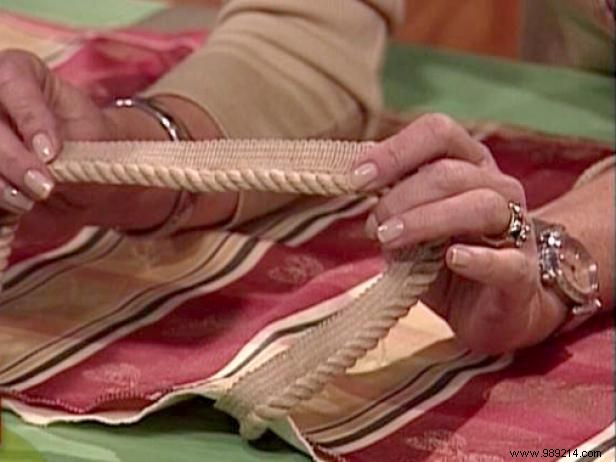
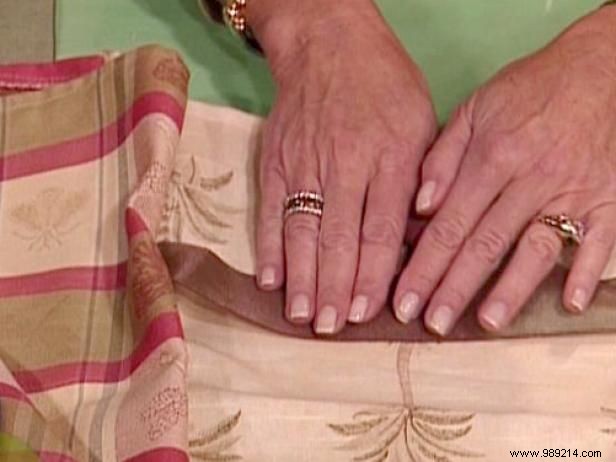
Layer the fabric panels right sides together, sandwiching a decorative braid trim between the edges (Image 1). Position a ribbon trim over the braid and between the fabrics—this adds style and allows you to tie the cover securely to the chair later (Image 2).
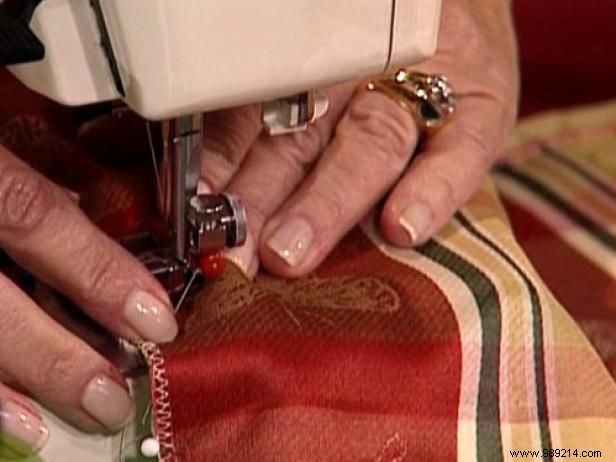
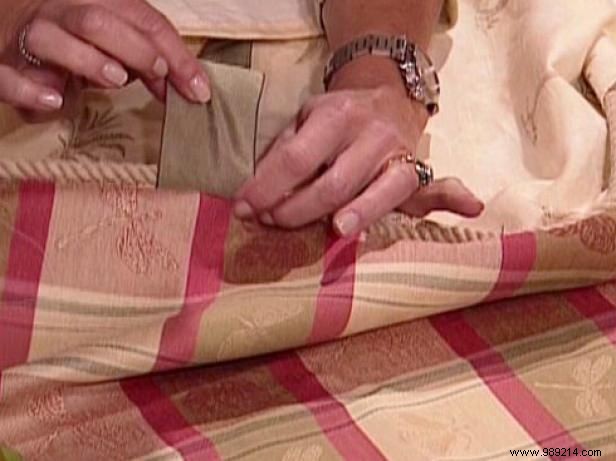
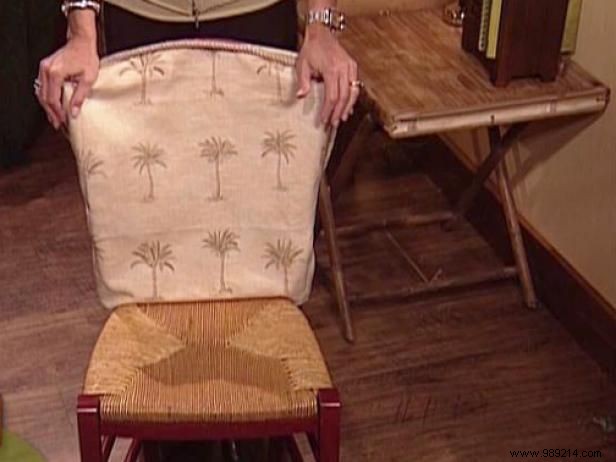
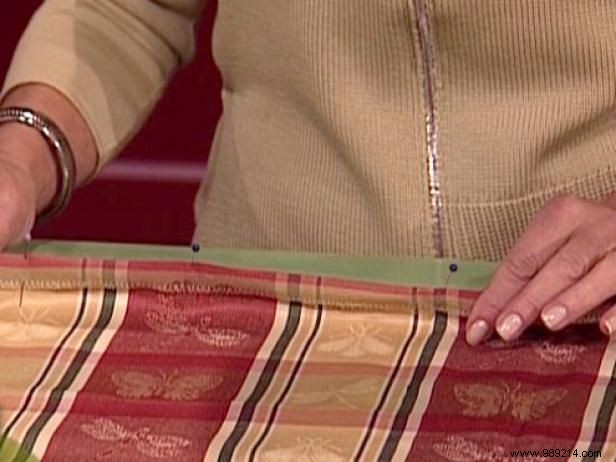
With fabrics, braid, and ribbon aligned, sew using a straight stitch and a zipper foot to handle the braid's bulk (Image 1). Stitch close to the braid for security. The result: a neat seam with exposed braid edge and hidden ribbon (Image 2). Sew the three sides (skipping the hemmed bottom), then turn right side out for your professional chair cover (Image 3).