As a seasoned crafter with years of experience in vintage holiday projects, I've perfected this mid-century inspired Christmas stocking. Hang it by the fireplace, and Santa will love filling it with atomic-era treasures and handmade goodies.
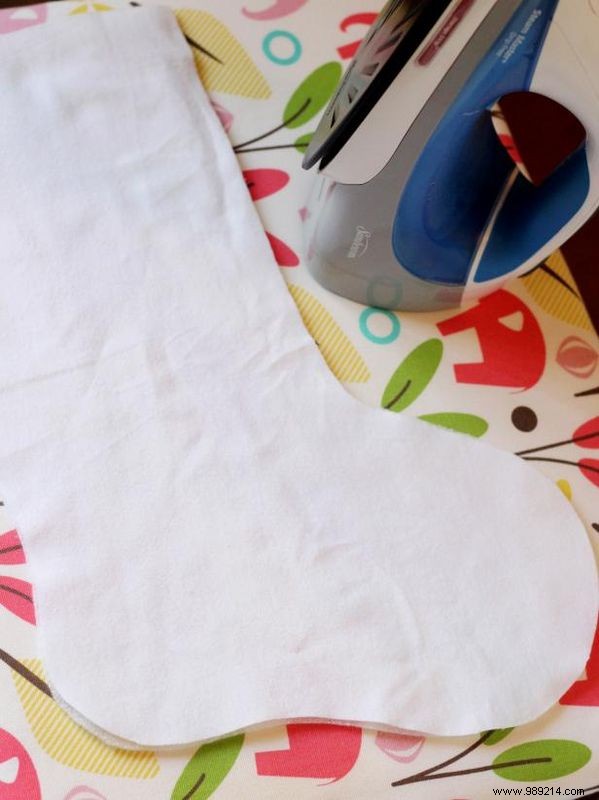
Draw your Christmas stocking shape on butcher paper or similar. Use it as a pattern to cut two pieces (one left-facing, one right-facing) from white flannel, inner fabric, and interfacing. Fuse the interfacing to the wrong side of the outer fabric following the manufacturer's instructions.
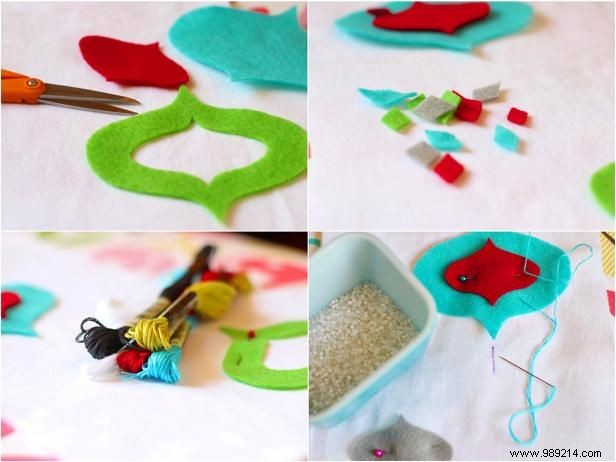
Create paper patterns for trim shapes and cut them from felt. Also cut four small diamonds from leftover felt. Pin the trims to the stocking and sew them on with a sewing machine or matching embroidery thread.
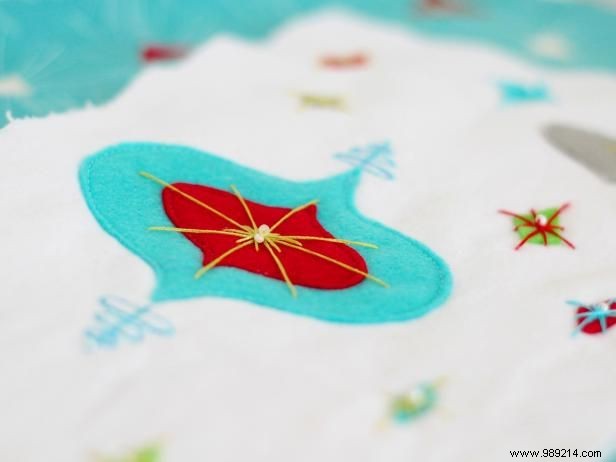
Mark starburst designs with a fabric pen. Embroider them and add glass seed beads to the centers, inside the embellishments, and around the diamond felt pieces for that authentic retro sparkle.
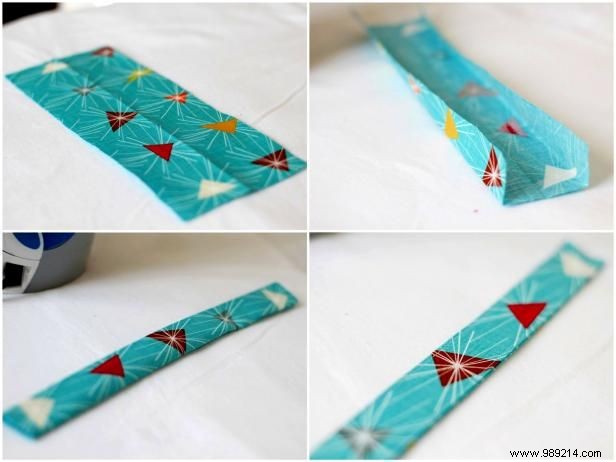
Cut a 4” x 8” rectangle from inner fabric. Fold in half lengthwise to crease, open and fold sides to meet at center, refold lengthwise, and iron. Sew close to the edges on both long sides to form a tab.
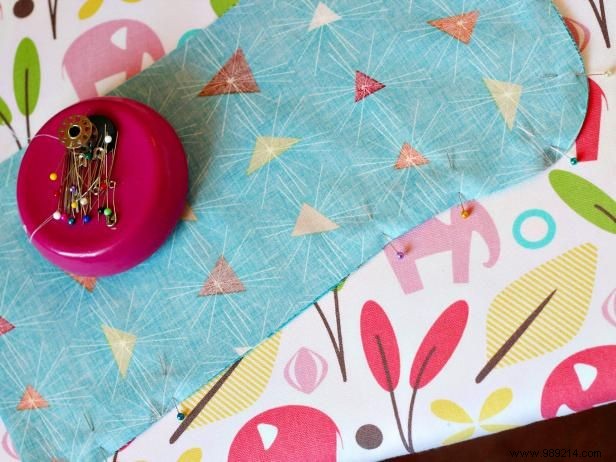
With right sides together, sew outer flannel pieces, leaving top open. Repeat for lining, leaving a 4-inch side opening for turning. (All seams are ½" unless noted.)
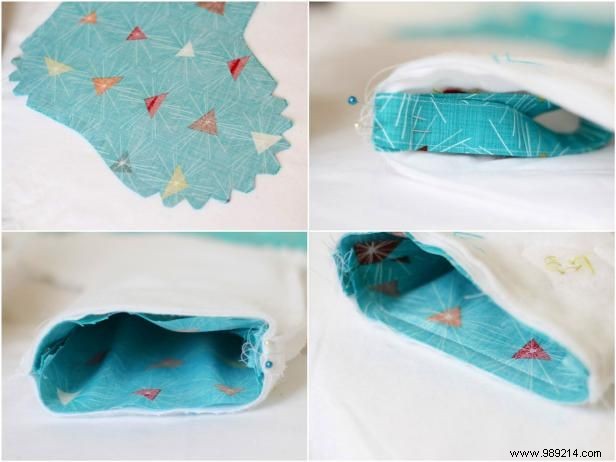
Clip and notch curves for a flat finish when turned right side out. Turn liner right side out and press. Fold hanger tab in half, pin to outer stocking's back seam (raw edges aligned). Insert liner (right side out) into outer (wrong side out), pin top edge, and sew together.
Pull outer stocking through liner's opening. Close opening with topstitching near the edge.
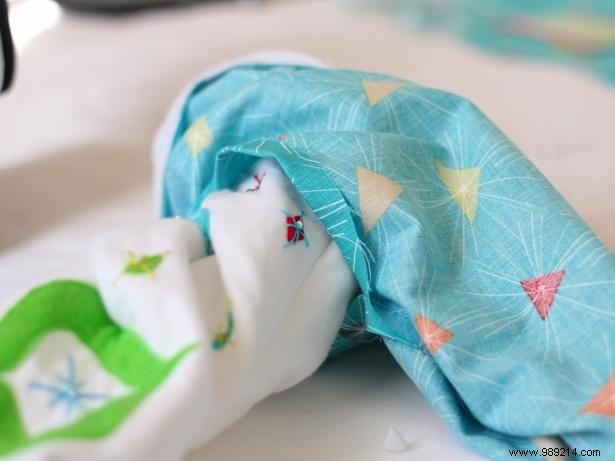
Tuck liner inside, smooth curves, and give edges a final press—avoiding felt pieces—for a professional finish.