
By MaryAnn Carter
Skill level:  Estimated cost: $150 Time:

Find all tools and materials for this project at Lowes.com.


Buy it 
Buy it 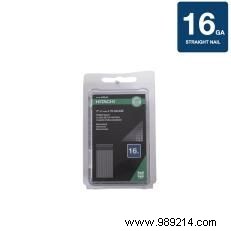
Buy it 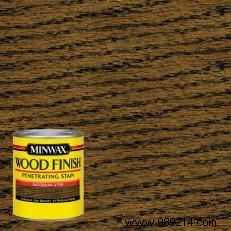
Buy it 
Buy it 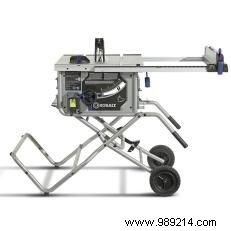
Buy it 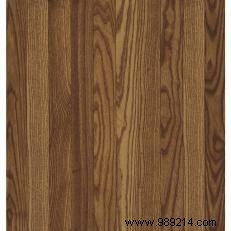
Buy it 
Buy it 
Buy it 
Buy it 
Buy it
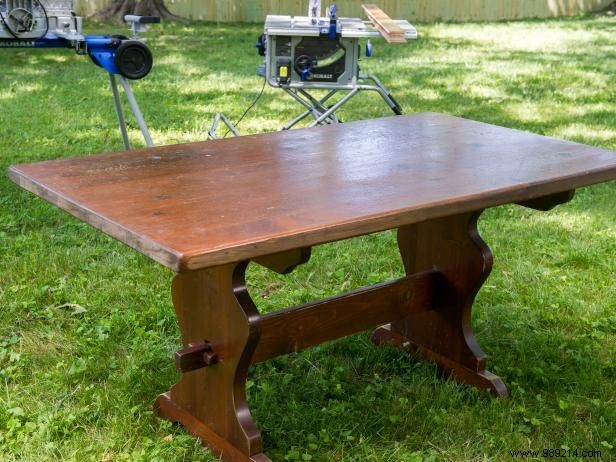
Photo by MaryAnn Carter
Clean the existing tabletop thoroughly. Although construction adhesive is durable, ensure the surface is clean, dry, and free of oils for optimal adhesion.
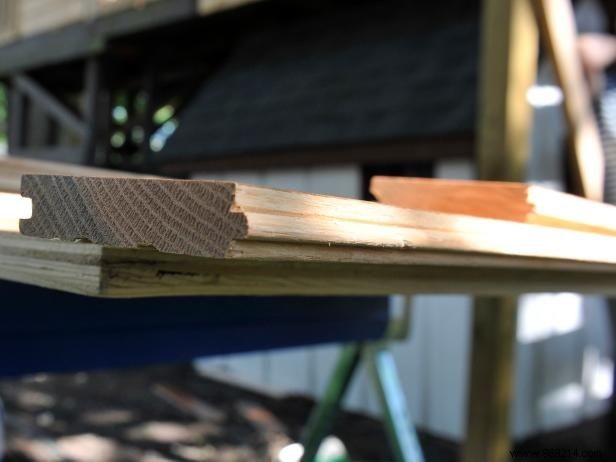
Photo by MaryAnn Carter

Photo by MaryAnn Carter
The frame provides a finished edge and guides the flooring cutouts. Calculate frame height by adding flooring thickness to tabletop thickness. Use a table saw to rip tabs and slots from frame boards.
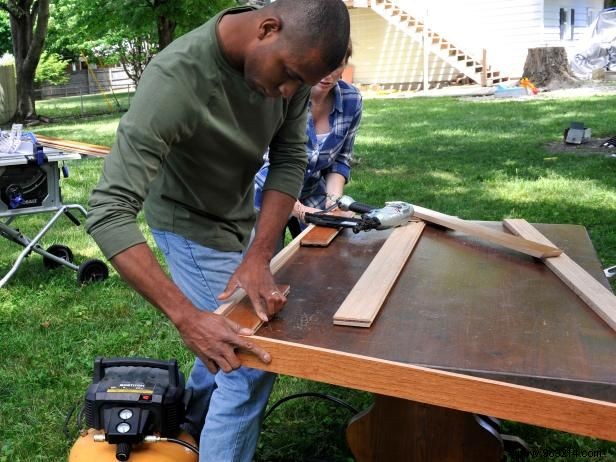
Photo by MaryAnn Carter
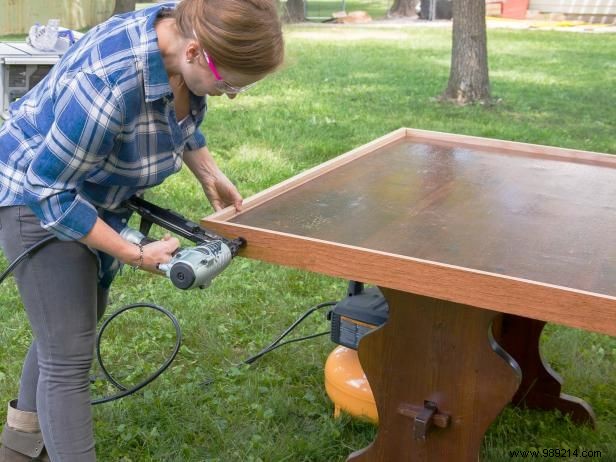
Photo by MaryAnn Carter
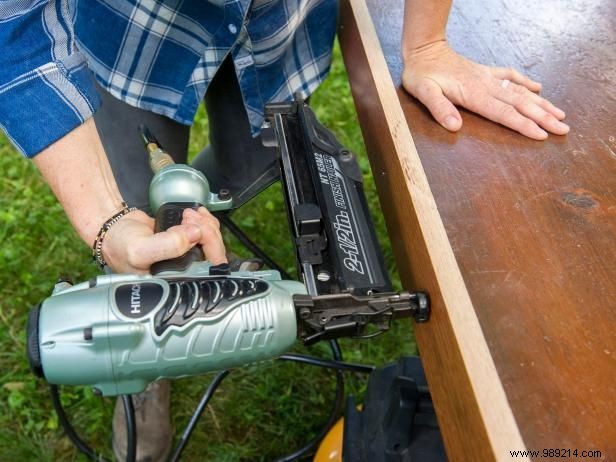
Photo by MaryAnn Carter
Cut corners at 45 degrees with a miter saw for a seamless fit. Rip tongue-and-groove edges on the table saw. Secure frame to table sides with 2" finishing nails, ensuring it's flush with the future flooring top.
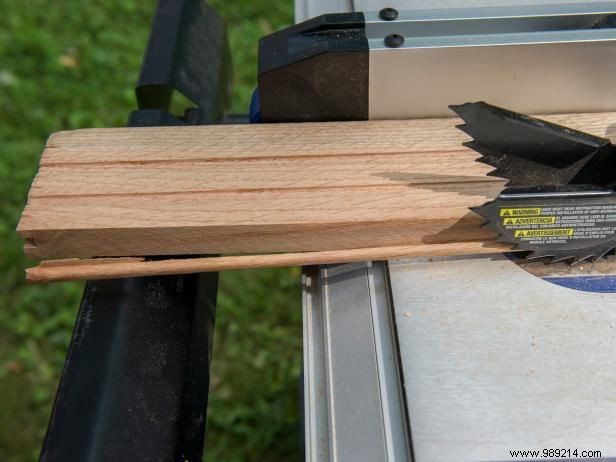
Photo by MaryAnn Carter
Rip tongue-and-groove from corner pieces for a tight fit. Set table saw to tongue/groove width first, then make 45-degree cuts on miter saw—keeping boards longer aids sawing.
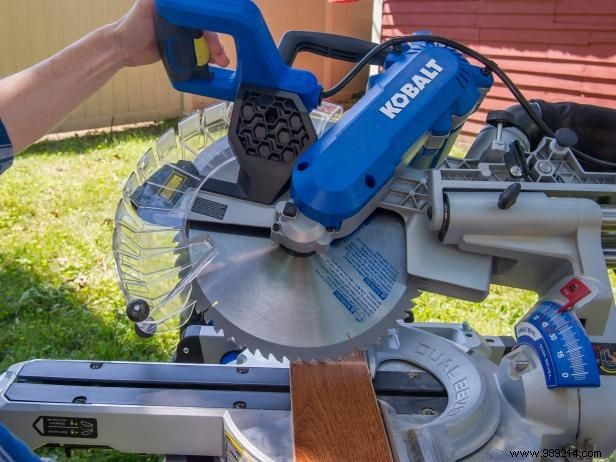
Photo by MaryAnn Carter
Start in one corner, working diagonally. Use the frame to guide 45-degree cuts: lay board along edge, mark with speed square, and cut to length.
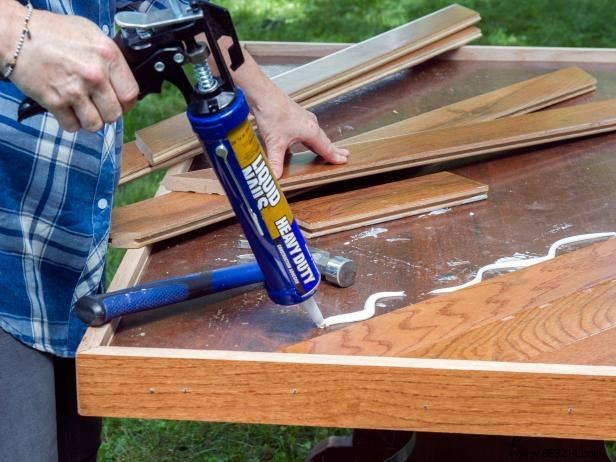
Photo by MaryAnn Carter
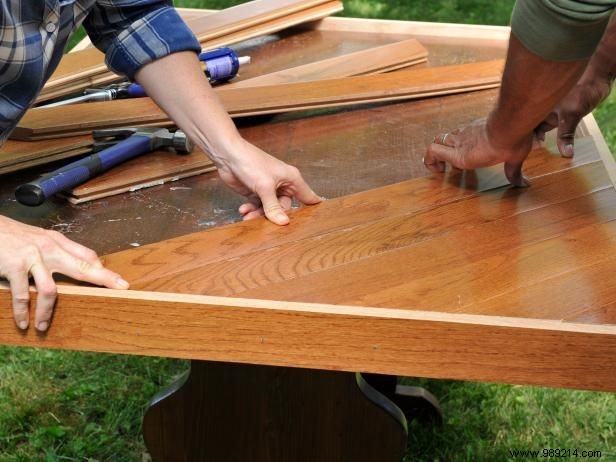
Photo by MaryAnn Carter
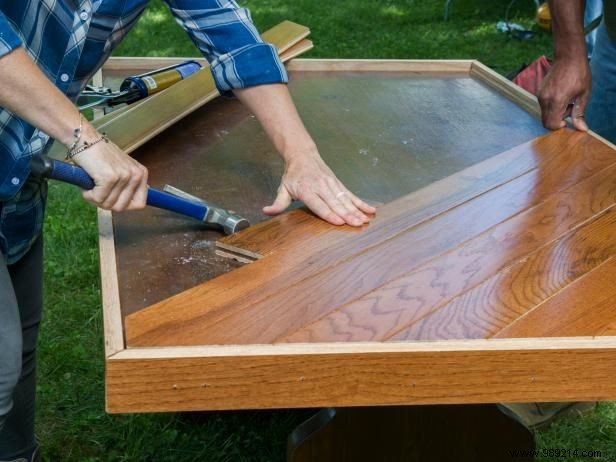
Photo by MaryAnn Carter
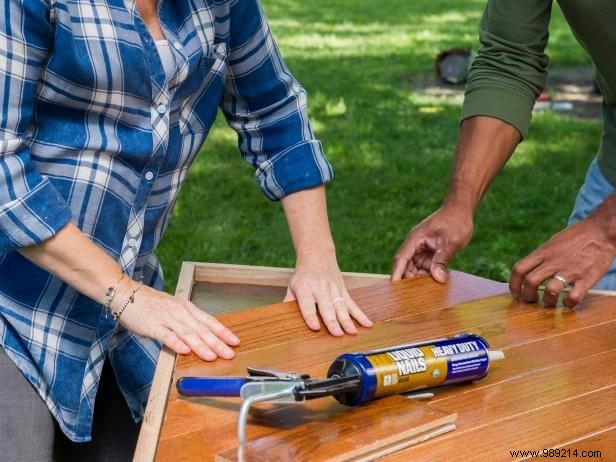
Photo by MaryAnn Carter
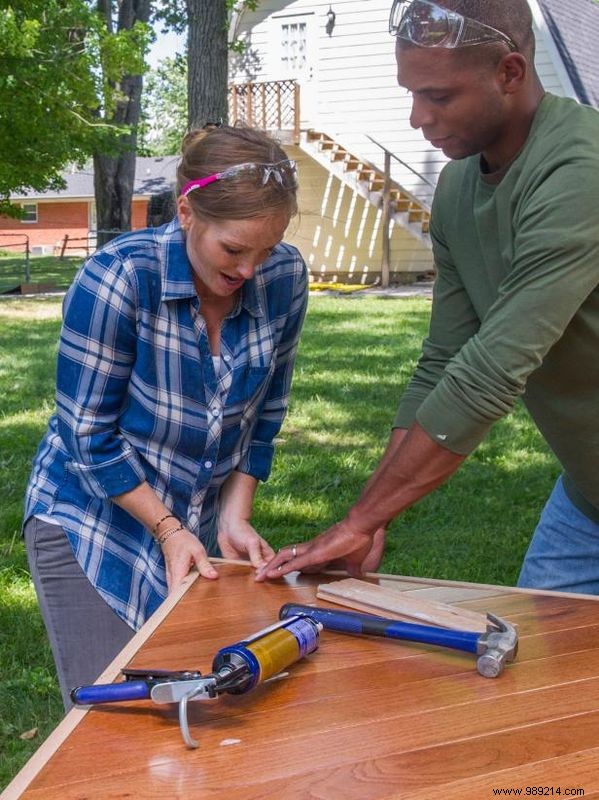
Photo by MaryAnn Carter
Apply construction adhesive to engage tongue-and-groove joints for a gap-free, secure hold. Tap boards into place using scrap wood and a hammer or mallet—avoid direct hits to prevent damage. For wider sections, butt boards end-to-end with 90-degree cuts, staggering joints. Only frame-abutting boards need 45-degree angles.
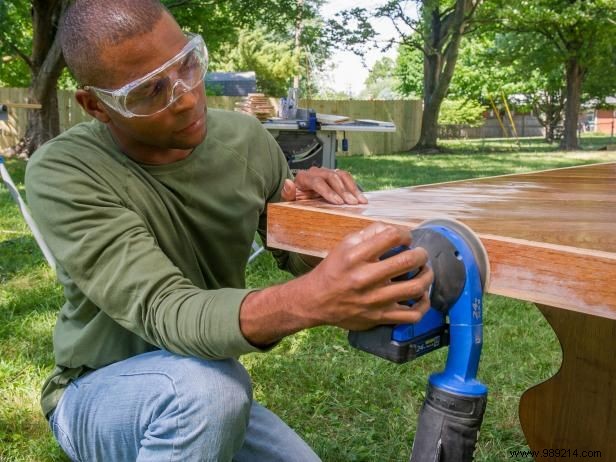
Photo by MaryAnn Carter

Photo by MaryAnn Carter
Sand off existing finish with an orbital sander and 40-grit pads. Vacuum all dust before staining. Apply polyurethane for spill- and stain-resistant protection. Skip if pre-finished flooring suits your style.
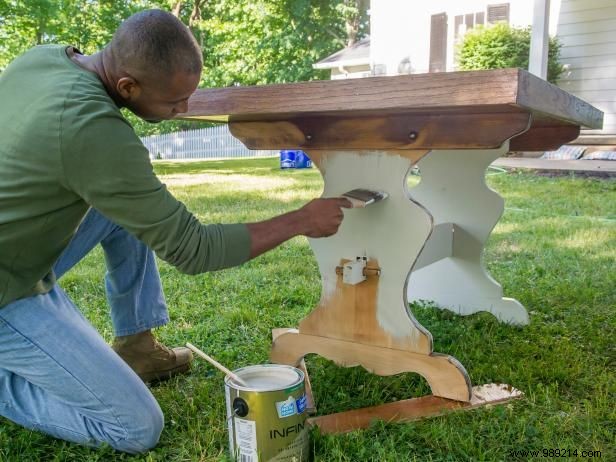
Photo by MaryAnn Carter
Sand and paint or stain the table base to match.
Photo by MaryAnn Carter
Continue reading