As a seasoned crafter with years of holiday DIY experience, start by expanding a standard stocking pattern to a 3-foot size or sketching your own oversized template for a custom touch.
Fold your chenille fabric, right sides together or wrong sides out. Pin the oversized template directly onto the fabric. If it features a pattern or print, align it thoughtfully during patterning for a professional finish.
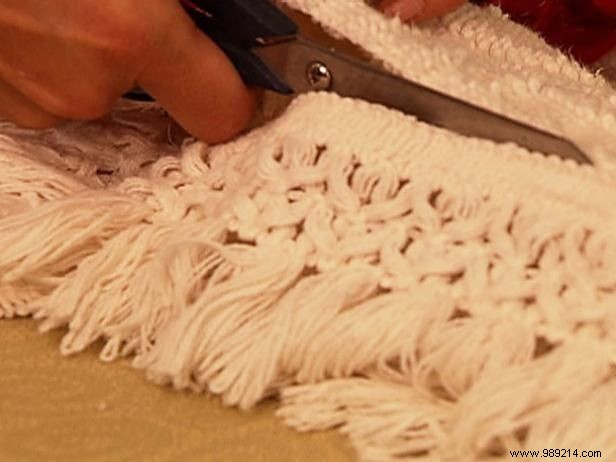
Carefully cut around the template. For fabrics with edges or fringe, trim them separately and attach as a decorative cuff at the top before joining the sides—a trick trusted by holiday crafting pros.
Place pattern pieces right sides together, pin securely, and sew a 1/4- to 1/2-inch seam around the edges, leaving the top open. If the fabric is too bulky for your machine, hand-stitch the corners to the top for durability.
Turn the stocking right side out and add a 1/2-inch topstitch along the toe and heel outlines. This expert reinforcement prevents sagging and wrinkling when displayed.
Lucie Rowe
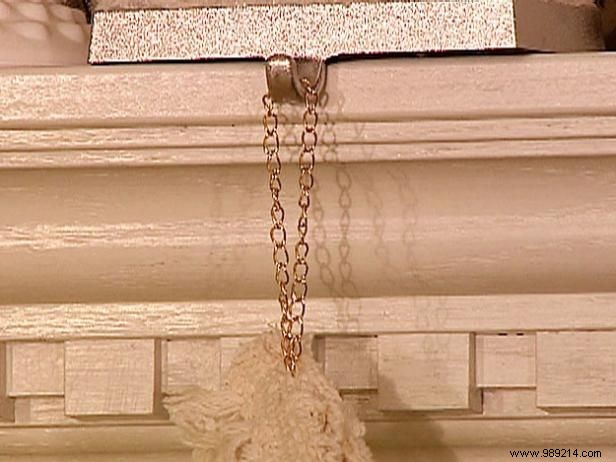
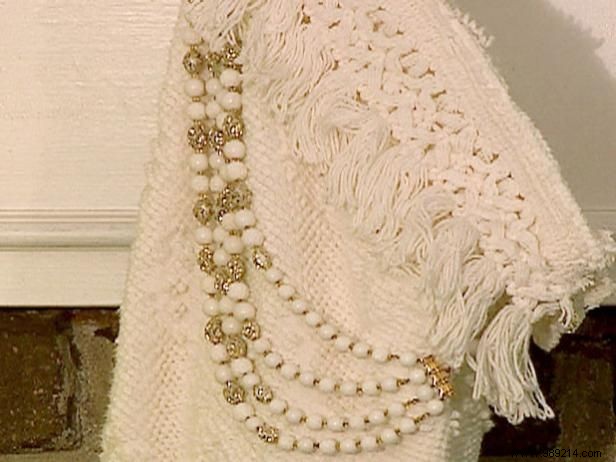
Enhance with vintage lace wrapped around the top. Position the cuff on the front (Image 1), tuck under fringe, and hand-sew securely. Form a hanging loop from chain or ribbon. Suspend from a sturdy, weighted hook to keep it safely in place (Image 2).