Frank Murray

Frank Murray
Frank Murray
Ensure the wood is fully dry. Material from job sites or crawl space floor joists often has high moisture content; wood from conditioned spaces should be dry. Kiln-dry it at a local lumberyard or store indoors over winter. If weather prevents outdoor drying, stack lumber in a warm, dry area with 1-inch spacers between layers for at least two weeks.
Rough-cut boards to your desired length plus 2 inches for final trimming after joining.
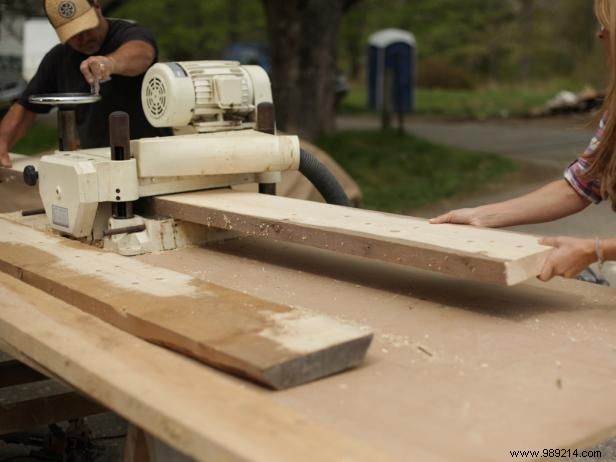
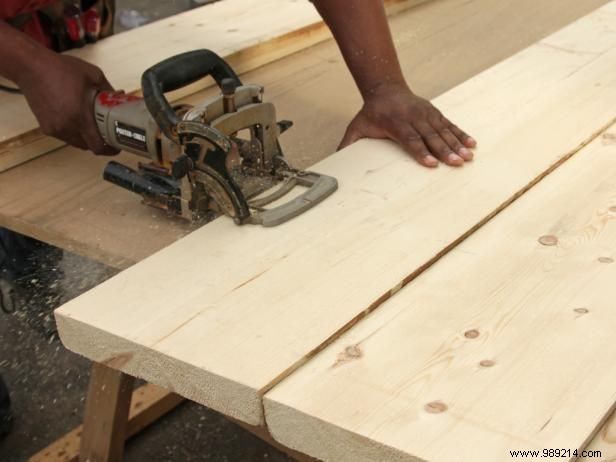
If planks are cupped or twisted, plane them at a local shop or use a tabletop planer. First, inspect and remove nails and dirt. Feed boards through the planer, taking light passes from each side. Manually adjust depth to handle thickness variations or twists—failure to do so risks injury or damage. Continue until surfaces are smooth. Then, rip straight edges on a table saw; widths don't need to match.
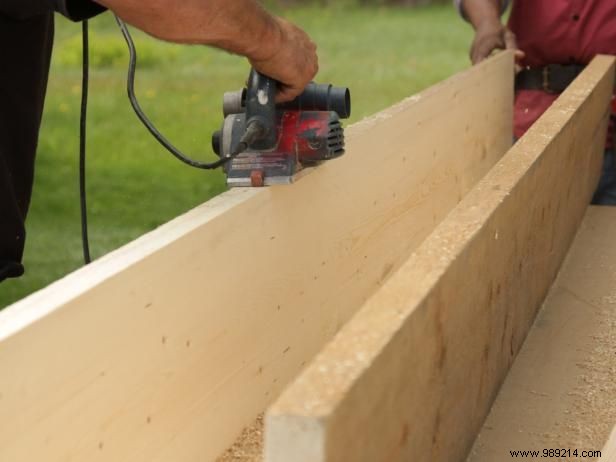
Some shops avoid planing reclaimed wood due to hidden nails or dirt damaging blades. If unavailable, join boards first, then sand with a wide-belt handheld sander. Keep it perpendicular to joints and move parallel to them.
The tabletop shown uses old 2-inch-thick rough-cut 2x12s. Floor joists and beams from remodels or demolitions work equally well. Carefully remove all nails and staples first.
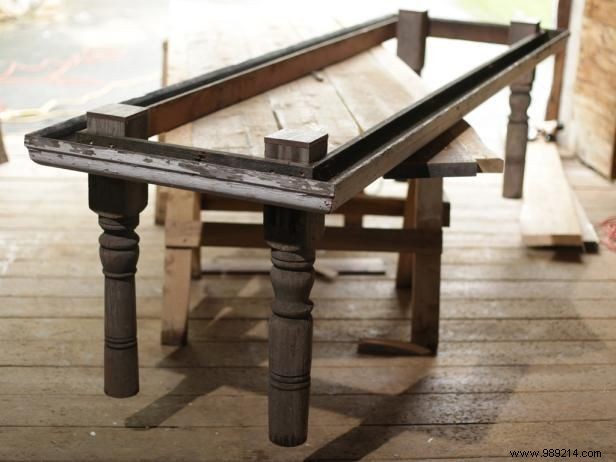
Two symmetrical old porch columns were halved lengthwise for the four legs. Wood gutters replaced crown molding to apron the table's perimeter.
Always get clear permission for materials from renos or sites, and wear proper safety gear. Watch for lead paint or asbestos in older wood. Remove nails before transport. Pre-1979 painted pieces may contain lead—consult EPA's Renovate Right pamphlet on lead risks for families, childcare, and schools. Test pre-1983 materials for asbestos; check with local building officials.
Frank Murray
Frank Murray
Frank Murray
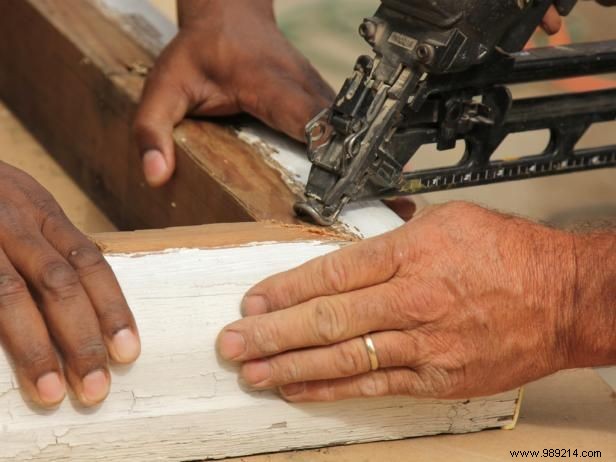
Clean gutters of debris and cut to length. Miter corners at 45 degrees to form a 40" x 94" rectangle. Apply wood glue and secure with 15-gauge nails. Verify squareness by matching diagonals.
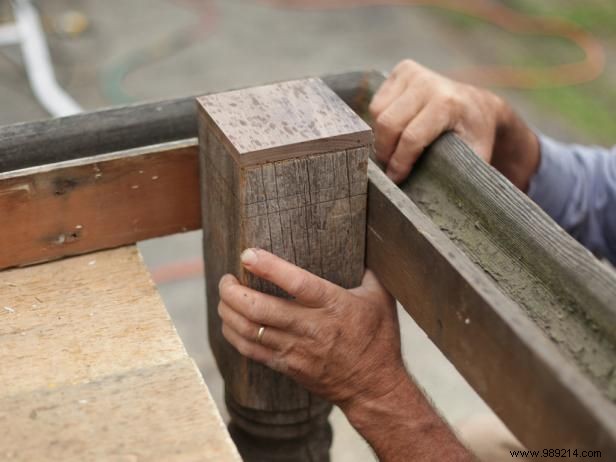
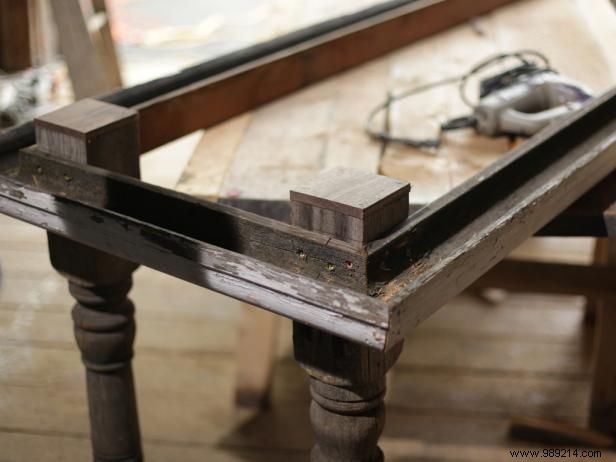
Place frame flat. Halve columns along centerlines for legs, trim to 34 inches. Cap leg tops with sized walnut pieces using wood glue and 18-gauge finish nails. Measure top thickness now.
Frank Murray
Frank Murray
Frank Murray
Frank Murray
Frank Murray
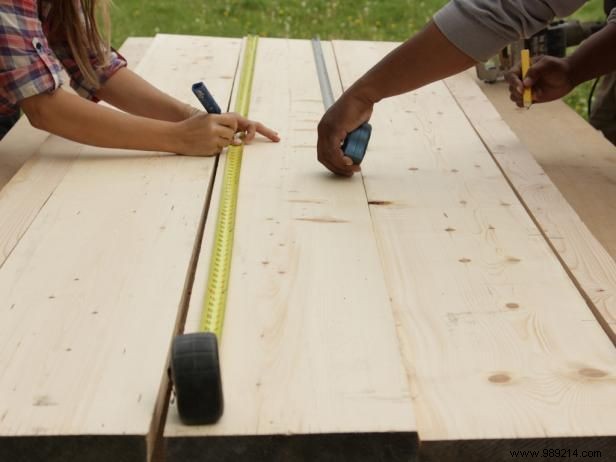
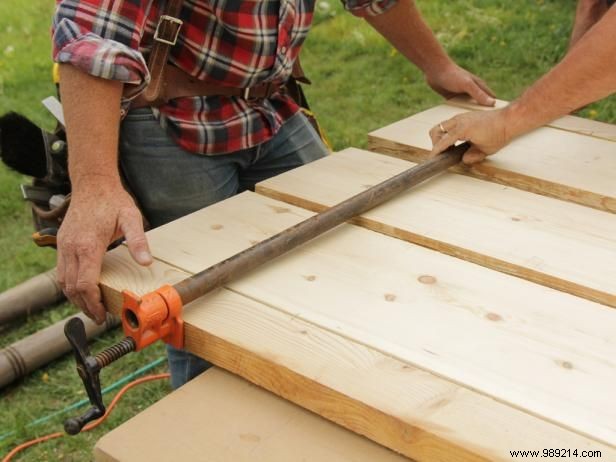
Set biscuit joiner to #20 depth. Arrange four best planks flat in final position. Mark seams every 8 inches on pairs. Cut slots, aligning tool marks and plunging smoothly—skip outer edges of end boards.
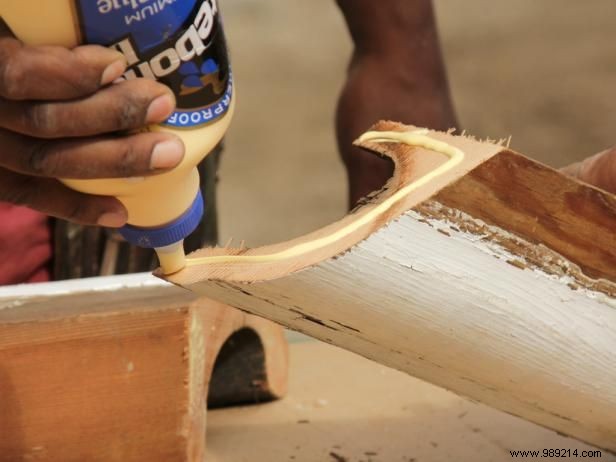
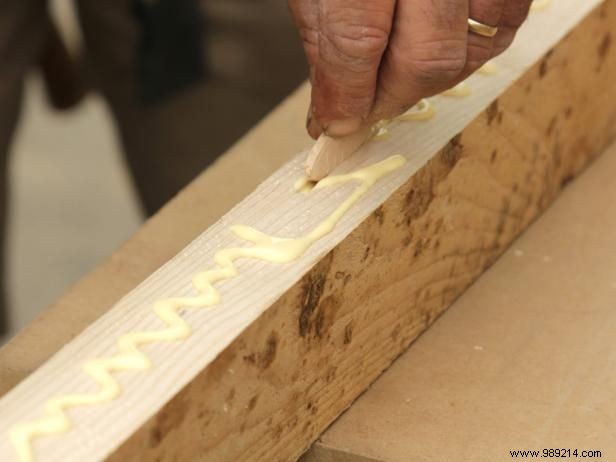
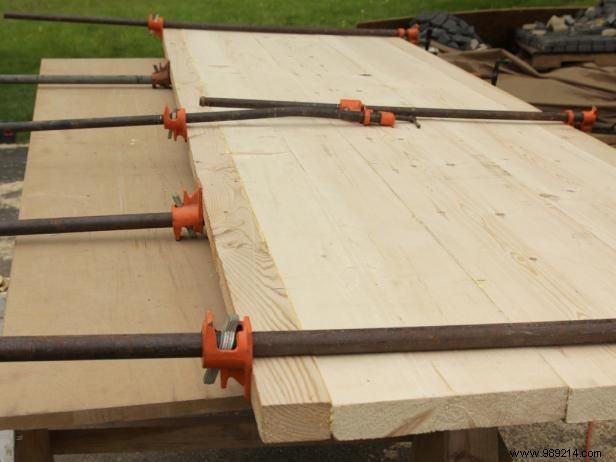
Glue joint edges and biscuits (one side per joint, then mating). Assemble sequentially. Clamp with pipe clamps every foot, tightening gradually to close gaps. Scrape excess glue; cure overnight.
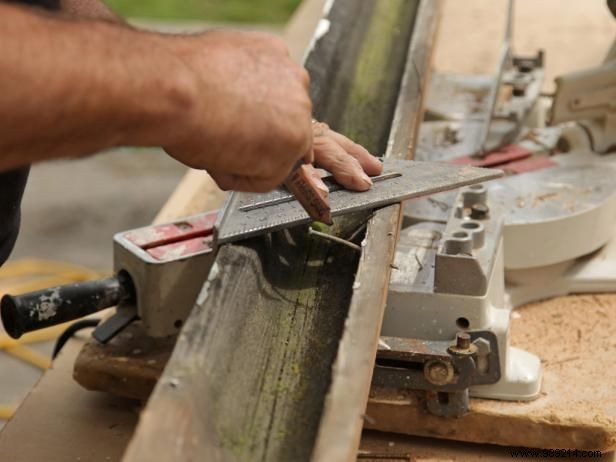
Dry? Remove clamps, check flatness, scrape glue. Trim ends 1/2 inch past shortest board with clean crosscuts.
Avoid over-clamping to prevent bowing. Secure a perpendicular 2x4 across planks before full tension to keep flat during drying.
Frank Murray
Frank Murray
Frank Murray
Measure top's thickest point +1/16 inch; mark leg tops with framing square for apron depth (legs protrude slightly).
Helper holds leg to frame corner; drive two wood screws through apron into leg. Install all legs.
Center top on base, trace leg caps on underside. Flip top, drill 1/2-inch holes inset from lines, jigsaw squares undersized. Fit snugly with rasp/chisel. Glue apron tops, reset top, add 15-gauge nails into underside. Fill leg-top gaps with filler or shims.
Sand proud leg tops (1/16 inch) flush with orbital or belt sander. Smooth rough spots and glue marks. Stain, paint, or seal as desired. This table uses multiple coats of walnut-tinted furniture wax, applied over days to saturate the grain.