With minimal preparation, paint, and sturdy shelf supports, you can upcycle old hardwood floorboards into elegant, functional storage solutions. As a seasoned DIY enthusiast with years of woodworking projects under my belt, I've perfected this method for durable, professional results.
Measure your shelf area precisely, locate the wall studs using a stud finder, and mark positions 3 inches beyond them. Secure supports directly to studs for maximum strength, and keep shelves no longer than 3 feet to support heavy loads. Use a tape measure, stud finder, and level to mark stud locations and shelf lines accurately.
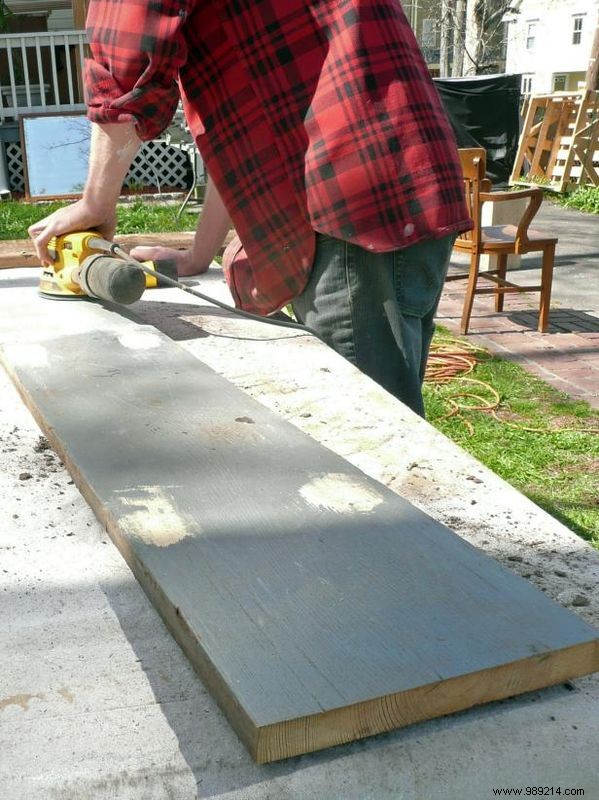
Clean the boards thoroughly with a wire brush and scraper. Fill nail holes with wood filler, allow it to dry fully, then sand smooth for a flawless finish.
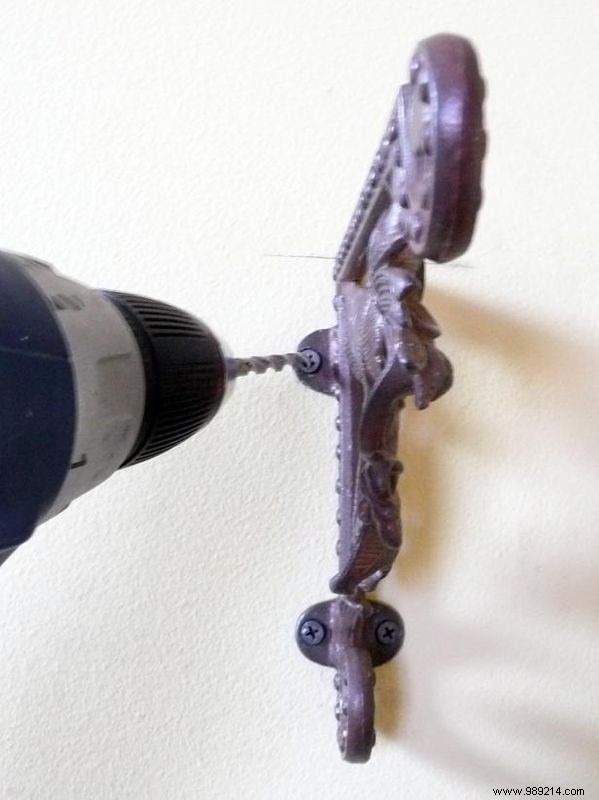
Mount shelf brackets securely to the wall studs. Bracket top width dictates shelf depth—ours are 8 inches, so we cut boards to 9 inches for a perfect fit.
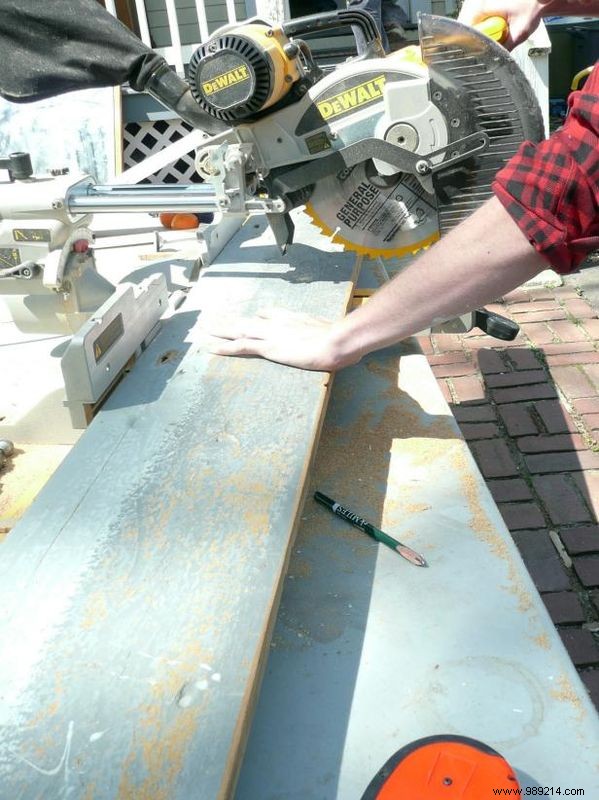
Trim boards to the required length with straight cuts (no miters yet). Then, use a circular saw to rip the back side to exact width.
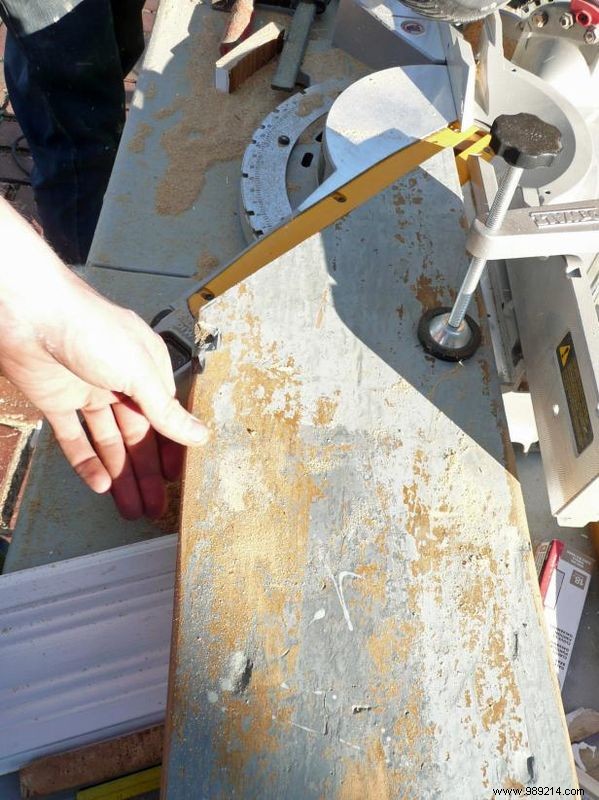
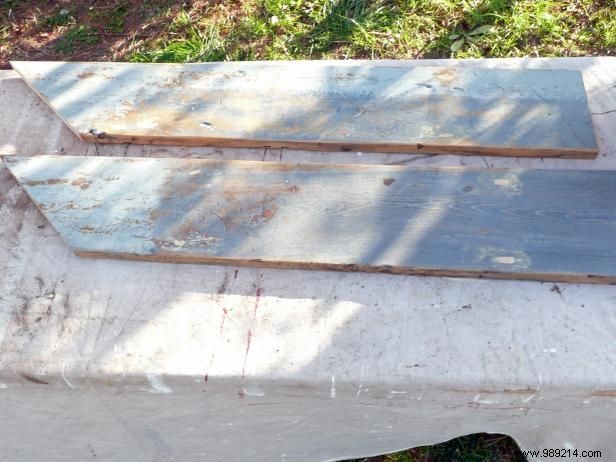
Position the first board on the supports against the wall corner to identify the miter starting point. Cut precisely with a miter saw and repeat for top and bottom shelves.
For the adjacent wall, lay straight-cut boards on supports, then trace the miter line from the cut board onto them for seamless matching.
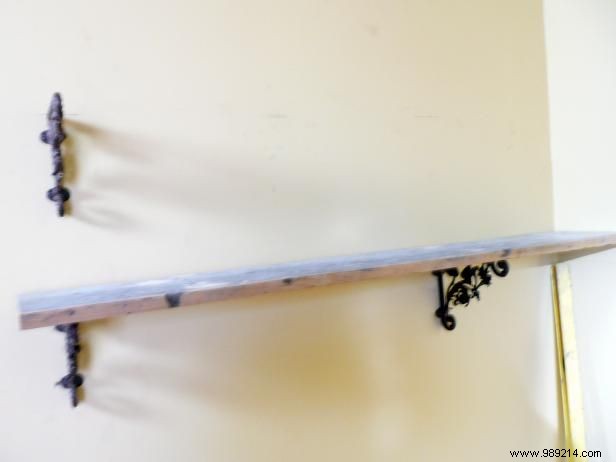
Apply paint or stain to your preference and let dry completely. For corner stability, assemble mitered shelves with 4-inch flat brackets screwed from underneath.
Place finished boards on brackets and fasten from below for a clean, secure installation.