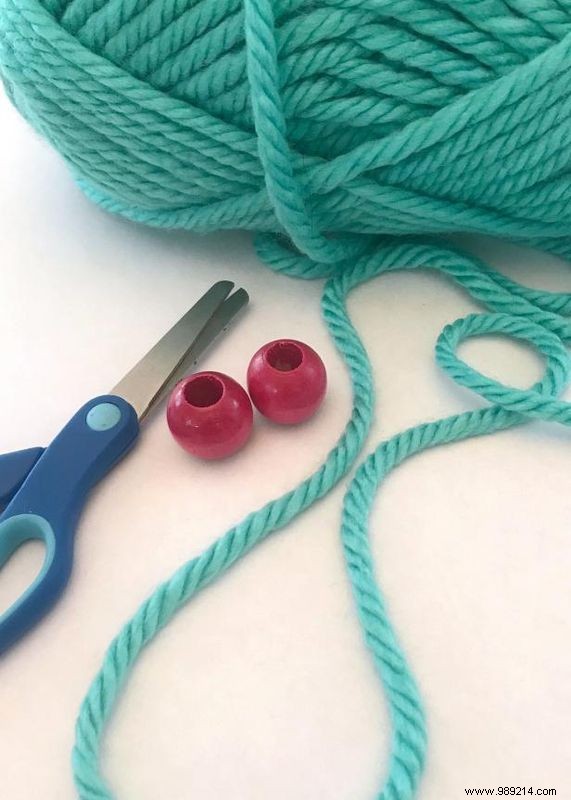
Finger knitting is great for slightly bored hands on car trips, for screen-free time, and for developing fine motor skills. Plus, the end result can be used in many creative ways, like a necklace!

Jennifer Ramos
Jennifer perkins
Jennifer perkins
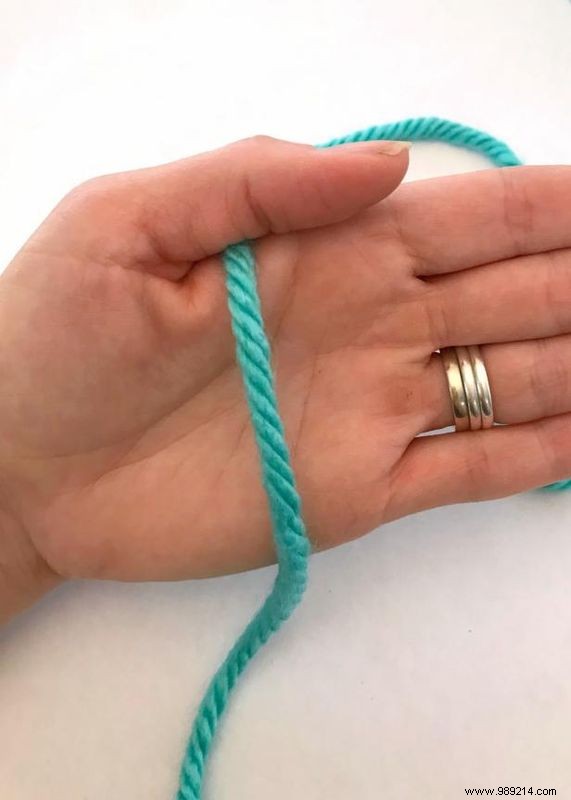
Start by placing the tail of the thread in the palm of your non-dominant hand. This tail will be one side of your necklace, so leave it 6 to 12 inches long to adjust the length.
Jennifer perkins
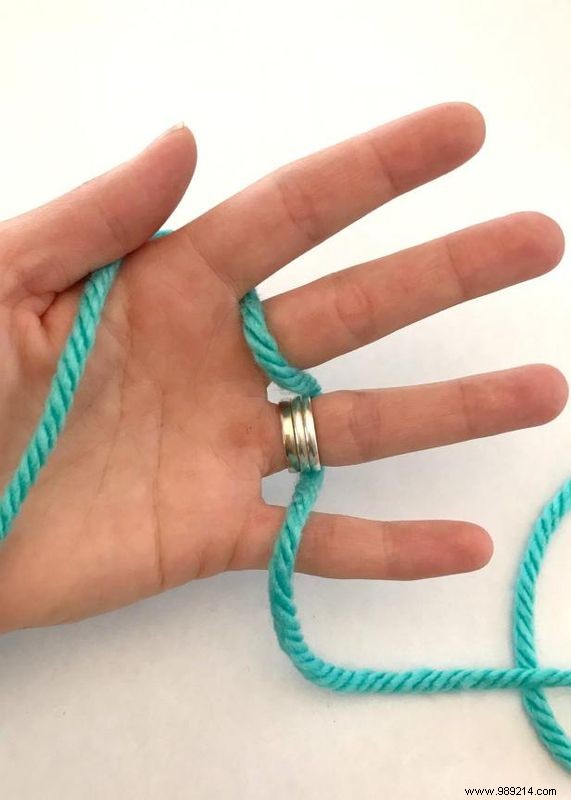
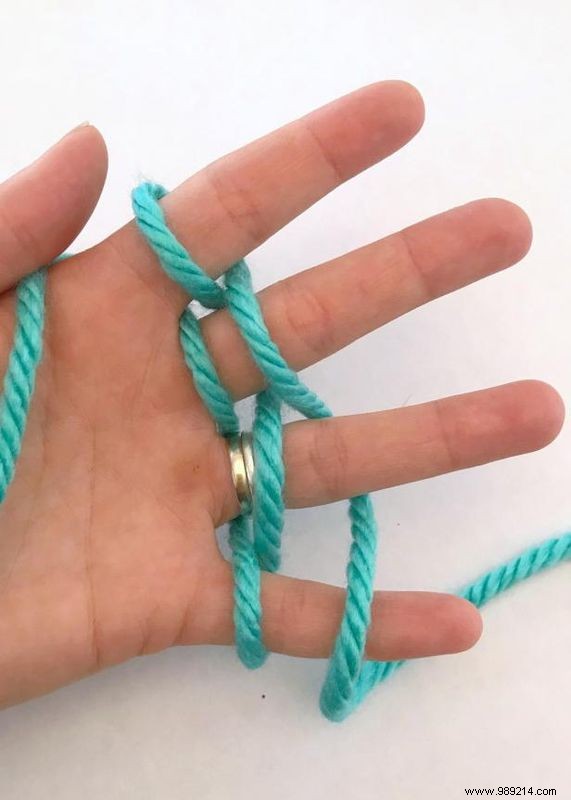
With the yarn still attached to the ball, weave the cord over and under your fingers toward your little finger.
Jennifer perkins
Once you get to your little finger, repeat and go back to your ring finger.
Jennifer perkins
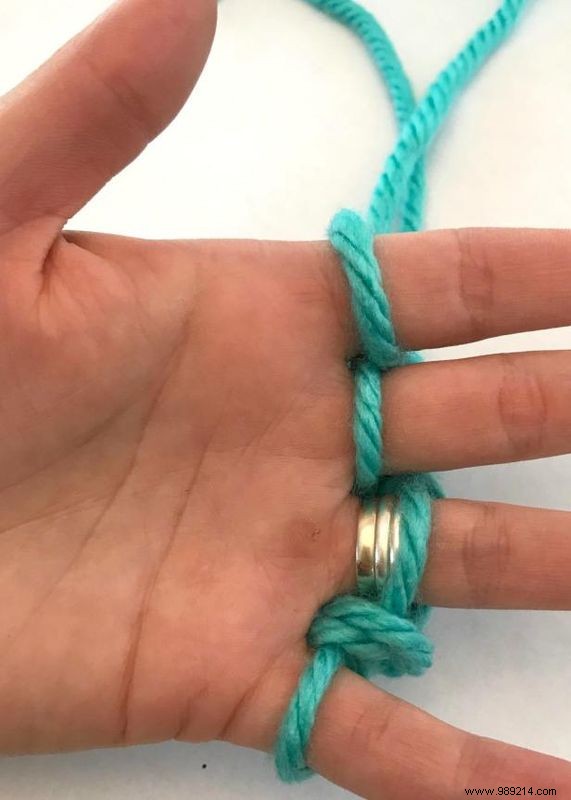
Repeat this same pattern again until there are two loops of yarn on each finger.
Jennifer perkins
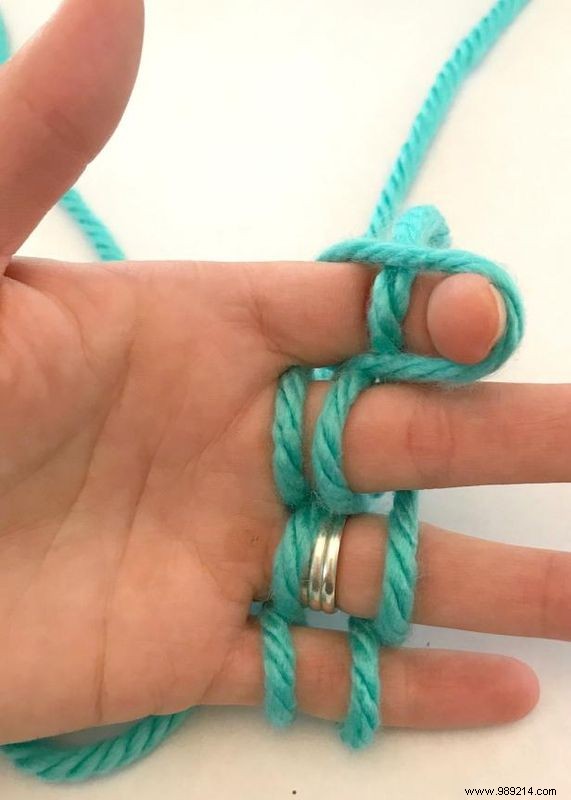
Starting with your ring finger, pull the bottom loop closest to your palm over the second loop and pull it off your fingers.
Jennifer perkins
As before, weave the strand of yarn over and under your fingers until there are again two sets of loops and you can pull the bottom yarn over the top yarn.
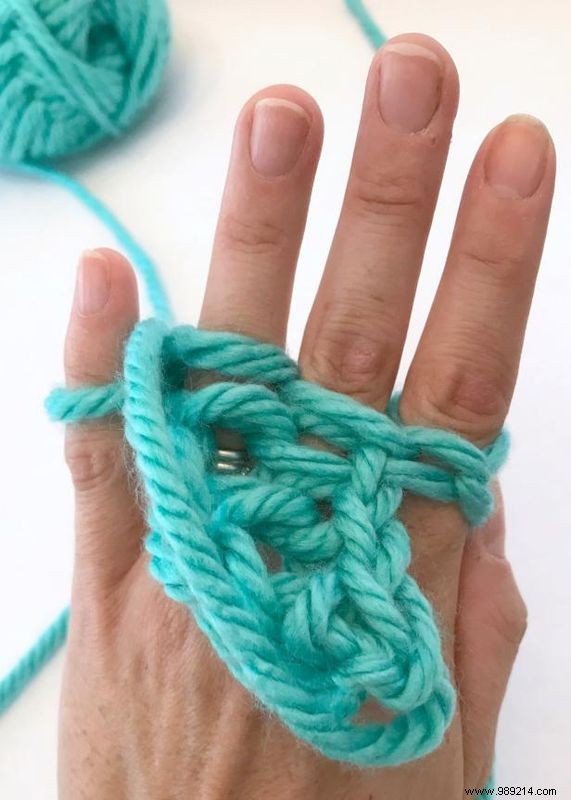
Continue until a chain is formed.
Jennifer perkins
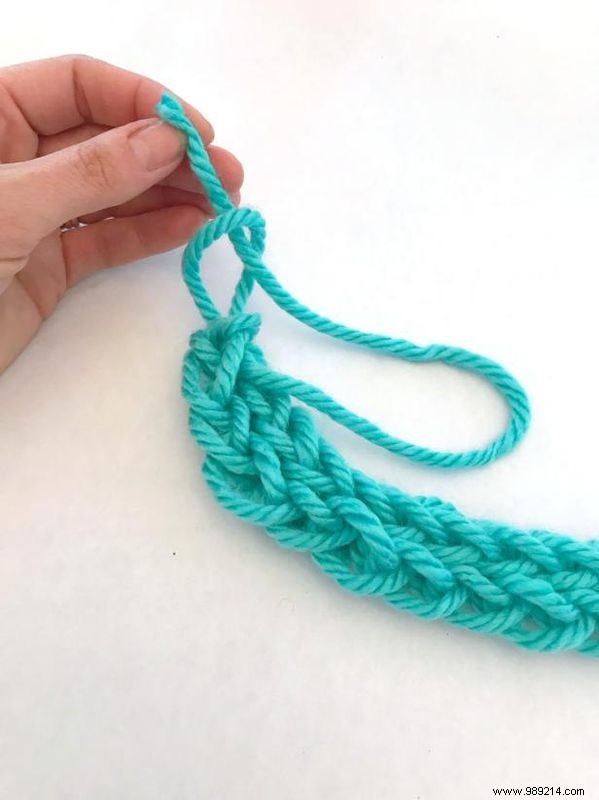
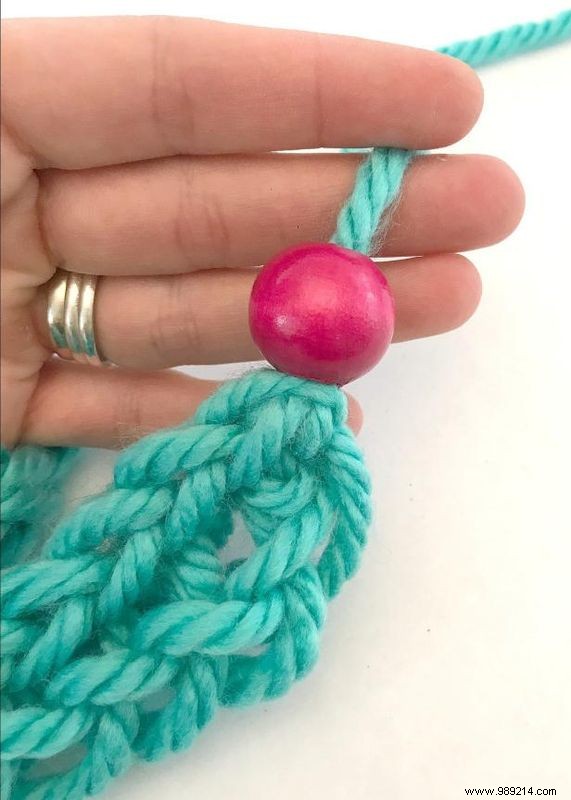
Tie off the end of the finger knitting chain by knotting the ends of the yarn. Leave the strand at the end as long as it is the second side of your necklace..
Slide a large wooden bead onto each end of the necklace to add decoration. Check out these 5 ideas to give your wooden craft store beads a modern makeover.
Jennifer perkins

Jennifer Ramos
Your lovely new necklaces are ready. Cute for kids and adults!