
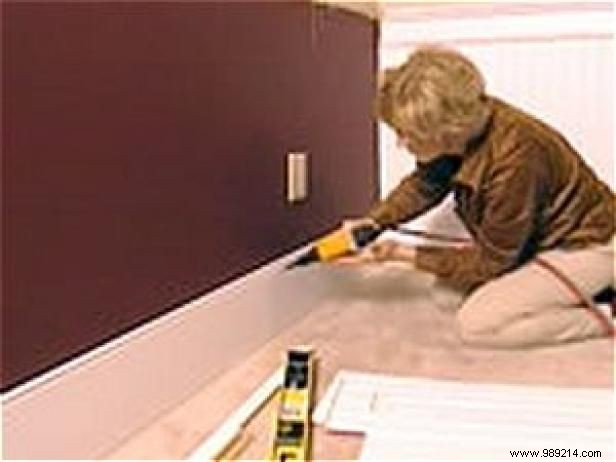
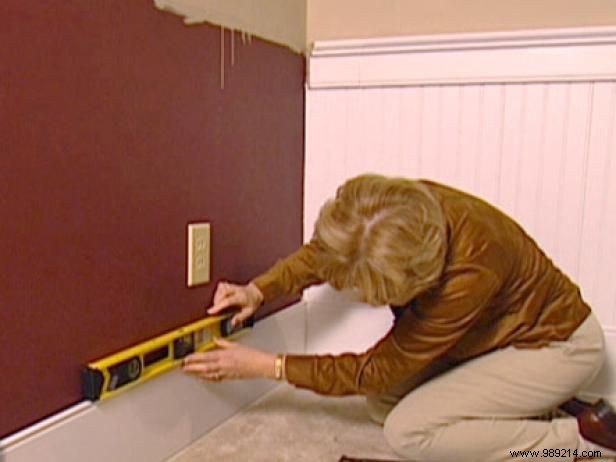
Begin with the baseboard, the foundation that ensures all panels align perfectly. Use a level to position it perfectly level and parallel to the floor (Image 1). This base supports the panels and maintains structural integrity.
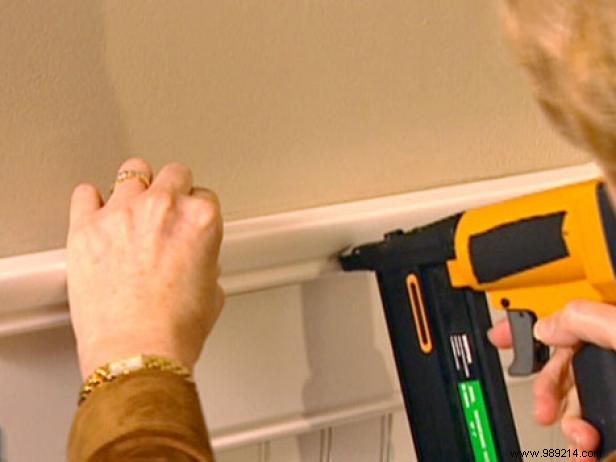
Once level, fasten it to the wall with a pneumatic nail gun for efficiency (Image 2), or use a hammer with finish nails. Secure each section with about two nails.
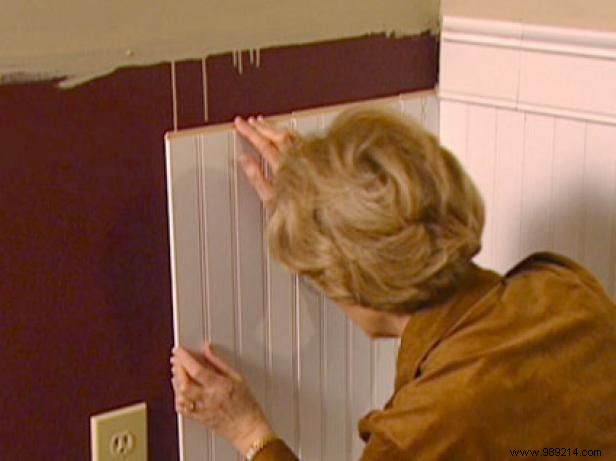
With the baseboard in place, apply construction adhesive to the back corners of the beadboard panels and install them (Image 3).
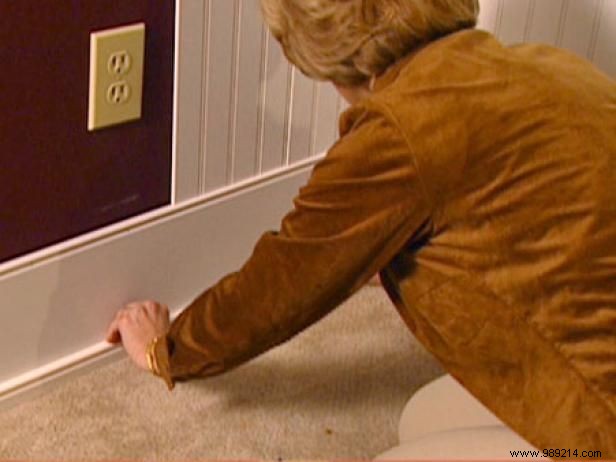
Panels rest on the baseboard and interlock via tongue-and-groove edges. Ensure corner pieces fit tightly against wall corners. Press each adhesive-backed panel into place, then add a couple of brads for extra hold. Continue along the wall length.
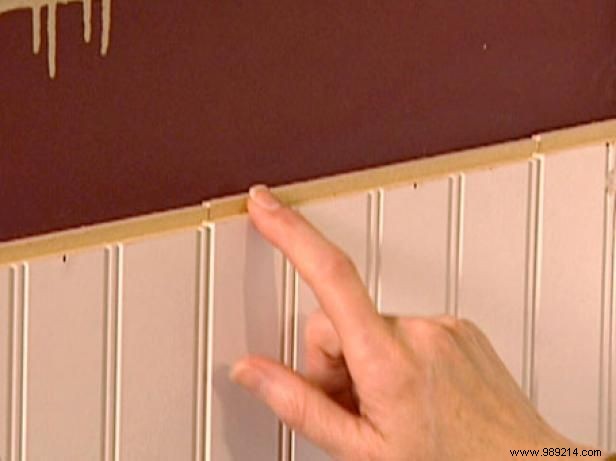
After panels are set, attach shoe molding at the baseboard bottom (Image 1) to conceal gaps—no adhesive needed. Nail with brads every few feet.
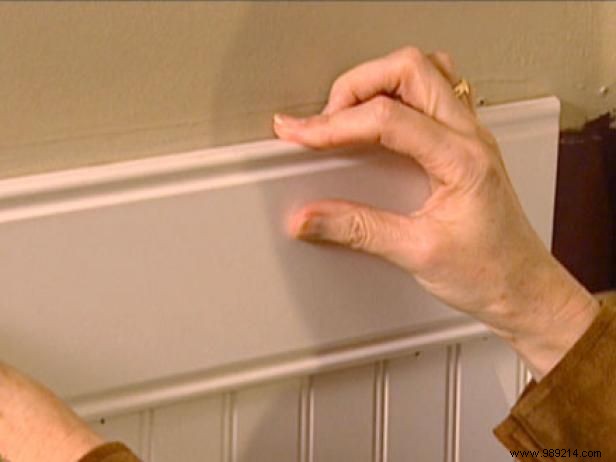
Next, fit the top trim over the panel ridges (Image 2). Mitered corners ensure seamless wall fits.
Slide top pieces into place (Image 3) and nail securely to the wall.
Add the crown cap atop the trim and secure with the nail gun.
Fill corner gaps with painter's caulk (putty). Once dry, paint to match the trim for a flawless finish.
Use a hacksaw to cut openings in beadboard panels for electrical outlets.