Start by carefully removing any existing baseboard molding around the room to create a clean surface for installation.
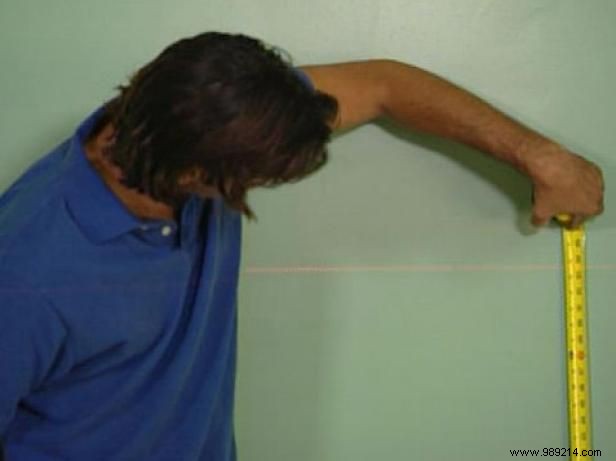
With over a decade of hands-on carpentry experience, I recommend using a laser level set to your desired wainscoting height—53-1/2 inches in this project—for perfectly level results. Measure from the laser line down to where the base strip will sit, accounting for the beadboard panel height. Floor imperfections will be concealed later by the base molding.
Using your measurements, mark the wall with chalk to indicate the top edge of the MDF base strip.
Rip MDF into 5-1/2-inch-wide strips. Cut them to length to fit around the room's base. For seamless joints on straight walls, create scarf joints: cut one piece at a 15-degree angle from front to back, and the mating piece at the complementary angle. Use 45-degree miter cuts at inside corners.
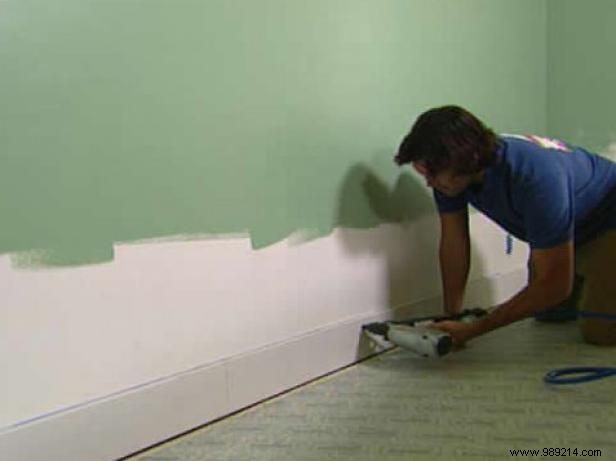
Secure the strips to the wall using 2-inch nails for a sturdy foundation.
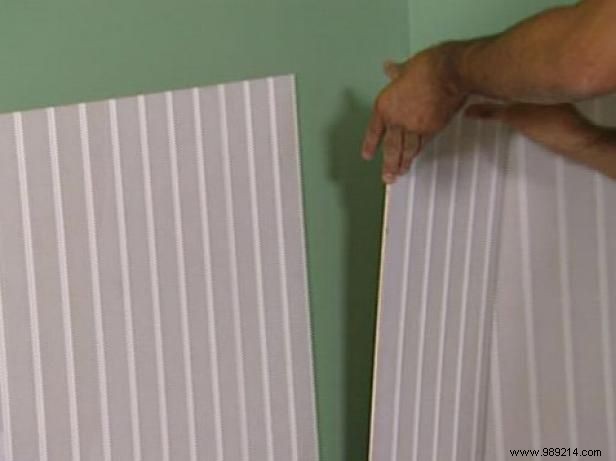
Cut the 4x8-foot beadboard sheets in half for easier handling.
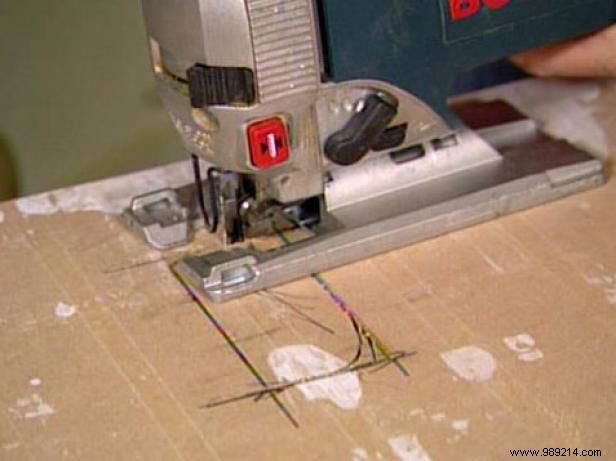
For electrical outlets, switches, or jacks, precisely measure and mark their positions on the beadboard. Drill a starter hole large enough for a hacksaw blade inside the marked area, then use a jigsaw to cut out the opening cleanly.
Generously apply construction adhesive to the back of each beadboard panel, ensuring the beads run vertically when installed.
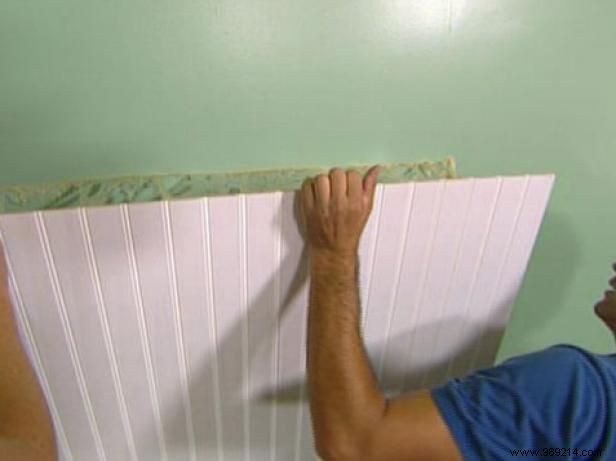
Press the panel against the wall with its bottom edge resting on the MDF base strip. For better adhesion coverage, briefly pull it away to let the adhesive string and spread.
Immediately secure the panel with 2-inch finish nails to hold it flush against the wall and prevent slippage.
Rip panels lengthwise to fit any gaps unless the room's perimeter is perfectly divisible by 4 feet.
Once all panels are up, attach base trim to the front of the MDF strips using 2-inch brad nails. Incorporate scarf joints for invisible seams.
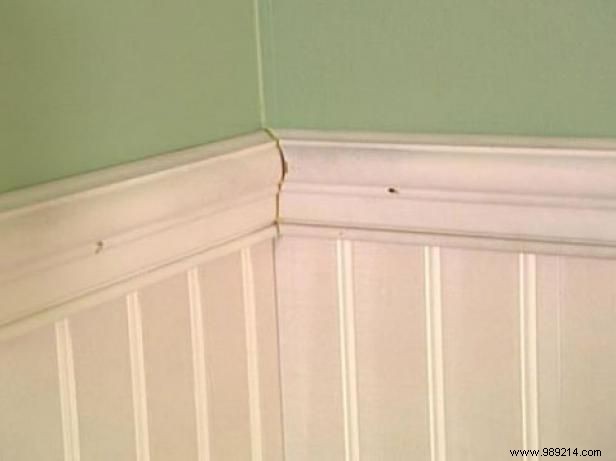
Finish with a chair rail atop the beadboard, nailed using the same scarf joint and finish nailing techniques for a seamless, professional look.