First, measure each wall and record the panel order. Oak paneling arrives in 4x8 sheets, covering two wall sections at once in most cases. Position seams behind studs for a seamless look.
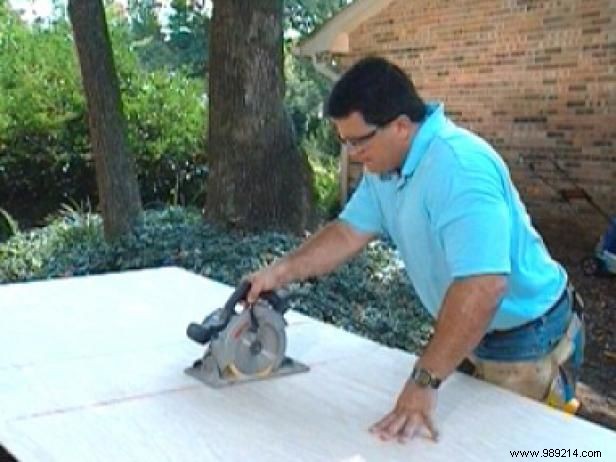
Measure height from the outside and cut plywood 1/2" shorter than the wall mark with a circular saw. This accounts for uneven floors, concealed later by baseboards.
Follow your list to cut all panels to width.
From years of carpentry projects, I recommend cutting all wood pieces upfront. It keeps assembly focused and efficient, avoiding mid-process disruptions.
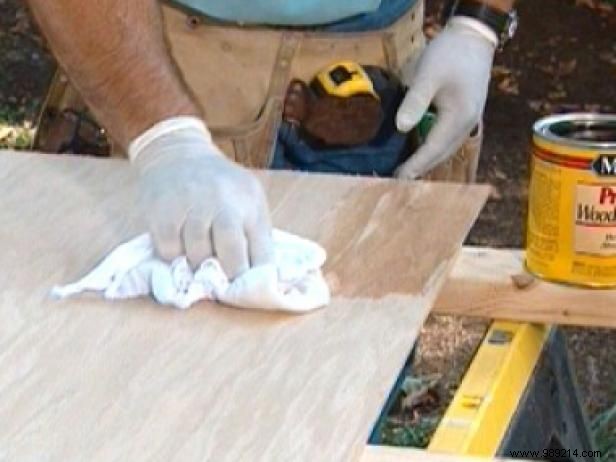
With panels cut, apply stain conditioner (Image 1) for even wood absorption.
Note: It dries in about 15 minutes, so finish conditioners on all panels, then start staining as earlier ones are ready.
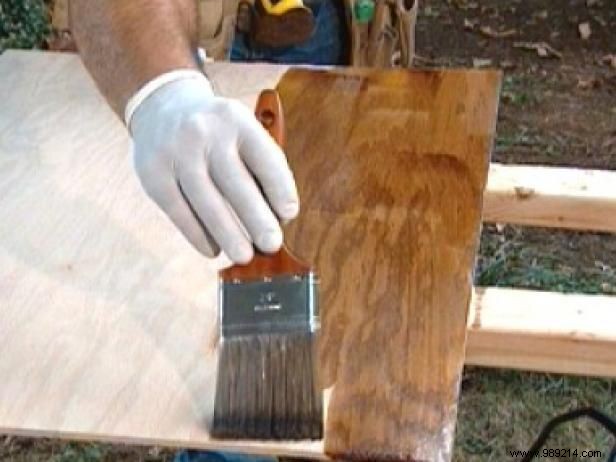
Brush on stain following the grain (Image 2), then wipe excess with a lint-free rag for a professional finish.

Apply construction adhesive to the panel backs. Position on the wall, aligning top edges with floor-marked lines (Image 1).
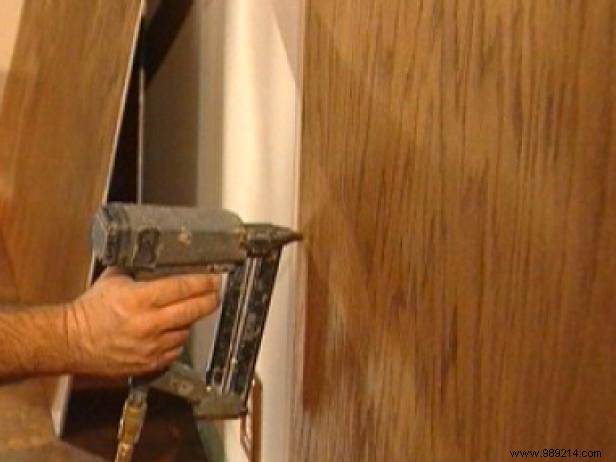
Nail into studs with a nail gun once placed (Image 2). Stud nails stay hidden.
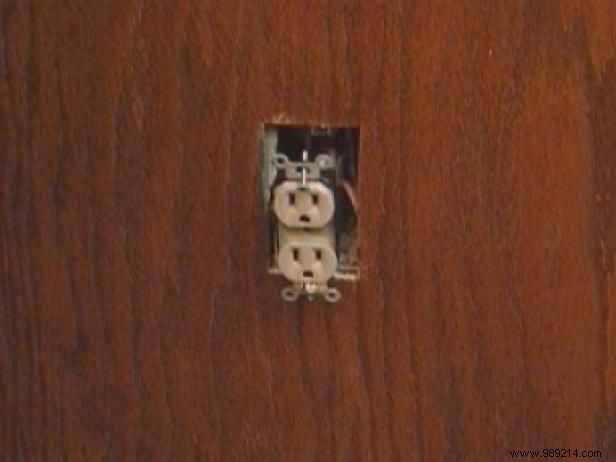
For outlets, remove cover plates and measure from panel edge to box sides, top, and bottom.
Note: Cut openings precisely now for accuracy.
Power off, loosen outlet. Cut hole with jigsaw, test-fit panel (Image 3).
Reapply adhesive, snap in place, nail to studs. Panels go up smoothly—proceed room-wide.