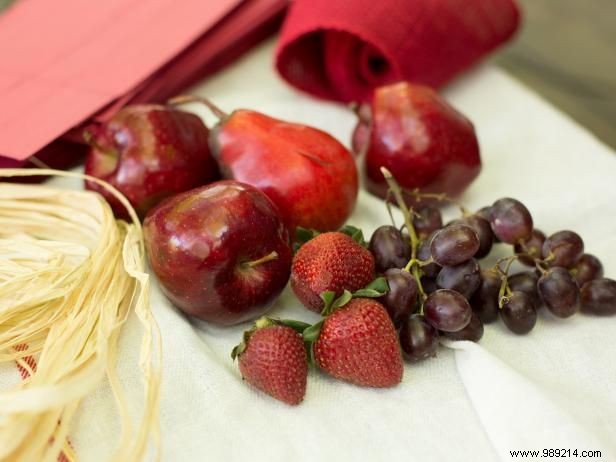
To create a cohesive look, use different fruits that are similar in color. Red apples, pears, red grapes, and strawberries are a great combination of color and texture.
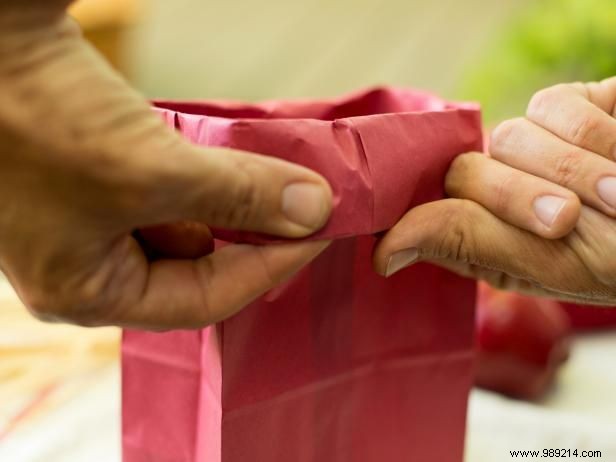
The most important element of creating a farmers market centerpiece is the shaping of paper bags. Start at the top and then work your way in. Add shape and a crisp, clean line across the top by folding the bag to create a two-inch border.
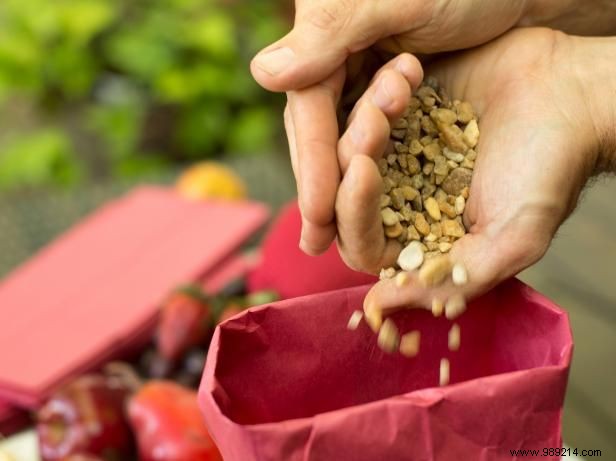
In order for the fruit to set properly, the bag will need to be loaded. This will prevent the bag from becoming too heavy and will also keep it safe if used outdoors on a windy day. To add extra weight, pour a four-inch layer of gravel into each paper bag.
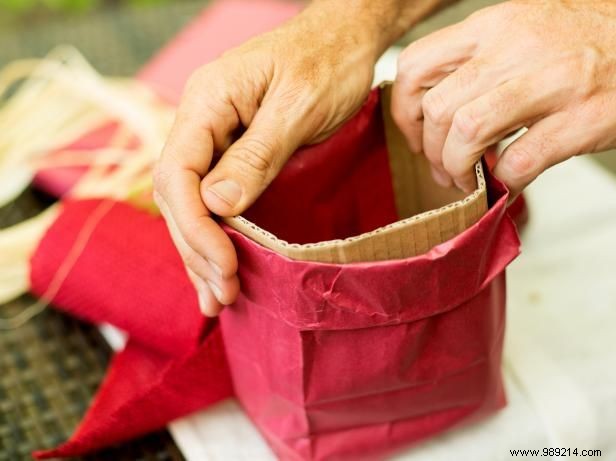
Add reinforcement to the inside of the paper bag with cardboard. Cut the cardboard long enough to wrap around three sides of the bag. When cut to size, insert the cardboard into each bag. Keep the top of the cardboard below the top of the folded edge.
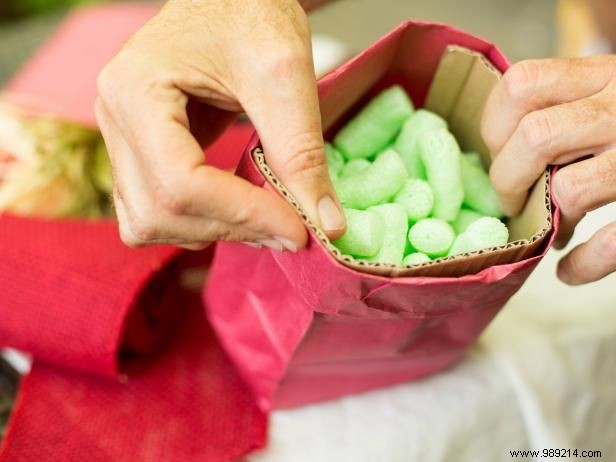
Fill the paper bag with the peanuts until they are two-thirds full. Make sure there is about four inches of empty space at the top of the fruit bag.
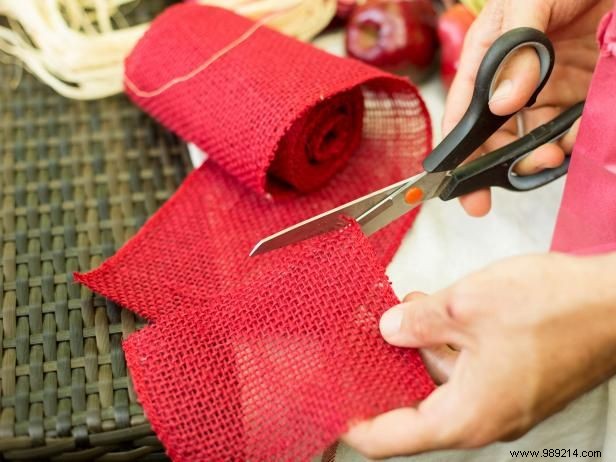
Give each bag classic country store style with a cut-to-size burlap ribbon.
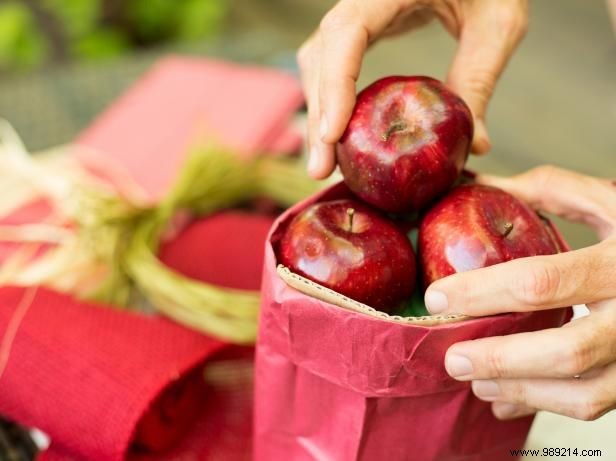
Add fruit along the top of each paper bag, creating a stacked, overflowing look.
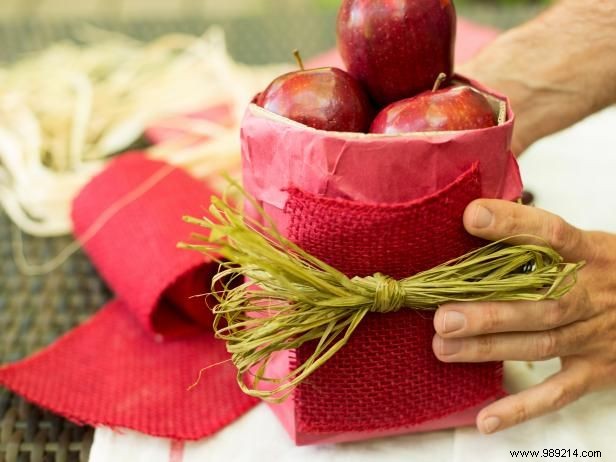
Secure the burlap ribbon in place along the front of the bag with twine or hay strands.