Short on wall space but overflowing with books? A vertical book tower maximizes storage while adding a stylish, unique accent to any room. This expert guide, inspired by woodworking enthusiast Emily Fazio, shows you how to create one using basic tools and less than $20 in materials.
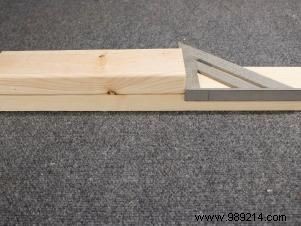
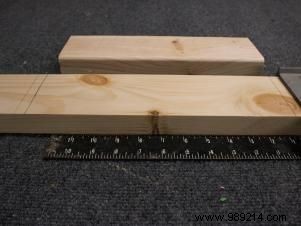
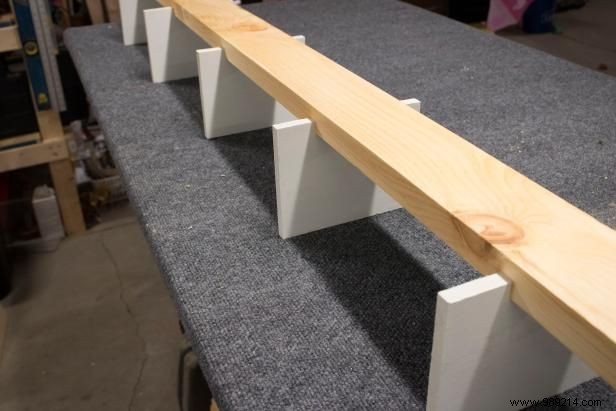
A 2x4 board forms the sturdy backbone. Measure and mark every 12"-16" along its length for shelves, using chipboard as a spacer and a speed square for precision. You'll make trench cuts (also called dice cuts) with a hacksaw, removing material in thin slices to create perfect 1/2" notches for MDF shelves. Account for 1/2" MDF thickness. If building shorter than 8', trim the board first. At the base, plan for a 2x4-to-MDF foot transition (see Step 3).

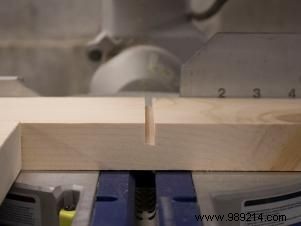
Set your saw blade depth to cut halfway through the 2x4 (about 3/4") for structural integrity while allowing secure shelf fit. Test on scrap wood. Practice trench cuts: slice 1/8" (blade width), shift the board, repeat until you have a snug 1/2" gap.
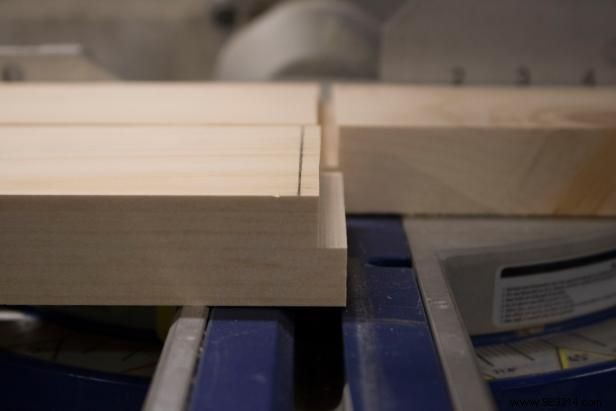
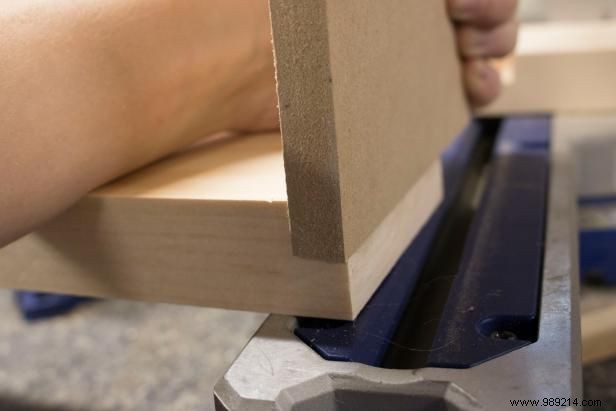
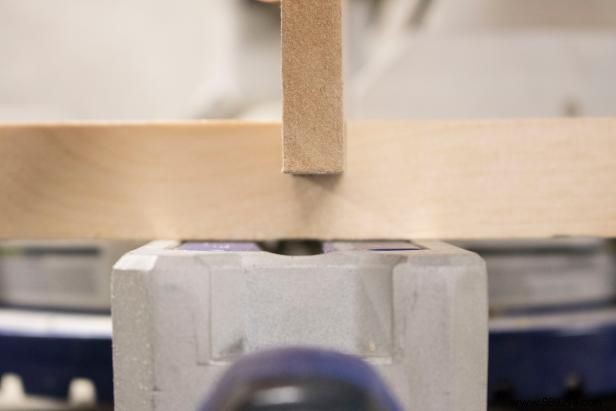
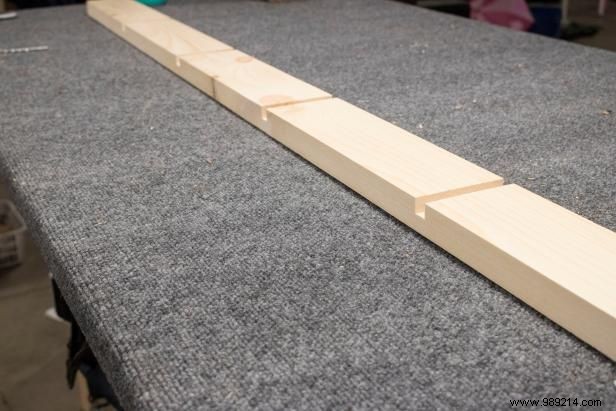
Position scrap under the spine for consistent depth. Cut to marks without stopping until clear of scrap. Use the hacksaw for 4-5 passes per 1/2" trench. Test-fit MDF frequently for a tight hold—loose fits cause sagging.

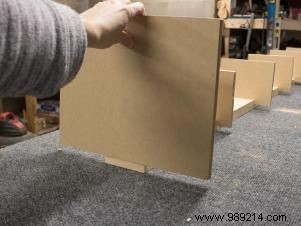
With a circular saw, cut five 9" x 5" shelves and one 15" x 18" base. Snap-fit all into the spine to confirm.
Emily painted the MDF shelves and applied semi-gloss polyurethane to the spine. Customize to match your decor.
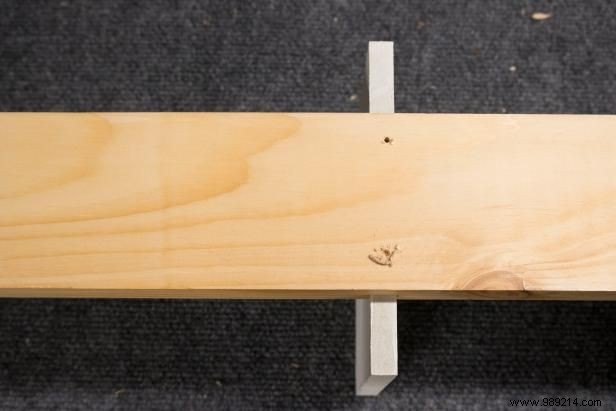
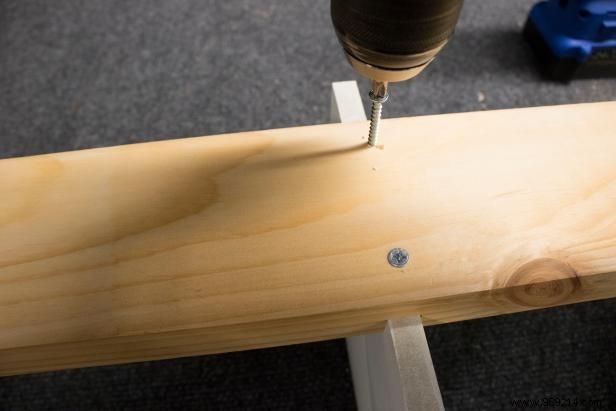
Insert MDF into trenches, spine on top. Tap gently with a rubber mallet. Pre-drill two holes per shelf through the 2x4, then drive 2" wood screws.
Drill straight to avoid piercing MDF.
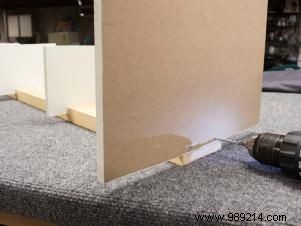
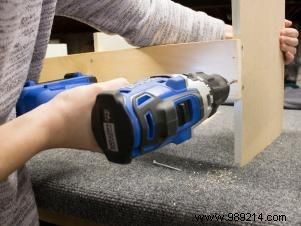
Secure with four screws: two from spine back, two from below. Pre-drill to prevent splitting and align carefully.

The wide base provides stability with a slight backward lean. For child-safe setup, anchor the top 6"-8" to the wall with a toggle bolt through the spine—drill 8" from top.
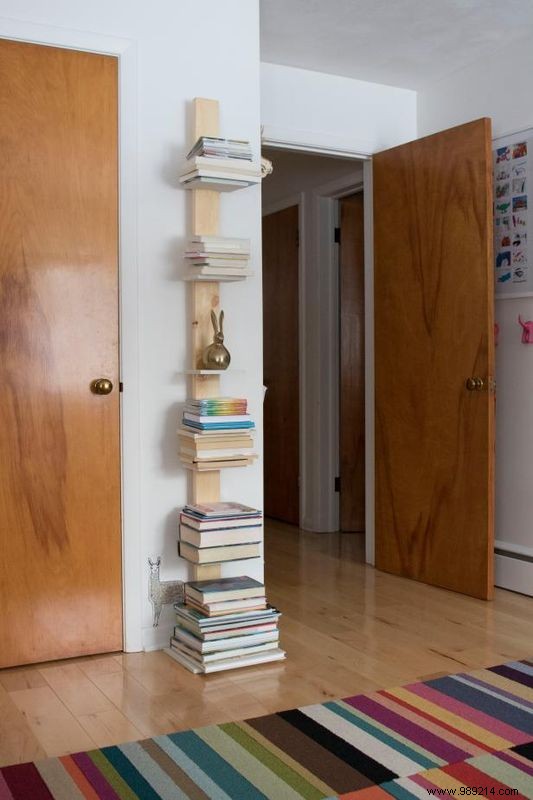
Ideal for kids' rooms: benches on lower shelves, books stacked decoratively. Larger titles fit bottom shelves perfectly in tight spaces.
Images and original tutorial by Emily Fazio.