For decades, I've admired the vibrant painted quilts adorning country barns during my travels. These hand-painted wooden décor pieces pay homage to traditional quilting, featuring intricate quilt designs as striking outdoor art. Pioneered by Donna Sue Groves to honor her mother, barn quilts foster community bonds (hence iconic!) and boost rural tourism across the U.S. and Canada. Over 7,000 barn quilts grace quilting trails on private and public properties, drawing dedicated travelers. Your barn quilt can be simple or elaborate, but its bold colors, contrast, and symmetry always evoke heirloom quilt artistry.
 Photos by Emily Fazio
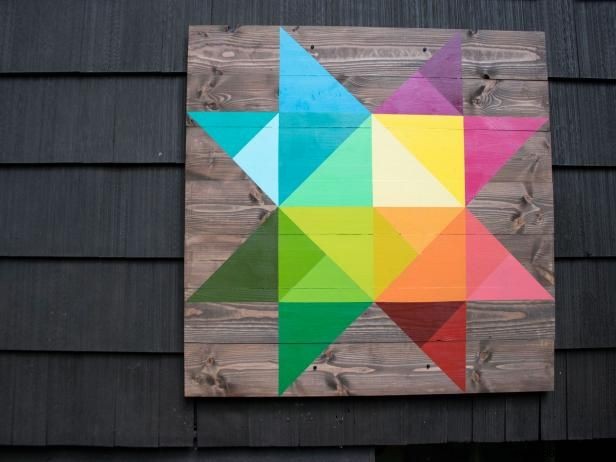
Whitney at Local Color Quilts in Buffalo, New York, designed the modern star pattern I used—a fresh take on tradition with a bright palette perfect for my dark-stained barn. Matching paints was straightforward using manufacturer apps to scan photos for exact color codes. I needed 18 shades but bought only $3 sample-size pots—opt for these to save costs.
 Photos by Emily Fazio
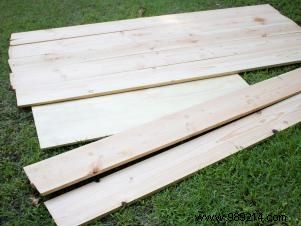
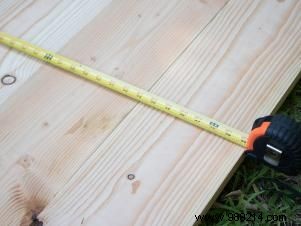
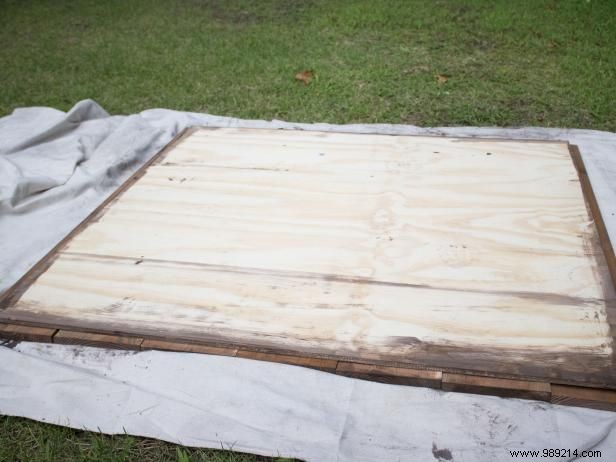
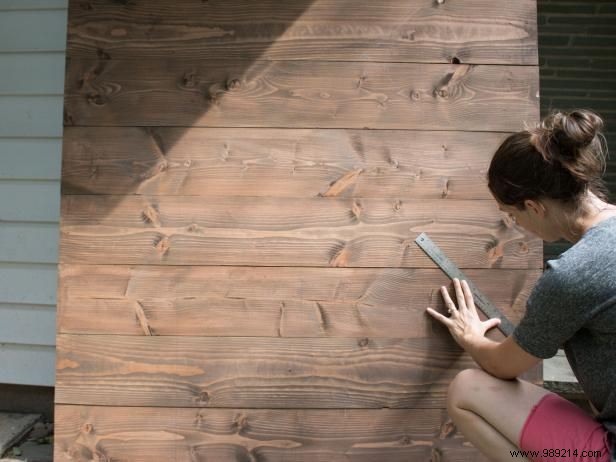
Scale your project to your space—traditional ones are 8-foot squares, but mine fit a 4x4-foot area. I used 1/4-inch plywood as the base topped with 1x8 pine boards. Dry-lay seven boards first, measure for a max 50-inch square, then cut all to length.
 Photos by Emily Fazio
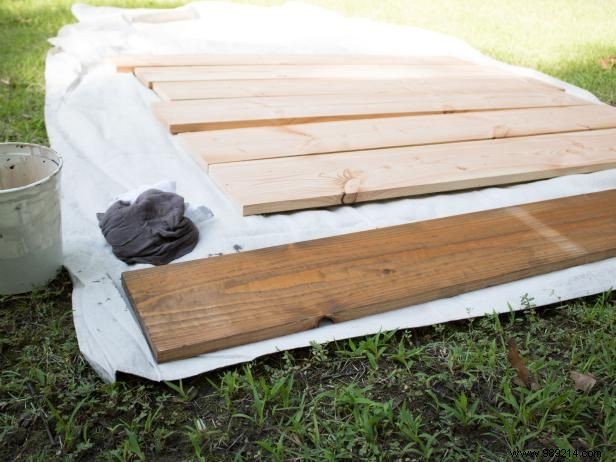
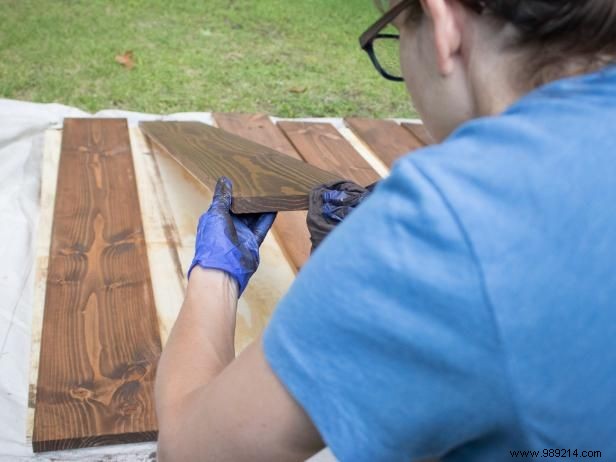
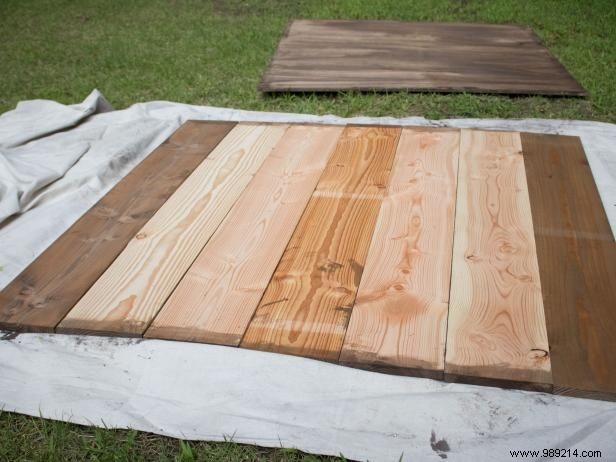
Staining is optional—natural wood weathers beautifully, or paint if preferred. I applied a translucent stain to highlight the pine grain. Once dry, align boards perfectly, place plywood on top, and secure with 1-1/4-inch screws through the plywood into each board (six per board). Keep boards from shifting during assembly.
Stain board edges and any visible plywood areas for a polished finish.
 Photos by Emily Fazio
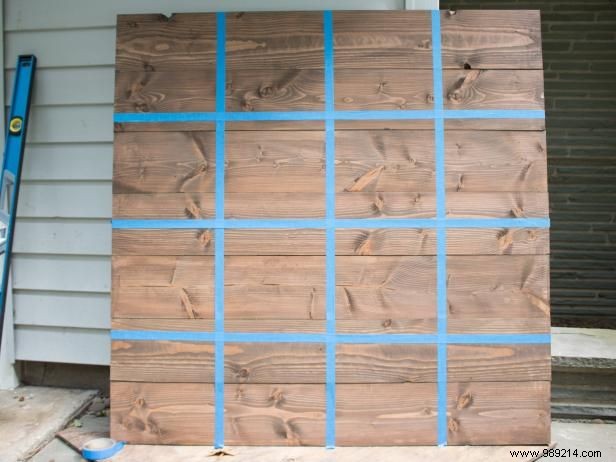
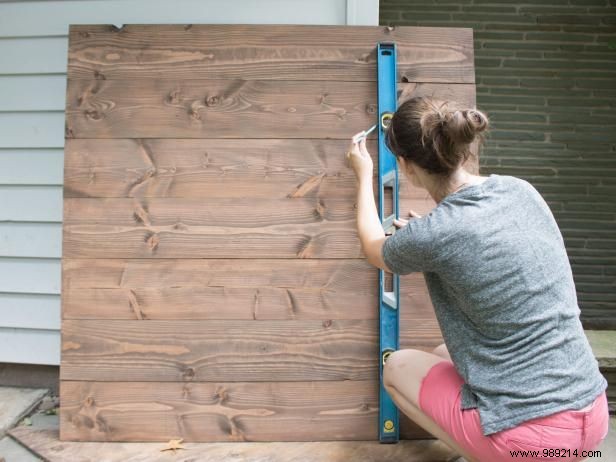
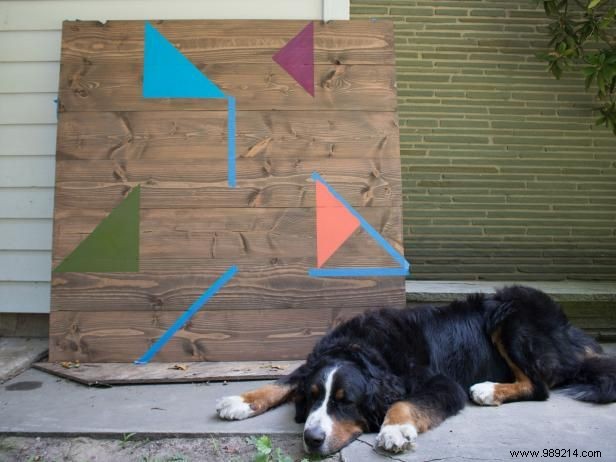
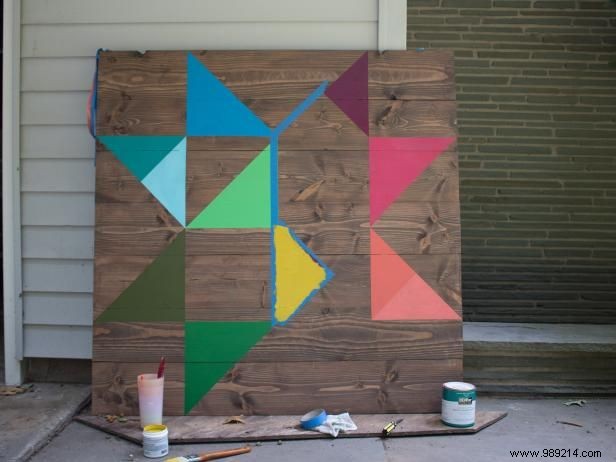
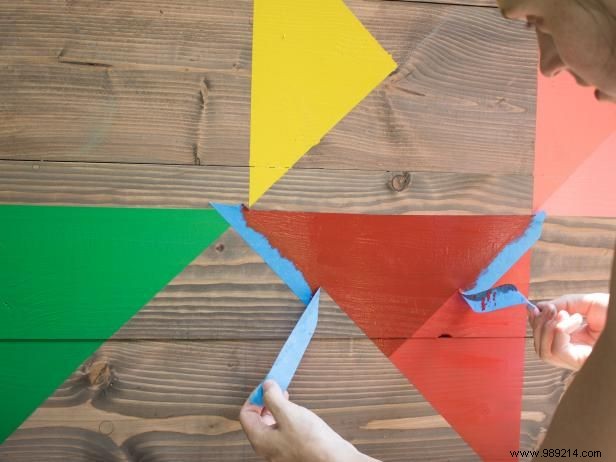
Using the modern star from Local Color Quilts, divide the base into 16 equal squares. Mark precisely with pencil, ruler, and a straight edge like a 4-foot level (blue tape shown for demo).
 Photos by Emily Fazio
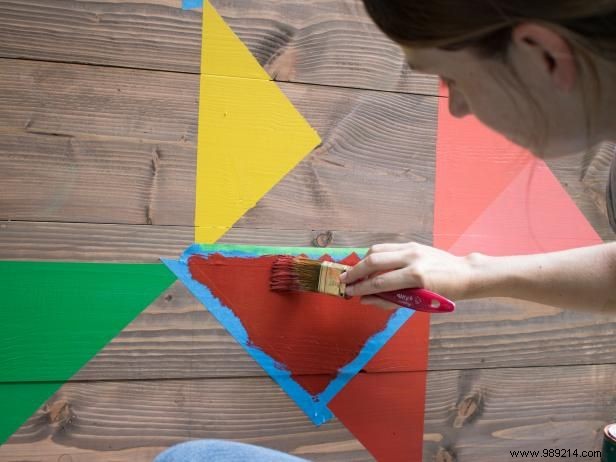
Painter's tape is essential. This multi-day process rewards patience—mask multiple areas to apply colors simultaneously early on. Later, small spaces require drying between coats. Expect 2-3 coats per section.
Paint outdoors for fast drying with good airflow.
Photos by Emily Fazio
Photos by Emily Fazio
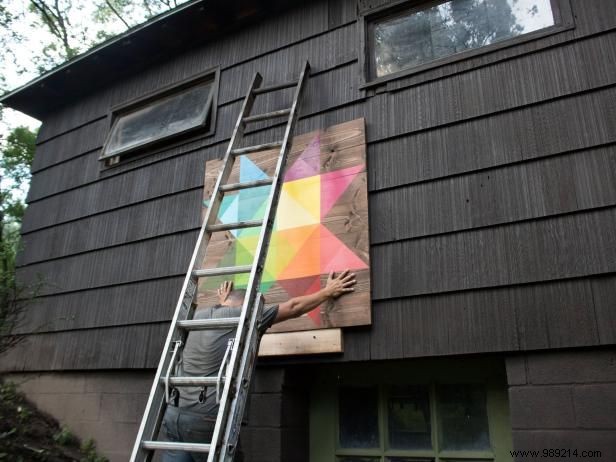
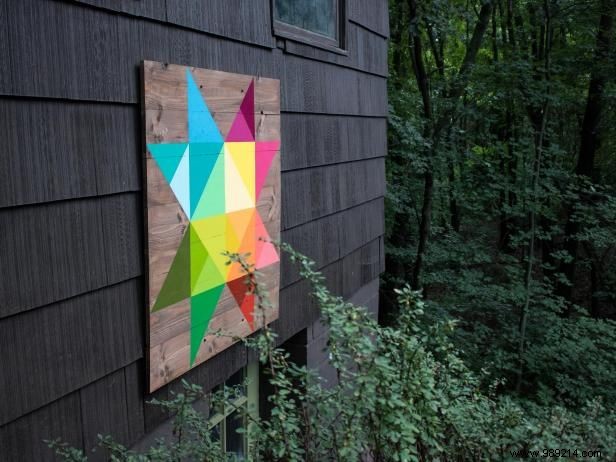
One of my most rewarding projects—and heaviest at 50 pounds for a 50-inch square. Mount securely on poles or ledger: I drilled from inside the barn to hit studs, installed a 2x6 ledger board, bolted the quilt in place with 5-inch bolts, then added screws top and bottom. Remove the ledger, step back, and enjoy your vibrant modern barn quilt. (Now I'm hooked on painting quilts everywhere!)