As a seasoned woodworker with years of experience building custom workbenches, I recommend starting with a solid foundation. Use eighteen 2x4s, each cut to 57 inches, for the top substrate. Glue them together in sets of five. Once the sets have fully cured, glue them into one complete top substrate assembly. Face-glue and pin the 2x4s together to mimic the look of a durable butcher block top. This substrate provides exceptional strength and stability for your sewing station.
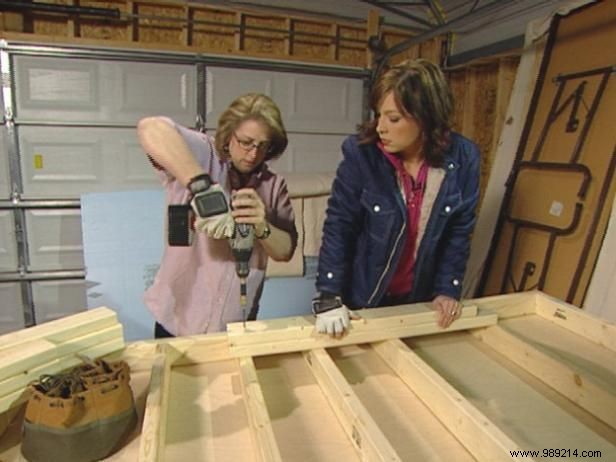
Flatten the top of the substrate using a belt sander or hand plane. Position the substrate top side down. Align two short 2x8 top rails—each 27 inches—with the short sides of the substrate, flush at the edges. Secure them with 3-inch wood screws.
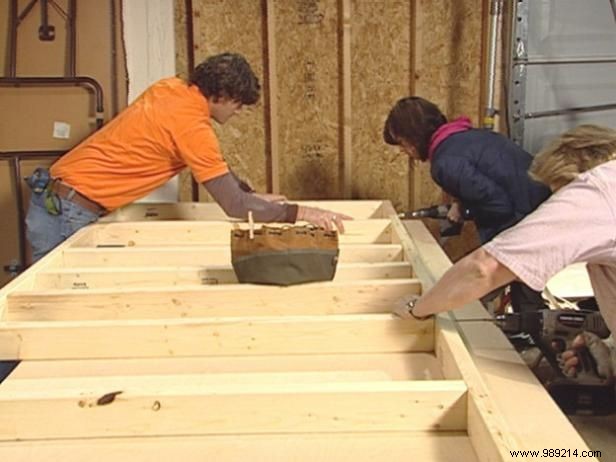
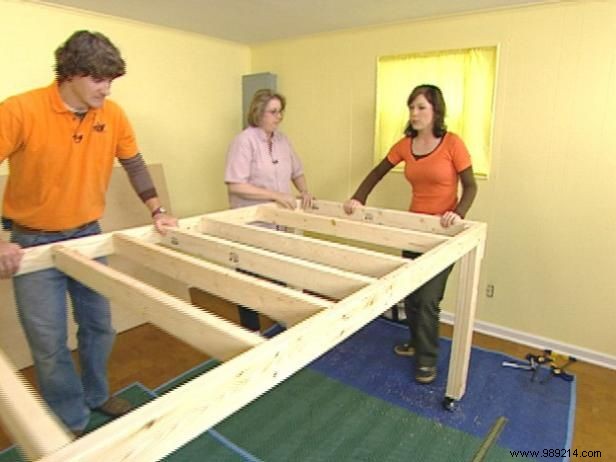
Align two 60-inch 2x8 long top rails with the long sides of the substrate. Ensure the ends of the long rails are flush with the outside faces of the short top rails. Fasten them to the substrate using 3-inch wood screws.
Position two 27-inch 2x4 rail stretchers between the long rails, placed one-third of the way from each end of the bench. Drive 3-inch wood screws through the long rails into the ends of the stretchers.
Construct four leg assemblies using eight 30-inch 2x4 leg pieces. Place the edge of one 2x4 against the face of another, aligning the ends flush. Secure each pair with 3-inch wood screws.
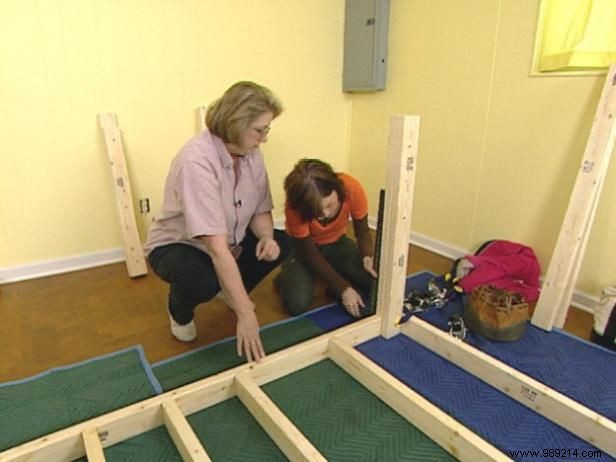
Position the leg assemblies inside the corners where the long and short top rails meet, ensuring the joints are visible from the short sides. Drill 3/8-inch holes through the top rails and legs. Insert 3/8 x 4-inch carriage bolts from the outside face of the top rails through the legs. Add washers and nuts on the inner side, then tighten securely.
Measure 12 inches up from the bottom of each leg and mark. Align the tops of two 54-inch 2x4 long bottom rails with these marks, flush at the edges. Secure with 3-inch wood screws.
Insert two 21-inch 2x4 short bottom rails between the long bottom rails, with the outside faces butting against the inside faces of the legs. Fasten to the legs using 3-inch wood screws.
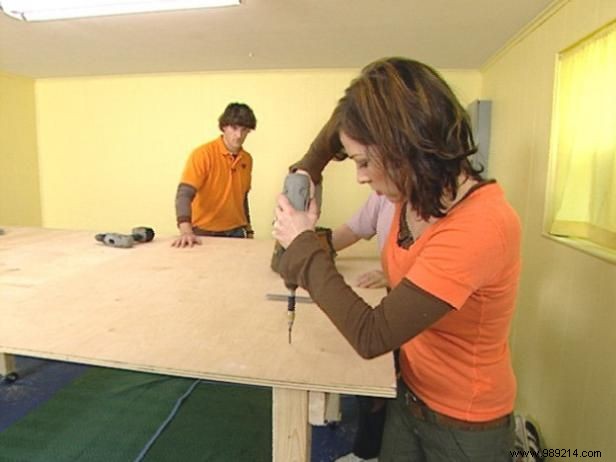
Flip the workbench right side up—with help, as it's heavy now. Align the edges of the 1/2-inch plywood top flush with the bench edges. Secure it to the substrate using 1-inch flat-head screws. This design allows easy replacement if the top wears out over time.