As a carpenter with over 15 years of hands-on experience building custom staircases, I recommend starting with precise cuts for safety and stability. Cut three 2x12 stringers to fit a 3-1/2" riser height. Notch the bottom of each stringer to sit securely over a 2x4 piece, aligning notches perfectly across all three.
For each tread, cut 10" pieces from 2x10 lumber. Cut 7" risers from OSB sheets. Prepare a 3-foot length of treated 2x4 lumber for the base.
Pro Tip: These stairs rest on concrete, where untreated wood risks moisture absorption and rot. Position the treated 2x4 directly against the floor for lasting protection.
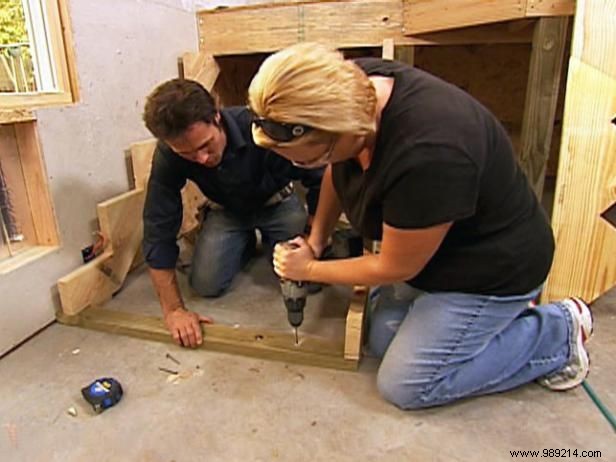
Position one stringer against the wall, held steady by a helper. Fit the treated 2x4 into the bottom notch and press it flush. Drill through the 2x4 into the concrete using a masonry bit, then anchor firmly with concrete nails.
Set the first stringer onto the 2x4 and secure it to the top wall bracket using metal brackets. Repeat for the second stringer at the opposite end of the 2x4. Install the third stringer midway between them for even support.
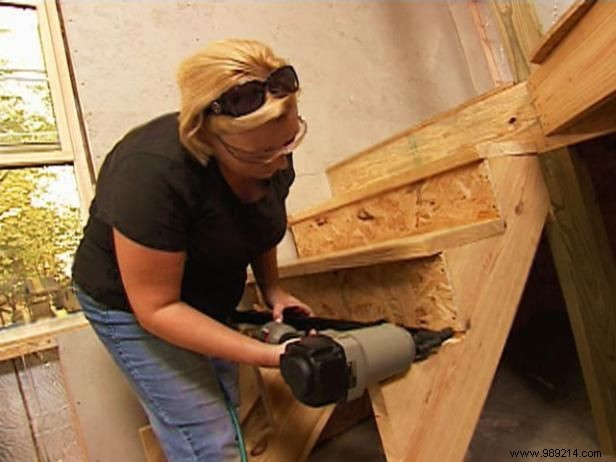
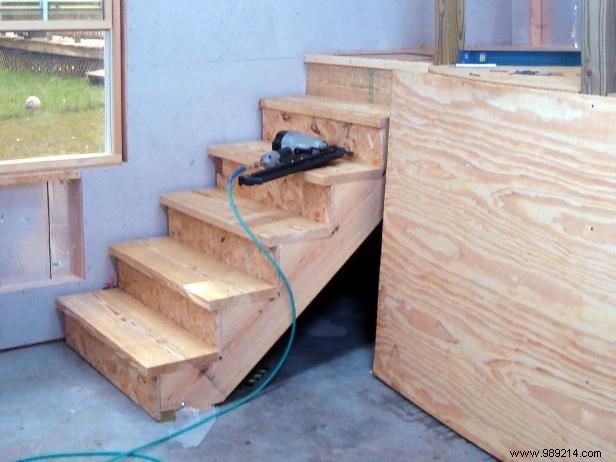
Nail the 2x10 treads securely through into the stringers. Attach the OSB risers to the stringers (Image 1). Your stairs are now ready for sanding, painting, or other finishes as desired (Image 2).