As a seasoned DIY enthusiast and contributor Emily Fazio, I've crafted countless holiday projects tailored for limited spaces. If you spend 40+ hours a week at your desk, holiday cheer shouldn't compromise productivity. This rustic desktop Christmas tree tutorial fits perfectly in cubicles or tight offices—no full-sized tree required.
 From:Emily Fazio
 Emily Fazio
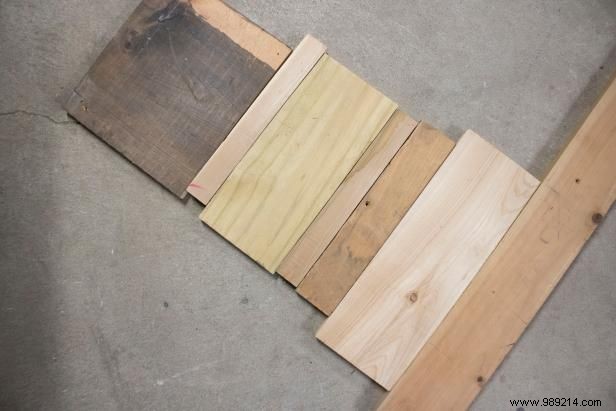
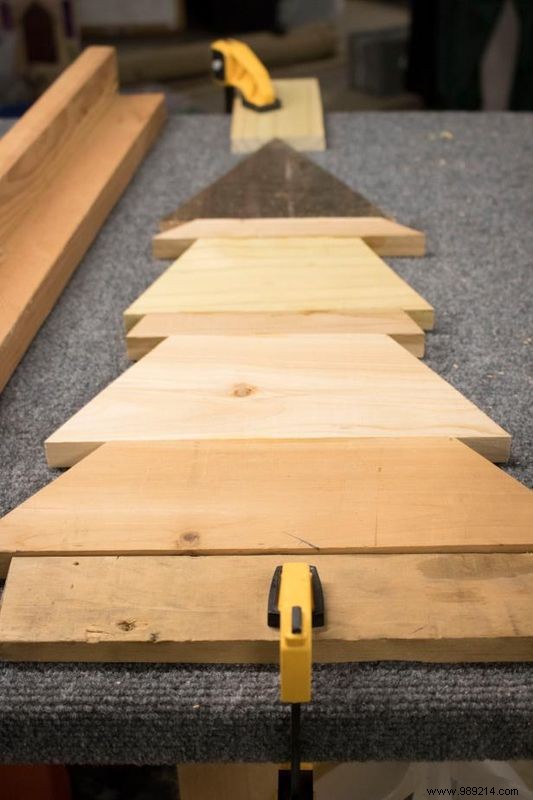
Select boards of similar width (e.g., 1x or 2x lumber). Don't worry about existing stain—you can paint or stain later. Gather varied lengths, sorting from shortest (tree top) to longest (base branches).
 From:Emily Fazio
 Emily Fazio
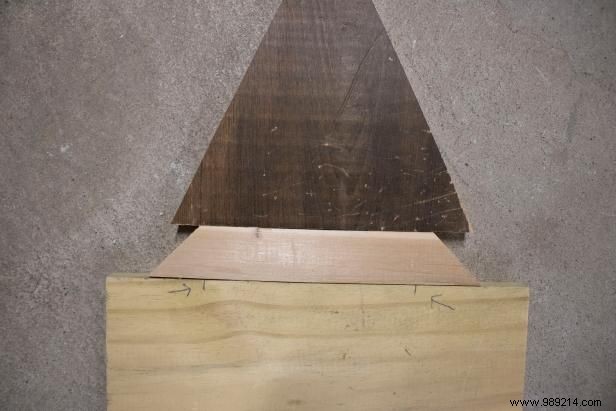
Use a miter saw to angle-cut one end of each board into a triangle shape for the tree's canopy. Scale each subsequent cut to widen downward, creating layered branches. Pencil-mark ideal angles and adjust the saw as needed for the perfect slope.
 From:Emily Fazio
 Emily Fazio
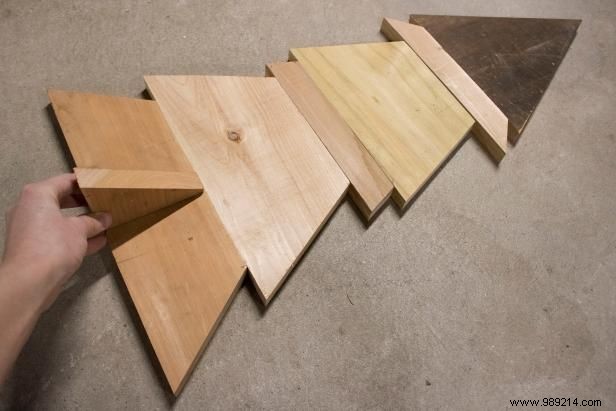
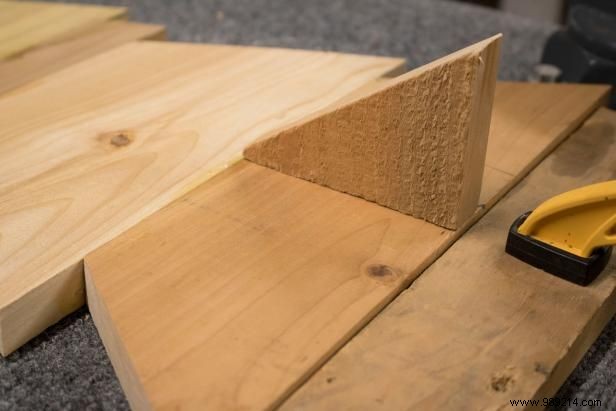
From the longest board, cut a scrap piece for the base footer, trimmed perpendicular to the tree. This keeps it stable against a wall, preventing tips or leans.
 From:Emily Fazio
 Emily Fazio
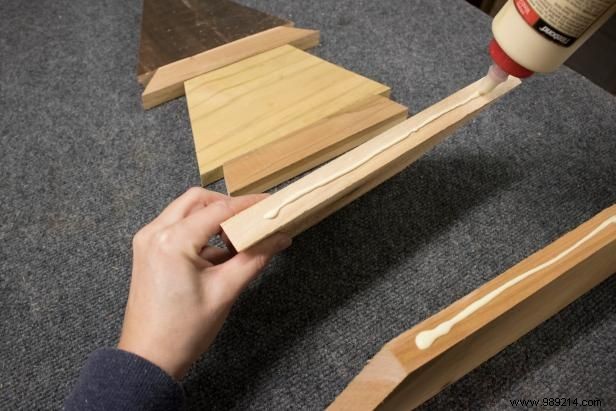
Apply wood glue to board edges.
 From:Emily Fazio
 Emily Fazio
Lay boards flat, stack into tree shape, and clamp securely. Add weight like scrap boards on top to prevent warping. Wipe excess glue with a cloth.
 From:Emily Fazio
 Emily Fazio
Glue the footer to the base branch and let dry fully.
 From:Emily Fazio
 Emily Fazio
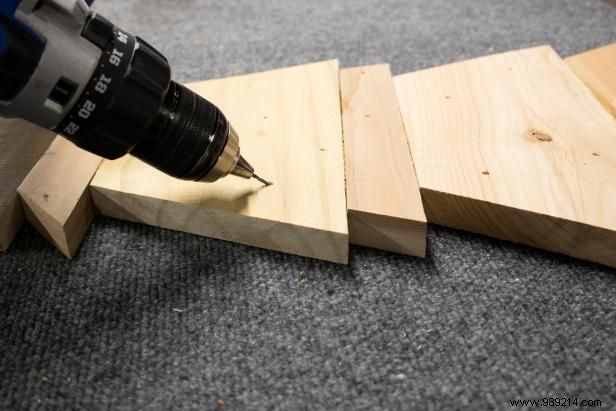
Drill angled holes with a 1/16" bit for ornaments. The angle secures hook-style decorations perfectly.
 From:Emily Fazio
 Emily Fazio
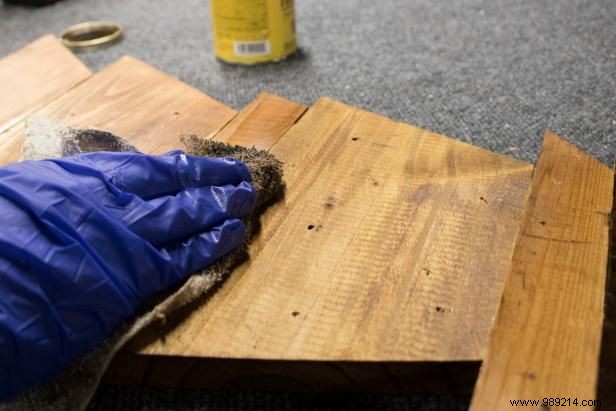
Optional: Stain or paint once dry, then decorate your desk masterpiece. Natural wood or uniform stain—which do you prefer?
 From:Emily Fazio
 Emily Fazio
 From:Emily Fazio
 Emily Fazio


 From:Emily Fazio From:Brian Patrick Flynn From:Emily FazioKeep Reading