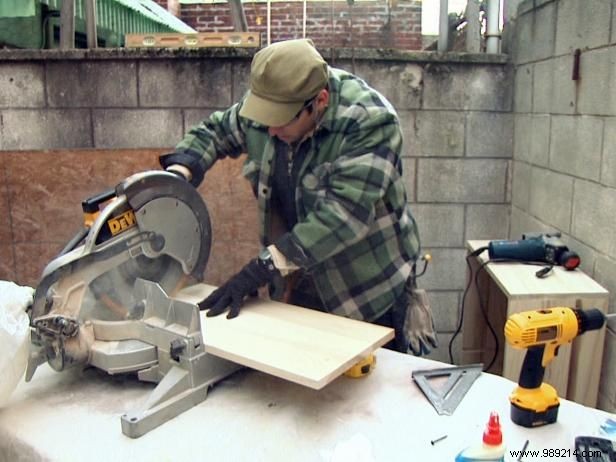
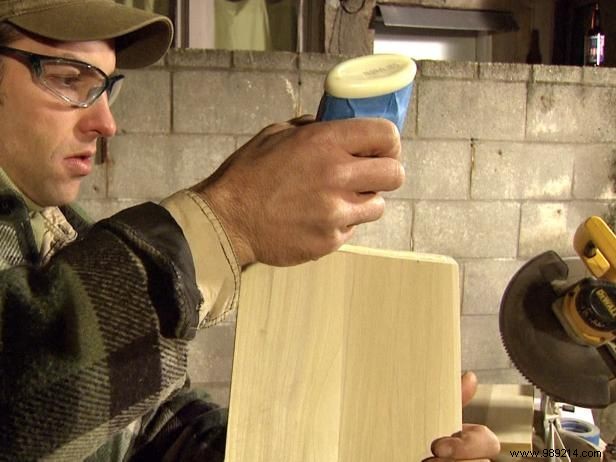
As a woodworker with over 15 years of experience crafting custom furniture, I've perfected this wall-mounted wine rack design for stability and style. Start by determining your unit's size, then cut the top, bottom, and sides from a 1x12x6' maple board using a power saw. Also, cut a 2” strip to the wine rack's length for wall hanging.
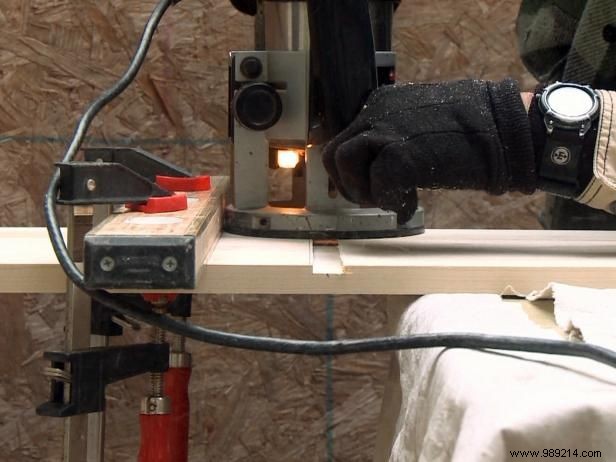
Set the side panels aside. On the inside faces of the top and bottom pieces, mark center lines and a 3/4” wide strip. Using a router or circular saw, cut notches to 3/16" depth across from front to back, forming rabbet joints—U-shaped grooves that securely cradle adjoining wood.
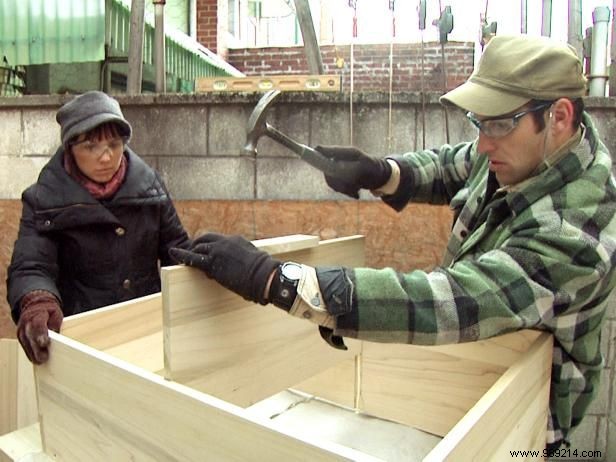
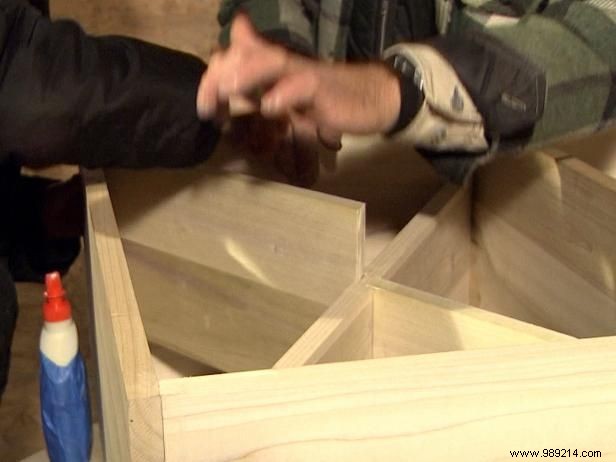
Now glue, nail, and screw the four sides together. Use screws in hidden areas for a clean finish.
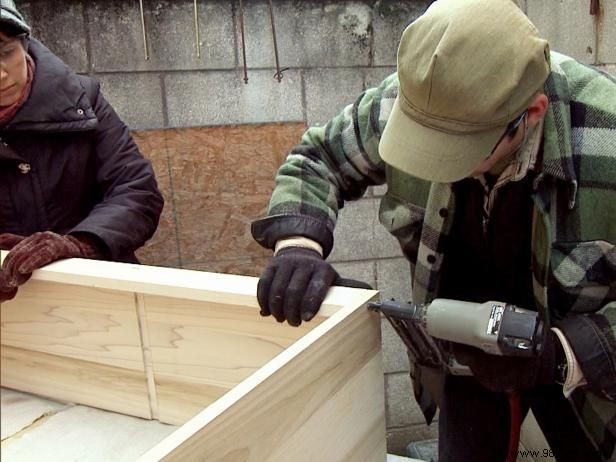
Assemble the sides into a box frame with glue, nails, and screws. Lay it face down and attach the 2” strip along the top/back edge, flush with the rear. This hanger supports wall attachment to joists, bears bottle weight, and keeps the unit square. Flip it over to access the rabbet joints.
Measure the distance between the deepest parts of the grooves. For 1x material, this equals the unit height minus 3/8" (accounting for two 3/16" rabbets).
Cut wood to your measured height and the rack's depth for the divider. Notch a 3/4” x 2” slot at the top/back to fit the hanger strip. Glue, nail, and/or screw it between top and bottom. This rabbeted divider adds stability and alignment, creating two equal compartments ready for X-shaped brackets and eight triangular shelves.
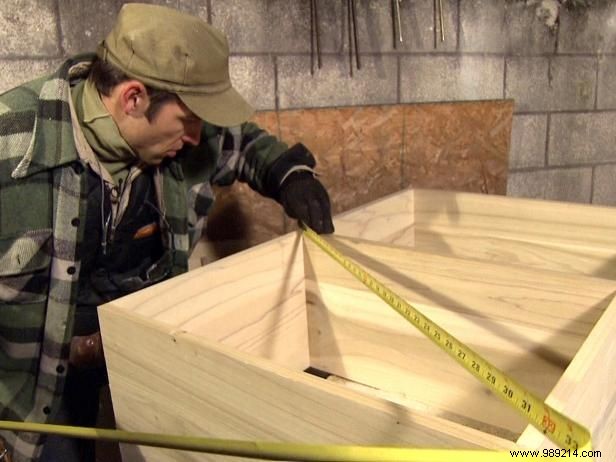
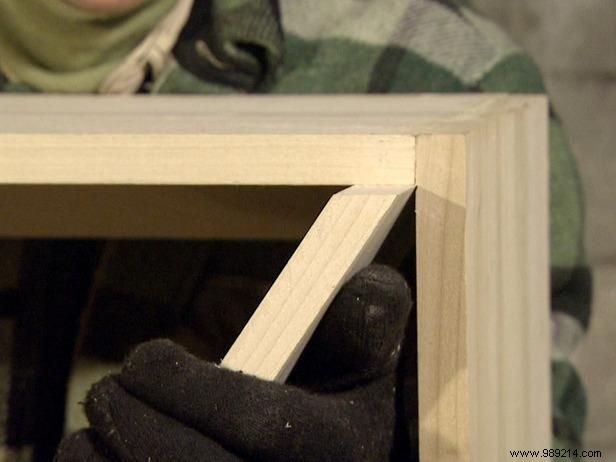
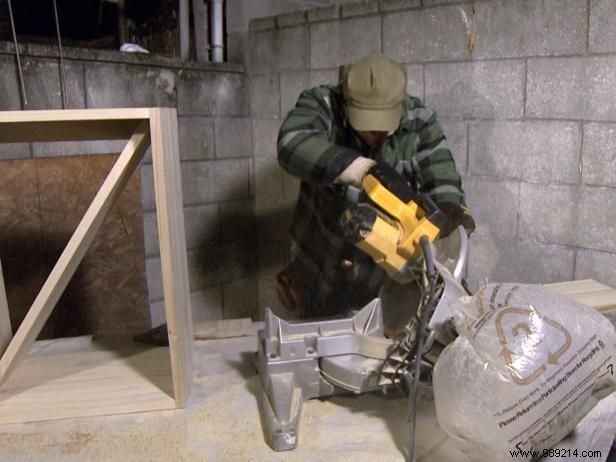
Measure diagonally inside one compartment from top to bottom corner (Image 1). Cut wood with 45-degree angles into a parallelogram (Image 2). Repeat for the second compartment (Image 3). Slide into an 'A' or 'V' shape—measure thrice, cut once for a tight fit.
These smaller supports form four triangles per bay. Install longer diagonals first, connecting at their intersection before adding supports. Measure and cut parallelogram-shaped pieces to split in half.
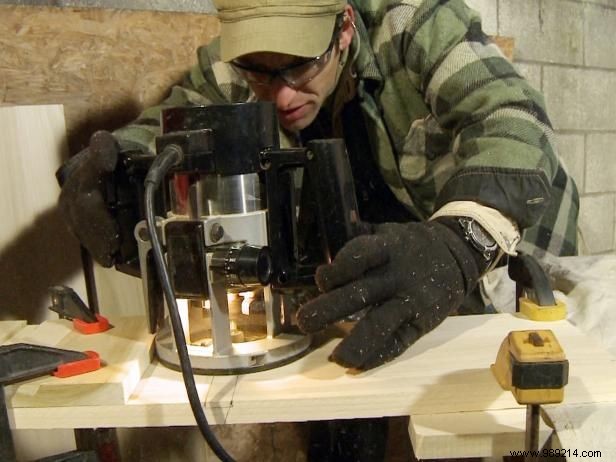
Cut the second set of diagonals in half lengthwise. Position to mark rabbet joints on longer shelves, then rout or saw 1/8” slots in their centers. Keep grooves opposite in upper/lower compartments with a 7/16”–1/2” central rib on 1x material.
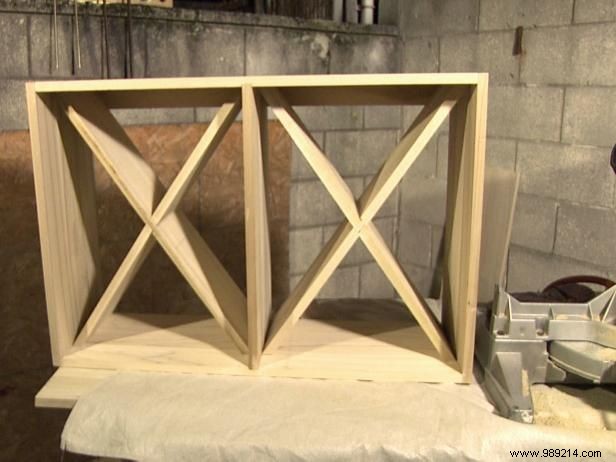
Trim smaller brackets if needed for corners and grooves. Install longer diagonals with slots using glue and nails (Image 1), then add four smaller pieces (Image 2). Your rack is complete (Image 3). Fill holes with wood filler and dry overnight.
Sand corners and edges, wipe with a damp cloth, then paint or stain for a professional look.
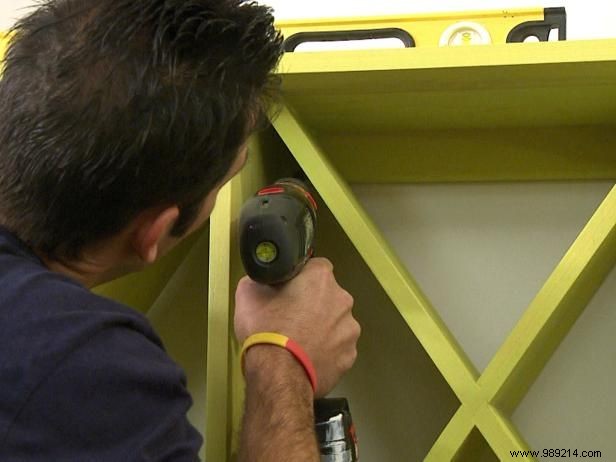
Locate wall studs for secure mounting via the rear strip. Eight triangular compartments ensure easy bottle access.