Expert DIY Guide: Safely Carve and Decorate Faux Foam Pumpkins for Halloween
Required Materials and Tools
- Foam pumpkins
- Permanent marker
- Cardstock (optional)
- Low-tack painter's tape (optional)
- Knife
- Battery-operated tea lights
- Craft foam
- Scissors
- Foam glue
- Craft paints
- Glitter
- Embellishments (feathers, pom-poms, etc.)
- Vase or urn
Step-by-Step Instructions
- Carve a Basic Foam Pumpkin: Draw a face freehand with a permanent marker or create a pattern on cardstock, secure it to the pumpkin, and trace.
- Cut out the face using a knife, removing pen markings. Cut off the top of the pumpkin.
- Essential Safety Tip: Use only battery-operated tea lights inside foam pumpkins, as they are flammable.
- Make a Dazzling Pumpkin Witch: Paint a face on the pumpkin, add glitter, and embellish with feathers, pom-poms, and more.
- Line a vase or urn rim with feathers and place the pumpkin on top for a showstopping display.
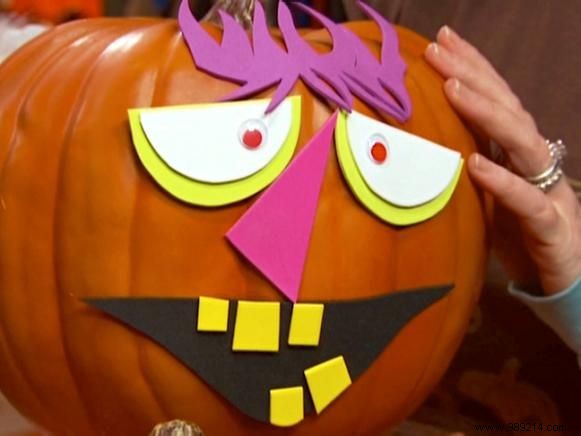
- Create a Crazy Foam Face Pumpkin: Cut shapes from craft foam and glue them onto the pumpkin with foam glue.
- Personalize for keeps: Have your child sign the bottom to craft a lasting holiday heirloom.