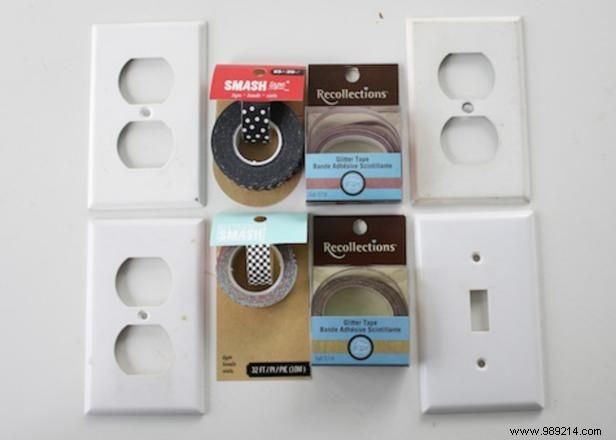
If you're buying new plates and covers, they're incredibly affordable—plastic ones often cost as little as 25 cents each at stores.
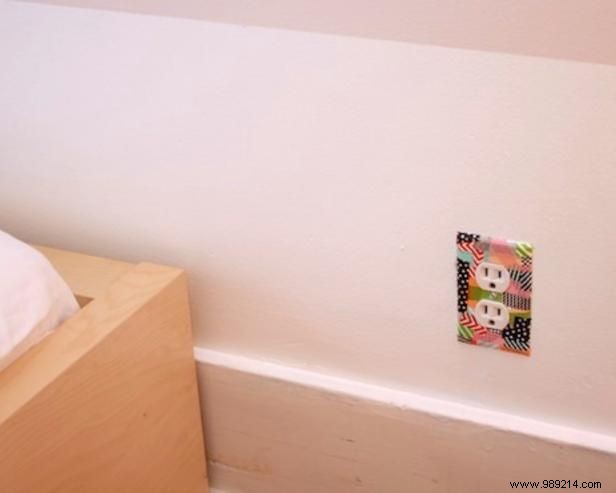
Skip decoupage for this craft; instead, we grabbed four rolls of washi tape for under $8 using store sales and coupons. The two printed rolls are from Smash, while the glittery ones are by Recollections. Each roll bursts with personality, creating a fun, eclectic vibe even if they don't perfectly match.
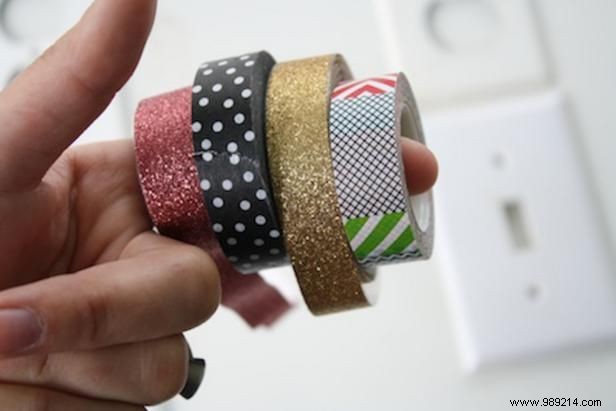
To get started, I crafted a variety: some fully sparkly, others mixing glittery patterns, and one in solid polka dots for a playful touch.
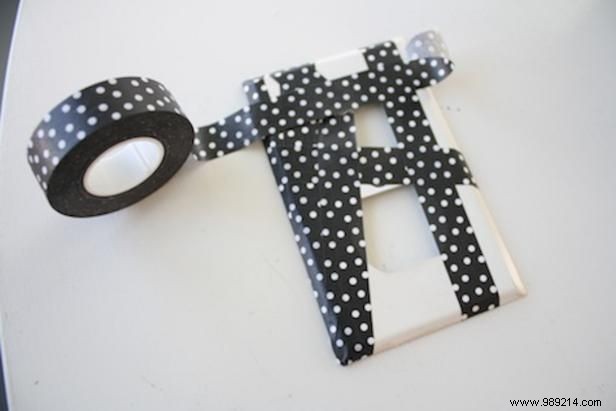
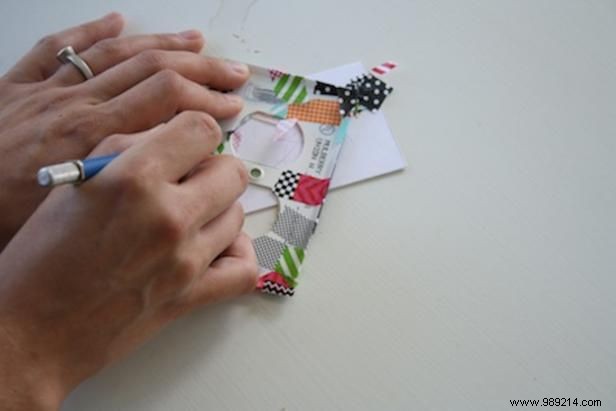
Wrap at least 1/2 inch of tape around the back of each cover, ignoring screw and access holes for now. Once fully covered, use a sharp blade to neatly trim the excess tape.
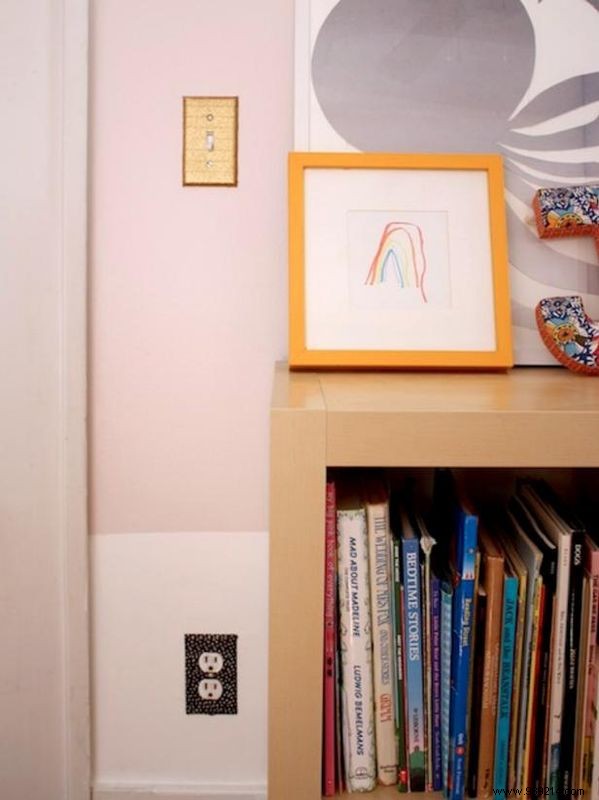
The rhinestone-style glitter ones quickly became my favorite, adding instant sparkle to this little girl's room.