Elevate your bedroom with a professional-grade custom upholstered headboard. Drawing from proven techniques used by skilled craftsmen like those at Cole Collective, this step-by-step tutorial ensures durable construction and flawless upholstery using standard materials like plywood, foam, batting, and fabric.
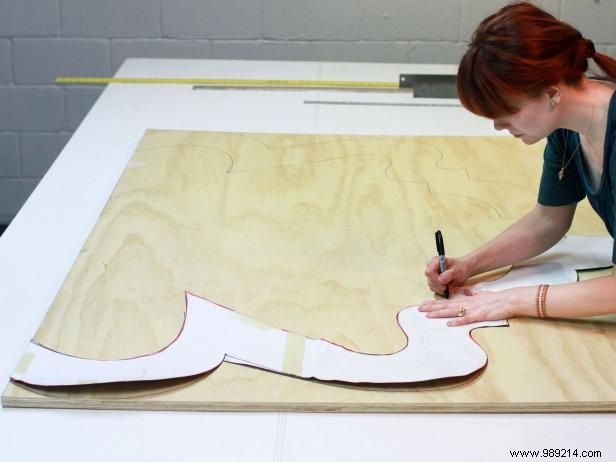
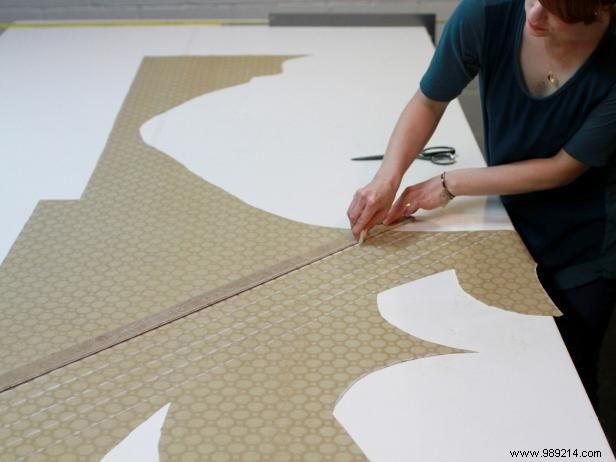
Begin with a full sheet of 3/4-inch plywood, cut two inches wider than your bed at the hardware store. Adjust height by trimming legs later, and save scraps. For a freeform design, sketch the shape freehand on large paper, then trace onto plywood. For symmetrical shapes, draw half, trace, flip the pattern, and complete the other side.
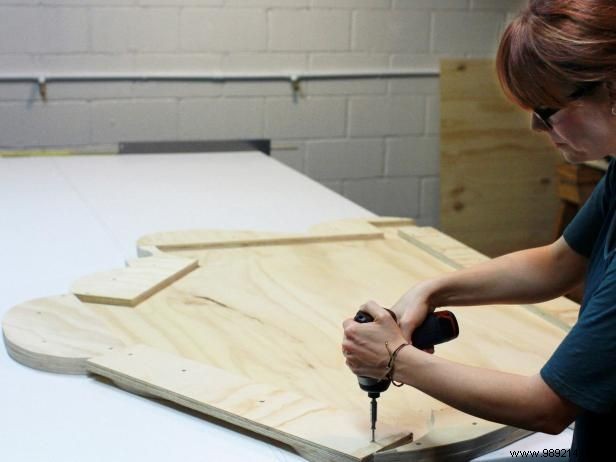
Reinforce the back by screwing plywood strips around the edges, creating a double-thick frame to conceal brackets and leg mounts. Trim pieces to fit end-to-end as needed. Leave a 4-inch square opening at the bottom sides for leg attachment.

Set your desired headboard height. For each leg, cut one plywood piece to the exact height needed and another the same height plus 4 inches; both 4 inches wide. Glue and screw them together with bottoms flush, then attach the longer side to the headboard's bottom back.
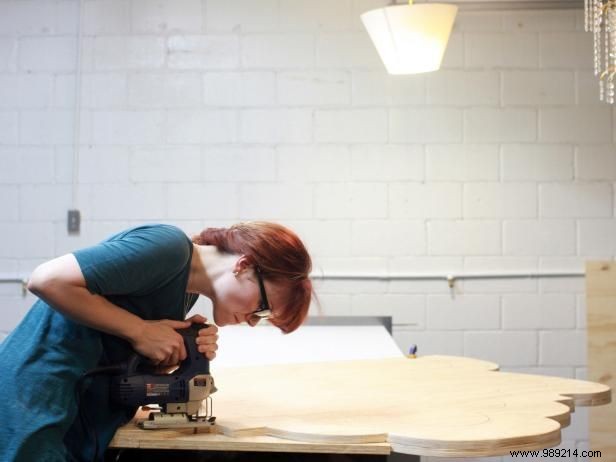
Flip the assembly and trim the plywood to match the main headboard shape. Sand edges smooth to remove splinters and roughness.
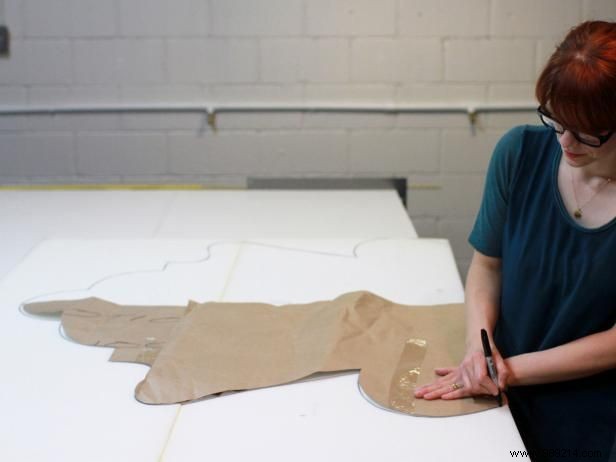
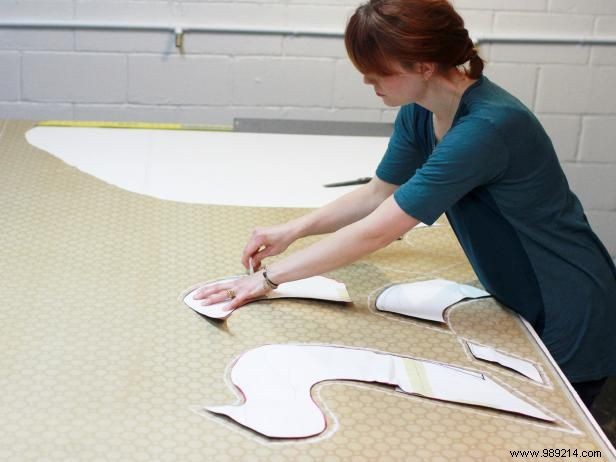
Subtract your border thickness from the paper template's edges. Layer and glue foam sheets to cover the headboard, then trace the adjusted interior shape onto the foam.
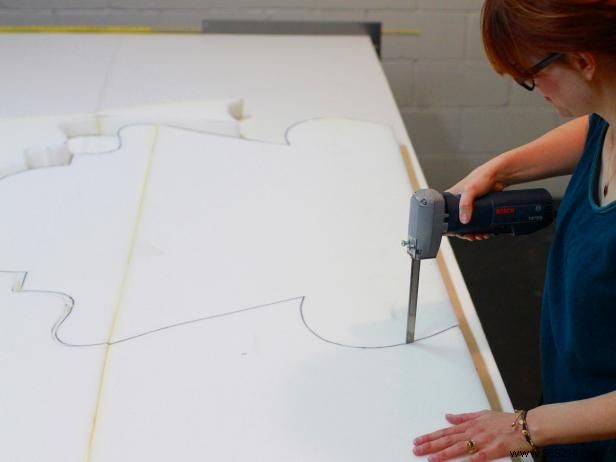
Use a foam cutter or sharp cleaver to precisely cut along the marked lines.
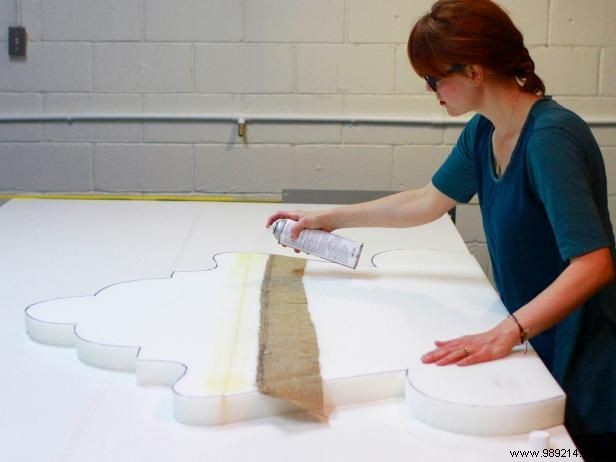
Glue burlap or scrap fabric over the front seams to prevent separation over time.
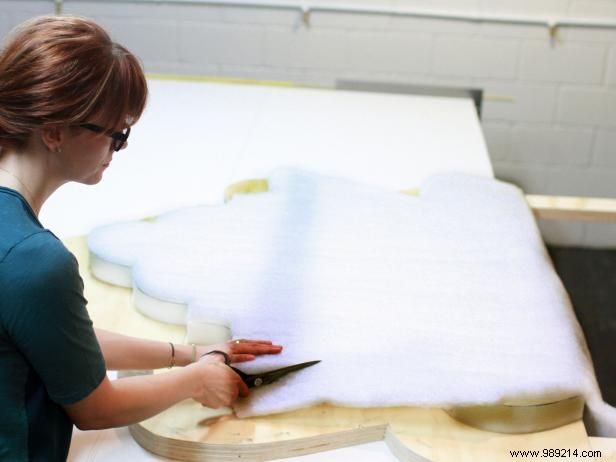
Glue foam to the headboard, add batting atop the foam, and trim excess batting at the edges.
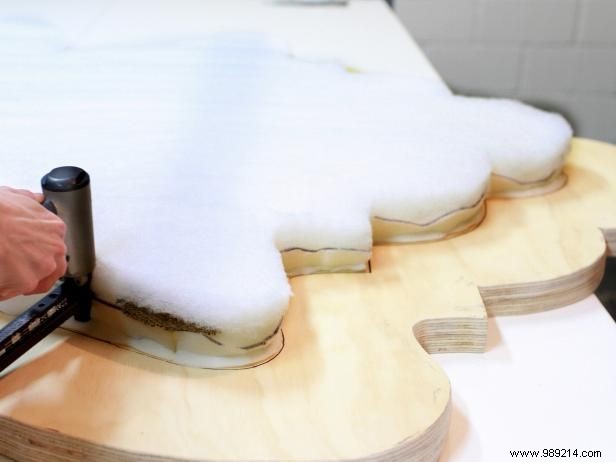
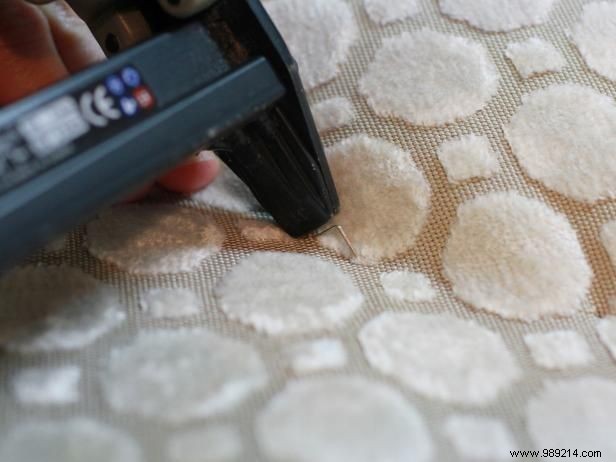
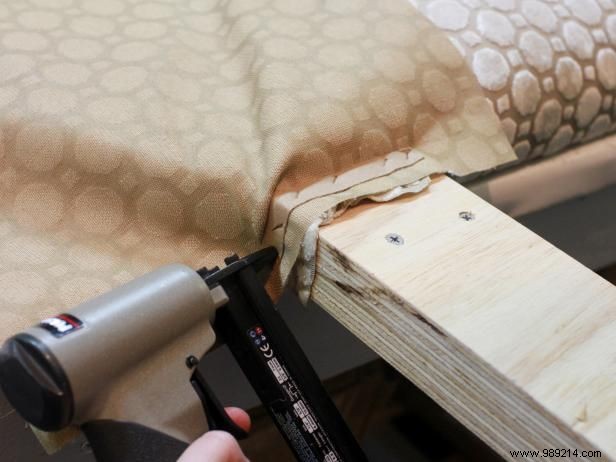
Staple through the foam edges into the headboard to secure the padding firmly.
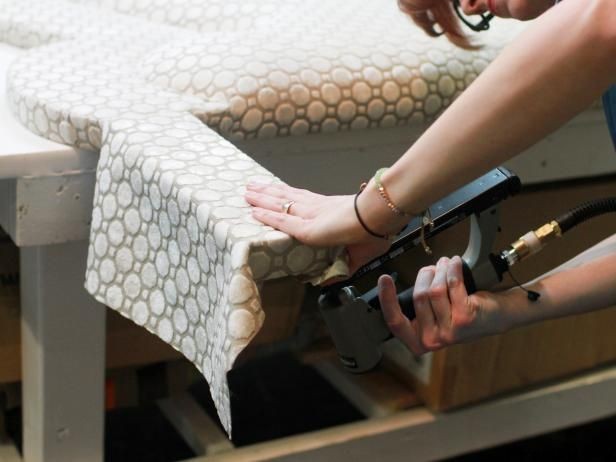
Cut fabric to cover the padded area generously. Center it over the section, smooth wrinkles, and staple beyond the padding to avoid air pockets. Use temporary staples first, ensuring pattern alignment. Wrap bottom fabric around to the back, then secure permanently.
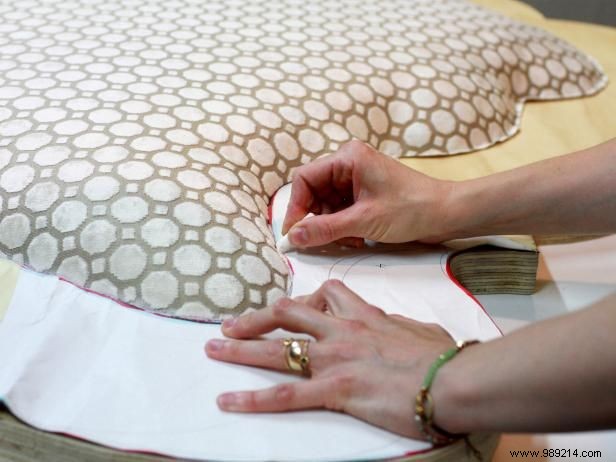
Use the excess template to chalk the border edge onto the fabric.
Trace the template onto fabric back, adding 1/2-inch seam allowances. Cut boxing strips long enough to encircle the perimeter plus extra for stapling; height about 3-1/2 inches (2 inches over frame thickness). Cut as one piece or sections, minding pattern direction.
For welt cord, cut 1-1/2-inch bias strips (45 degrees) long enough to surround the perimeter. Mark and trim ends.
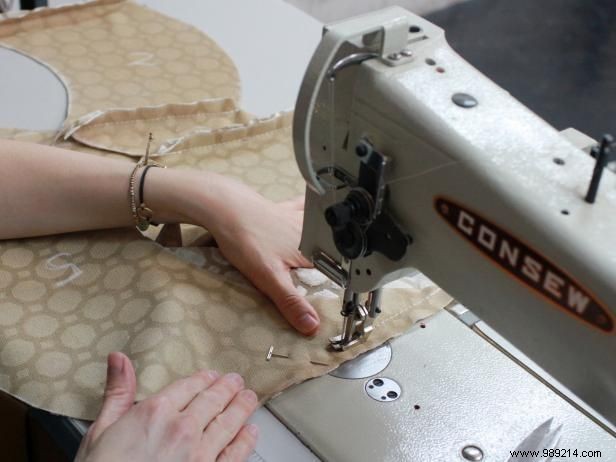
Sew border sections right sides together if pieced.
Match marked and unmarked welt ends, cutting complementary angles for seamless joins.
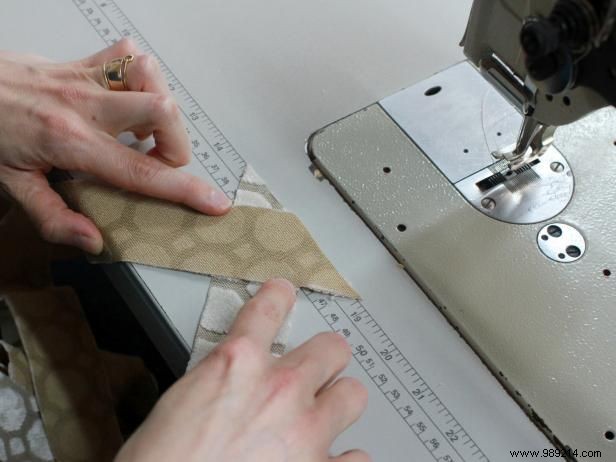
Right sides up, overlap ends slightly (1/2-inch seam allowance) in a T-shape.
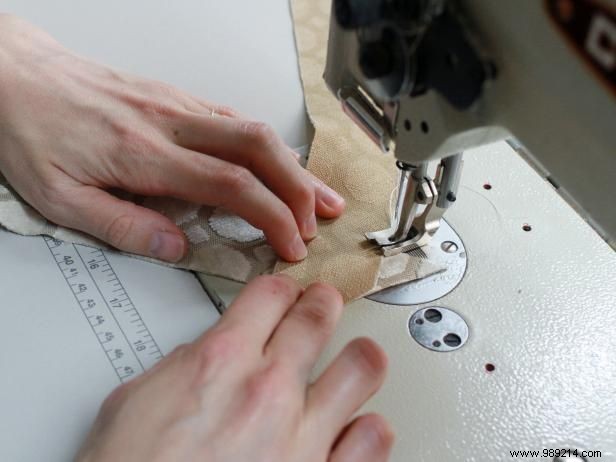
Sew strip ends together. Repeat to form a continuous loop.
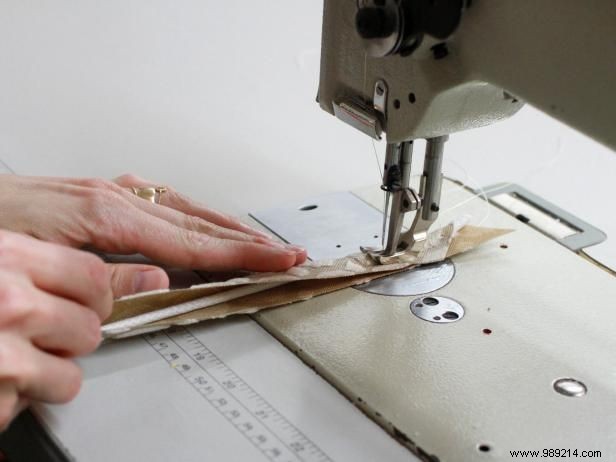
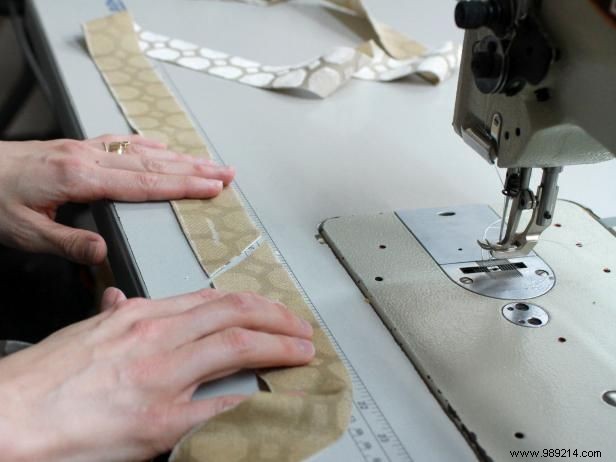
Wrap fabric around cord, sew close to cord using a piping or zipper foot. Press seams open.

Sew welt tail aligned with border's outer edge.
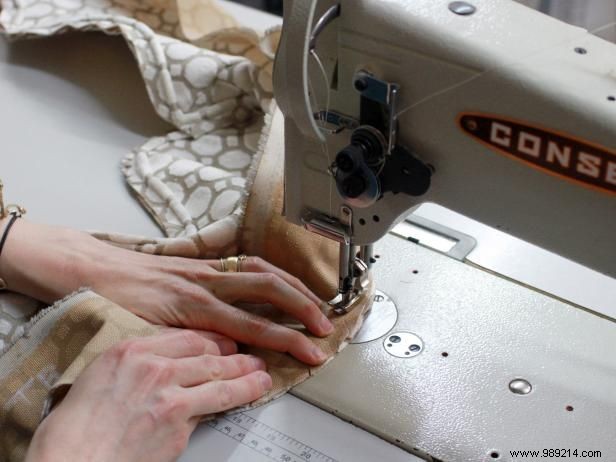
Right sides together, attach boxing to border exterior.
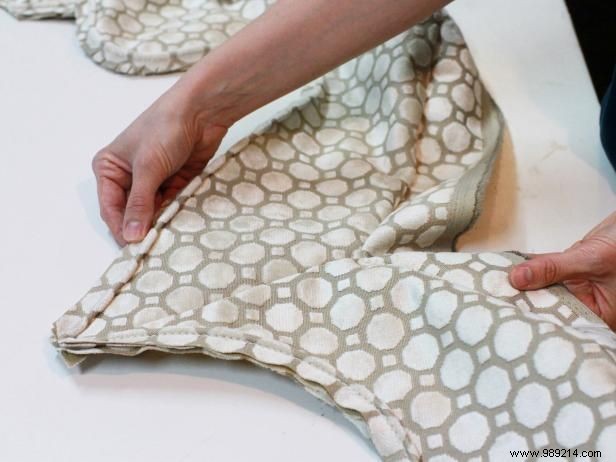
With border and boxing complete, position for stapling to the headboard.
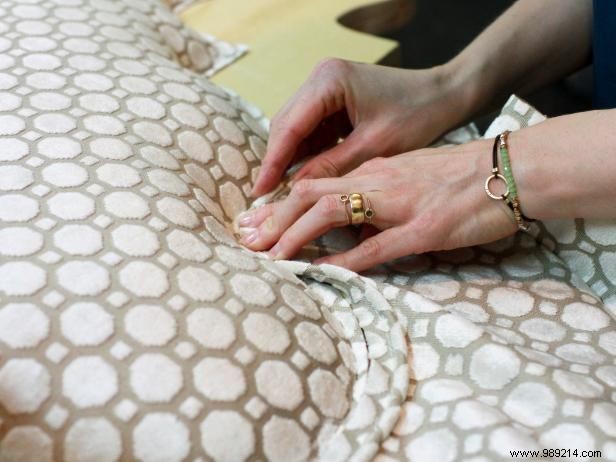
Align along the chalked guide line.
Lift fabric, staple seam allowance to headboard (blind tacking), working around the perimeter.
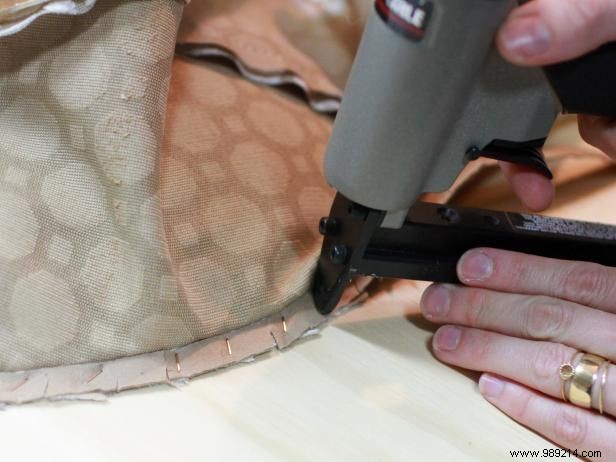
Staple cardboard tack strips over seam allowances for strength.
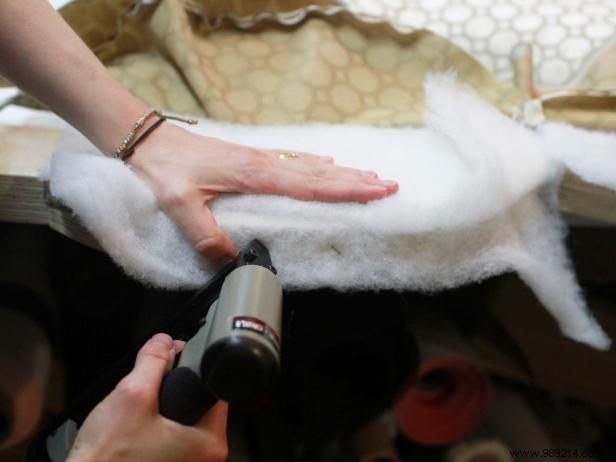
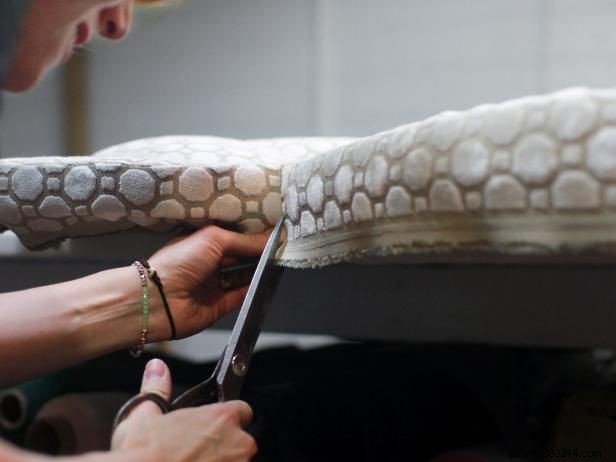
Layer Dacron batting; staple only the bottom half to wood, letting top cover staples. Trim flush.
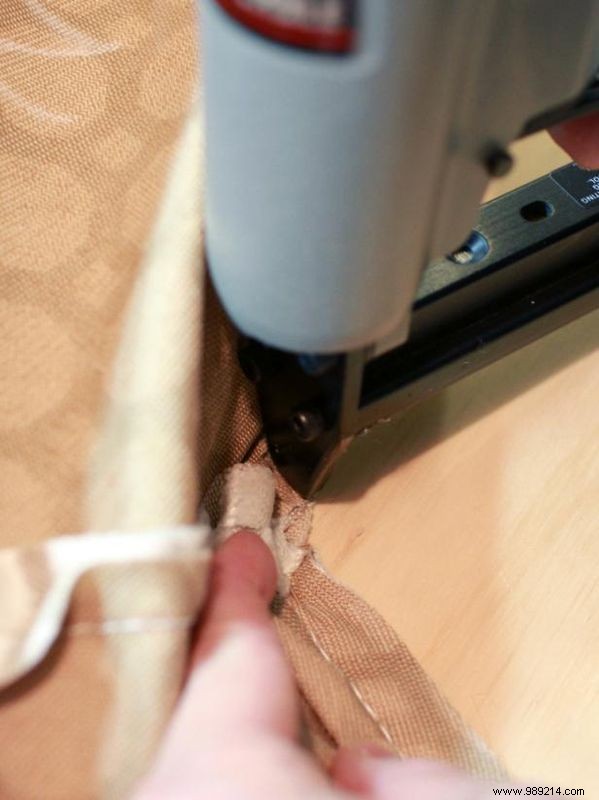
Tautly wrap and staple border fabric to back, clipping corners for flat lies. Continue over leg junctions.
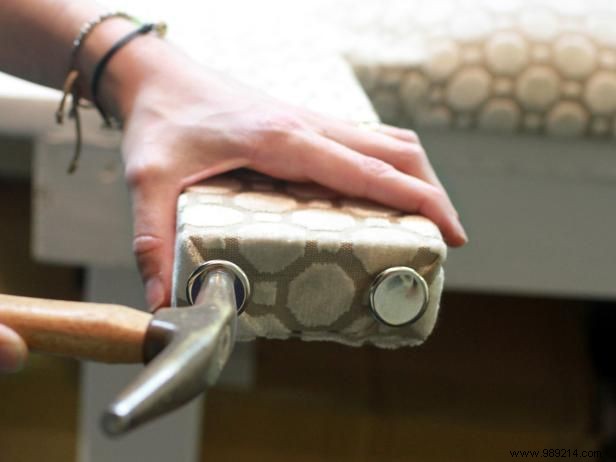
Cut fabric to cover each leg fully; blind-staple top edge, reinforce with cardboard. Repeat for second leg.
Pull fabric down, hem edges neatly, and staple to leg backs. Repeat for other leg.
Add protective glides to the leg bottoms to safeguard floors.

Conceal the frame rear with sewn dust cover fabric, stapling around the perimeter.
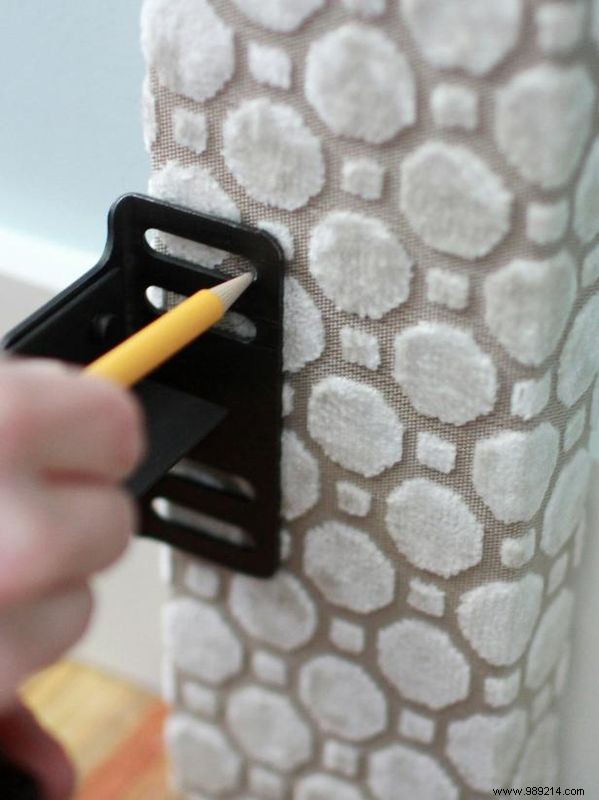
Align standard bed frame ends with legs; mark bolt holes.
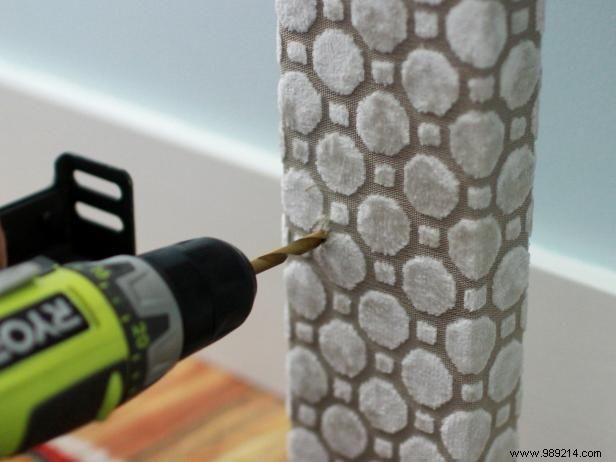
Clear fabric at marks, drill through legs matching bolt diameter.
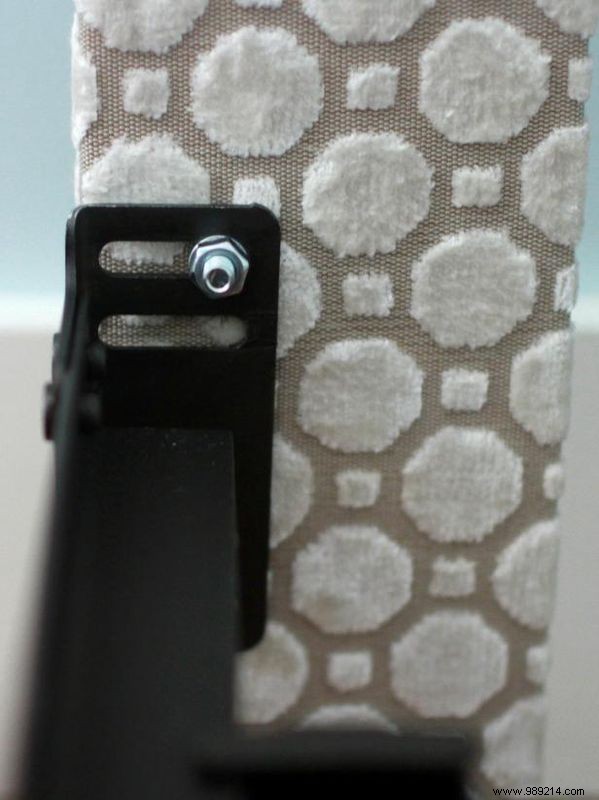
Insert bolts from back through legs and frame; tighten with washers and nuts.
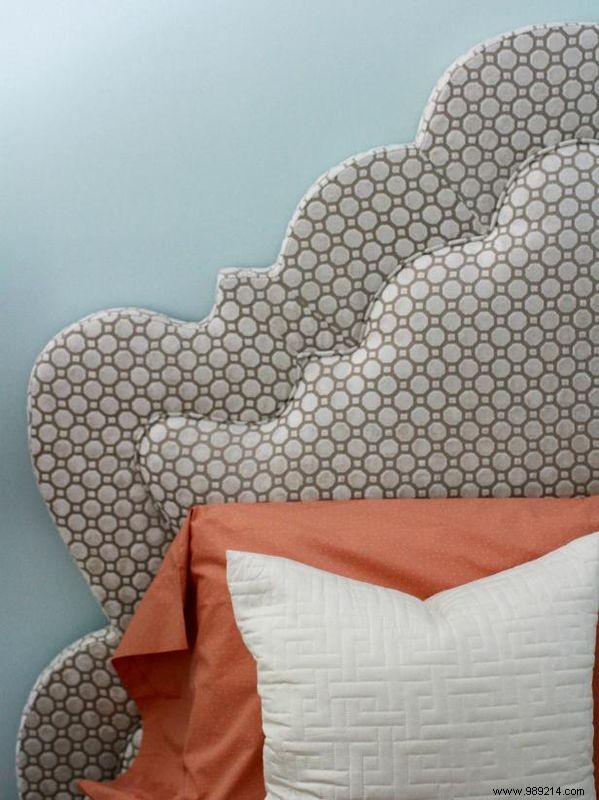
Enjoy a bespoke, professional-quality headboard customized to your style, budget, and space.