First, securely attach the angle brackets to the wall at your desired shelf locations.
For the shelf itself, start with a skin or liner. Layer a 5/8-inch plywood piece at the bottom, followed by a luan spacer matching the thickness of the angle bracket, and finish with the top skin.
Note: Angle iron brackets are made from 3/16-inch thick steel.
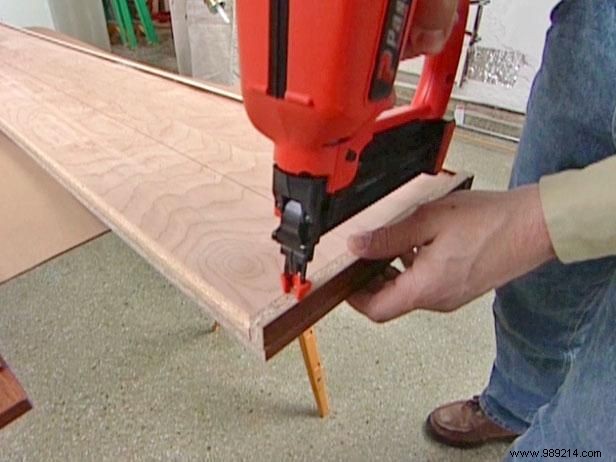
Glue the 5/8-inch plywood to the bottom of the skin. Then, glue the skin's edges to the front and sides of the shelf core. Secure with nails until the glue dries (Image 1).
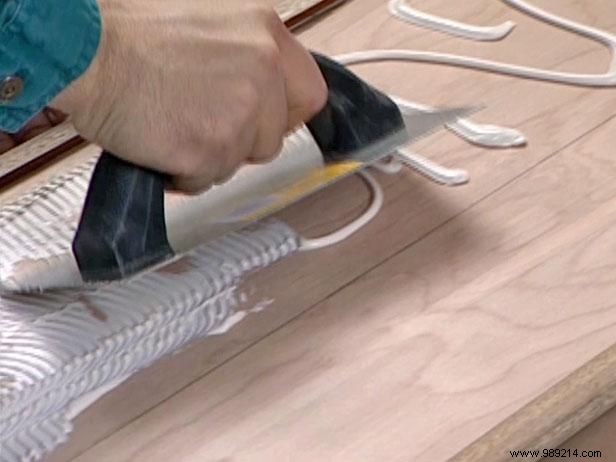
Apply a bead of paneling or construction adhesive on top of the plywood, spreading it evenly with a trowel (Image 2). This prepares the base for the luan layer.
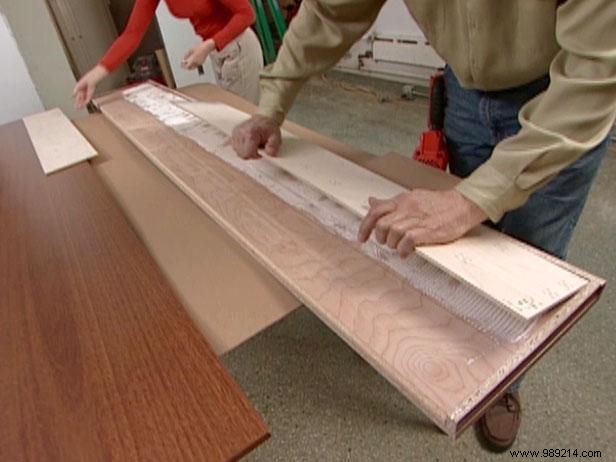
Once the adhesive is spread, place the luan and fasten it with nails. The luan should be about half the shelf's width, providing clearance to slide over the angle bracket.
Repeat the adhesive application on the luan, then position the top skin and secure it. This forms the shelf's bottom, which won't be visible, so standard nails work fine for the assembly.
After gluing the layers, drill pilot holes near the shelf ends for the T-bolts, aligning them with holes to be drilled in the angle iron.
Use a slightly larger bit to countersink the hole for the T-bolt head. Repeat on the opposite side for the T-nut, whose sharp points embed securely into the wood.
Clamp the assembly tightly and let the glue dry fully.
You can install the shelves on the brackets while the glue continues to cure for faster setup.
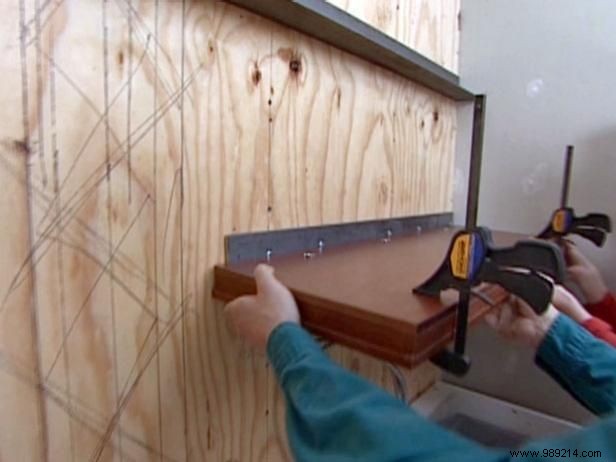
Slide the shelf onto the angle bracket. Using the pilot holes as guides, drill through the angle iron for the T-bolts (Image 1).
Note: Always use a hardened alloy drill bit for drilling steel.
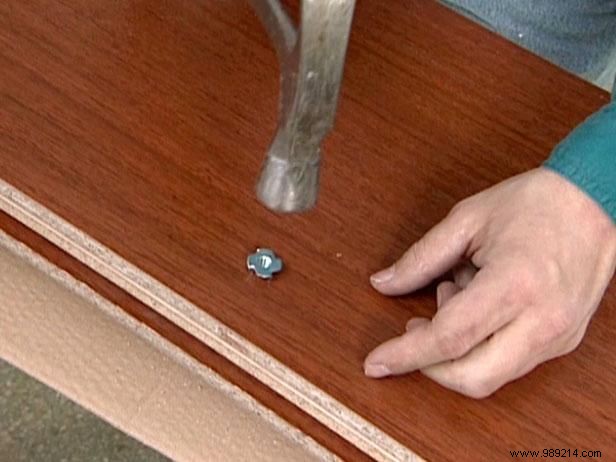
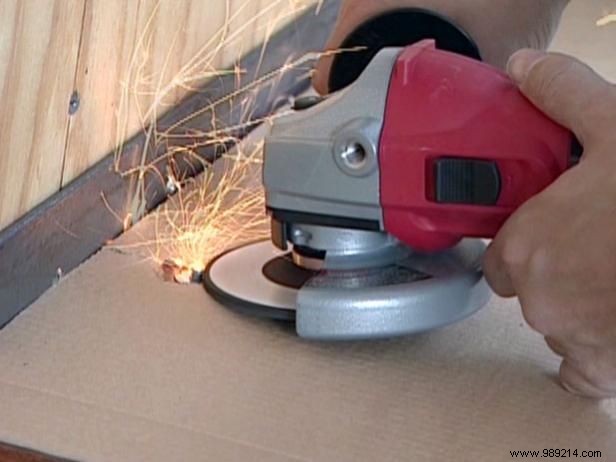
Taper the T-bolt ends to sit flush below the shelf surface. Protect the wood with cardboard during installation (Image 2).