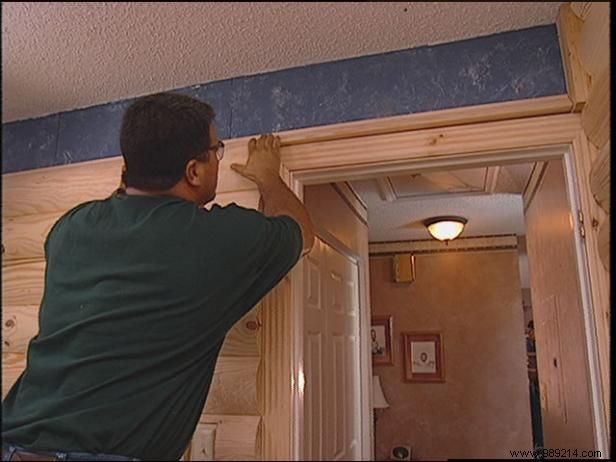
As an experienced woodworker, start by notching the log siding to fit around the door trim. Precisely measure the trim's length and position, then use a jigsaw for clean cuts. Position the notched siding and nail the tongue securely to the wall bolt.
Next, add one full log above the door. Complete the rest of the third wall and the entire fourth wall with straightforward siding installation.
To build sturdy wall shelves, saw 4-foot sections of log siding. Cut two 4-foot standards from 2x4 lumber. Trim 1-inch dowel rods to 7-inch lengths.
Mount the 2x4 standards on the wall, spaced 2 feet apart. Fasten with 3-inch wood screws. Insert a temporary screw to verify plumb, then secure to the high points of the rounded siding.
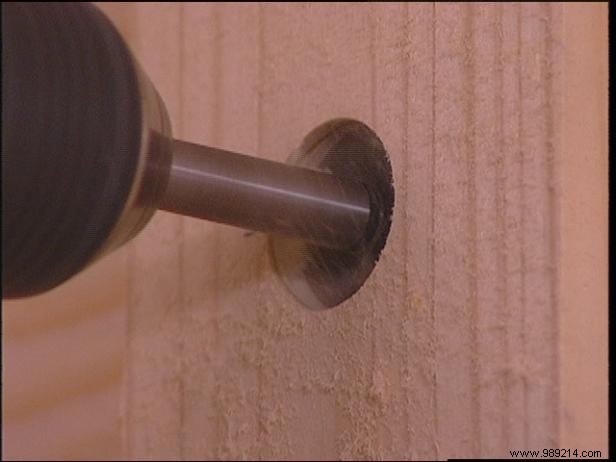
Drill four 3/4-inch-deep holes in each standard using a 1-inch Forstner bit to accept the dowels. Apply wood glue to holes and dowel ends, insert rods, and tap gently with a hammer to seat them firmly.
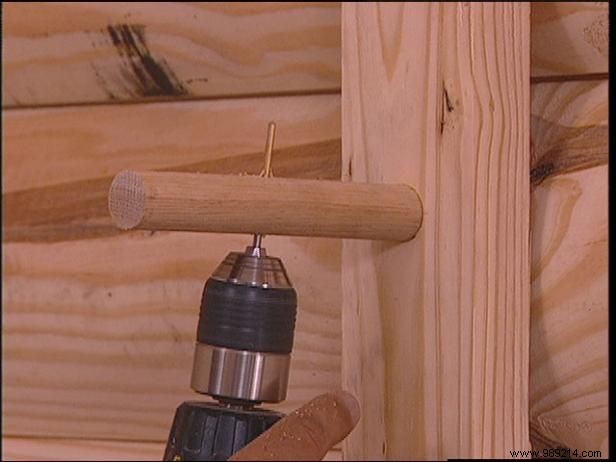
Pilot holes through the dowel centers with a small wood bit. Rest a 4-foot shelf on the dowels, with 1-foot overhangs on each end.
Check level with a torpedo level and adjust as needed. Secure the shelf to the dowels using 2-inch screws for a rock-solid finish.