Using a paste brush, apply wallpaper adhesive to a 2-square-foot section of the wall. Work in small areas to prevent the adhesive from drying too quickly. Always wear rubber gloves to protect your skin.
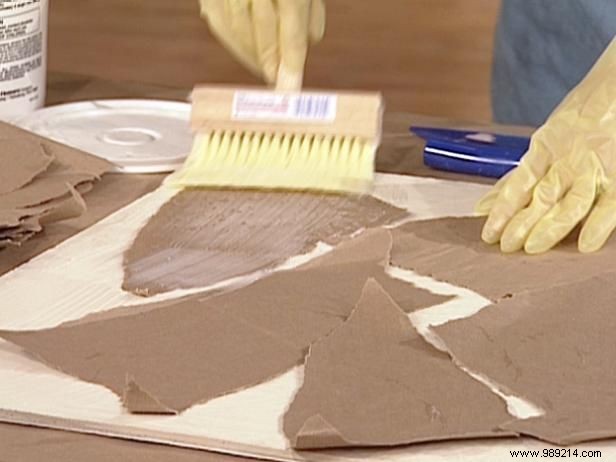
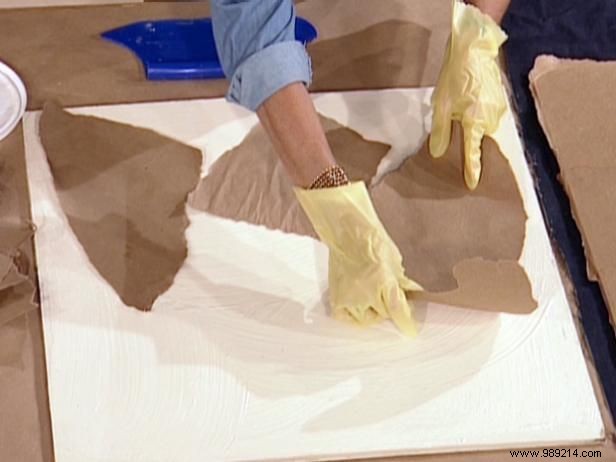
Arrange kraft paper pieces in a random mosaic pattern, piecing them together like a puzzle to cover the surface. Start with larger pieces for the base layer. Once covered, apply more adhesive over the base and add additional layers of paper.
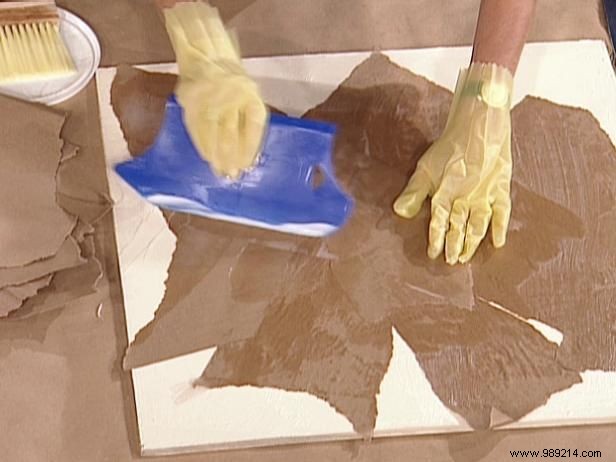
Using a soft plastic tool, smooth away wrinkles and ensure edges and corners are flat and secure. Continue layering paper until the entire wall surface is fully covered.
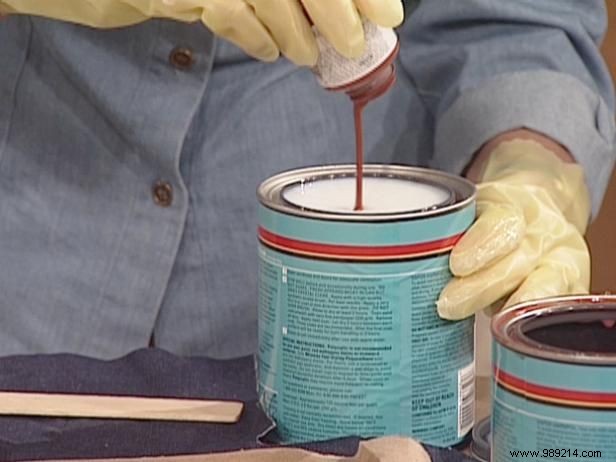
With the wall fully covered, mix a glaze by stirring a small amount of brown acrylic paint into polyurethane. Apply a thick coat of this enamel over the paper layers.
The layered paper creates natural tone variations for a beautiful patina effect, perfect for warm, earthy room schemes.