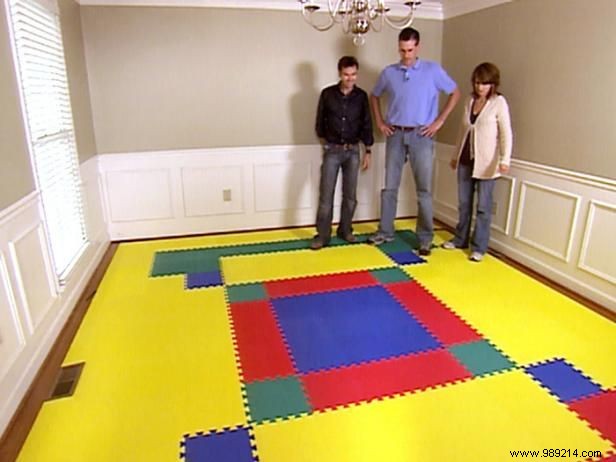
As experienced DIY parents know, protecting your floors while adding a playful vibe is key for a kids' craft space. Opt for interlocking foam tiles—they're colorful, cushioned, and safeguard the surface underneath (see Figure A). These tiles snap together effortlessly without glue or primers. Design your own pattern, and use a utility knife to trim around vents or fixtures. Stock extras for quick replacements if damage occurs.
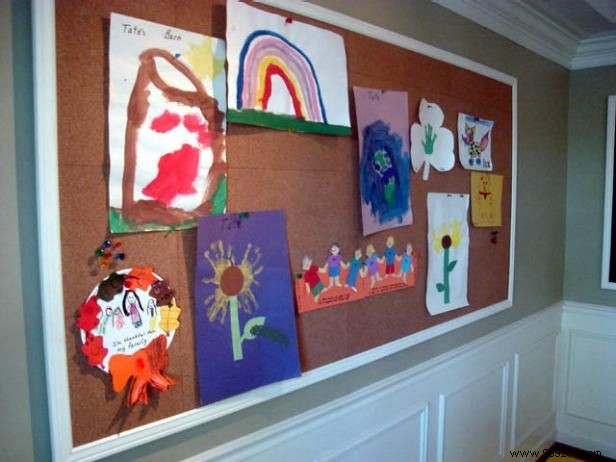
Shield walls from little artists' masterpieces with durable, removable display boards. Chalkboards, magnetic panels, and corkboards showcase crafts while preventing damage—perfect for temporary setups. For chalkboards, paint sheet metal with chalkboard paint from home centers. Magnetic boards? Cut sheet metal to size, glue to plywood with contact adhesive (wear gloves—edges are sharp!). Corkboards use construction adhesive on cork tiles to plywood. Finish with wood trim to cover edges, frame in molding, and secure to studs with wood screws for stability.
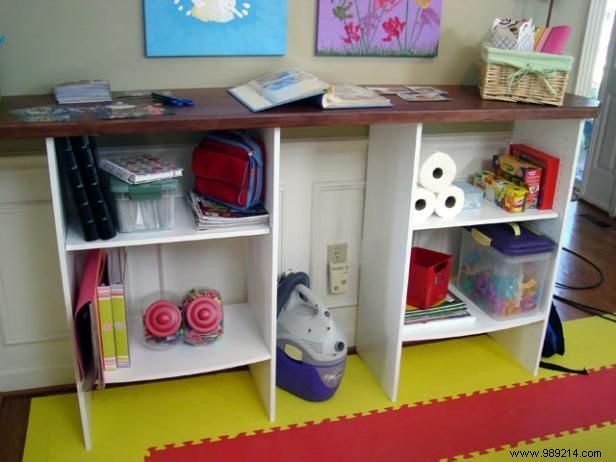
Every craft room needs reliable storage and workspace. Start with pre-made shelving units topped by a pre-cut 3/4-inch plywood slab with veneer. Follow manufacturer instructions to assemble, wall-mount with brackets for safety (essential around kids to prevent tipping), and attach the top using plastic brackets and screws. Adjust shelves for flexibility. Round and sand front corners before painting for extra childproofing.