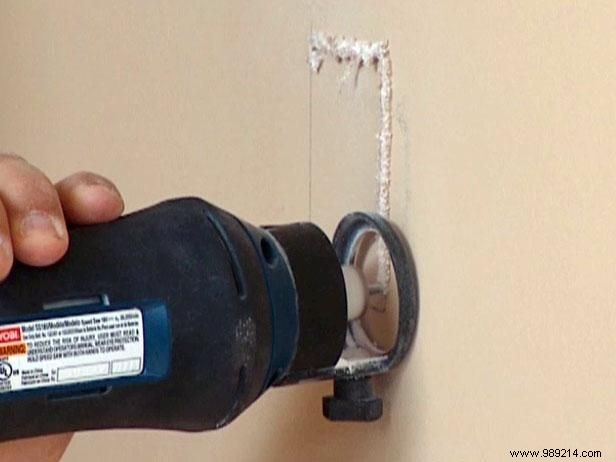
Start by adding a dedicated outlet behind the planned aquarium location. Turn off the power at the breaker. Cut a hole in the wall for access, measure and mark the spot for the new outlet, then use a spiral saw to cut out the drywall.
Fish non-metallic sheathed cable (NM cable) through the opening, trim it, and pull it into the electrical box. Strip the wires: connect the green ground wire to the ground screw, black hot wire to the brass terminal, and white neutral to the silver terminal. Secure the outlet.
Pull the NM cable through the existing junction box, make connections there, restore power, and test the outlet thoroughly.
As experienced DIYers and contractors know, electrical work demands caution. If you're new to it, hire a licensed electrician to ensure safety and code compliance.
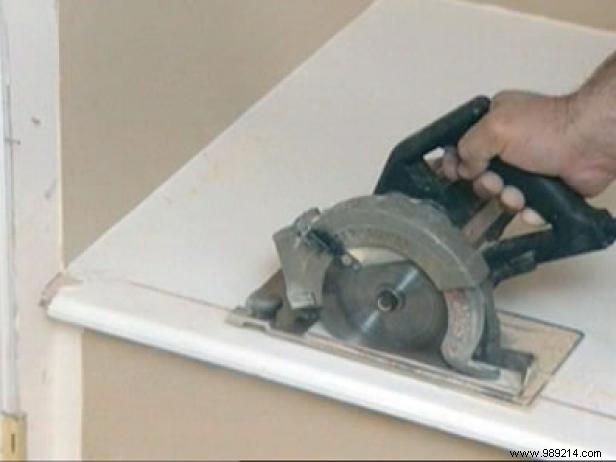
Remove the trim from the window seat ledge. Measure the top depth plus drywall thickness (1/2 inch) and mark with a chalk line. Use a circular saw to start the cut, then finish with a reciprocating saw for clean removal.
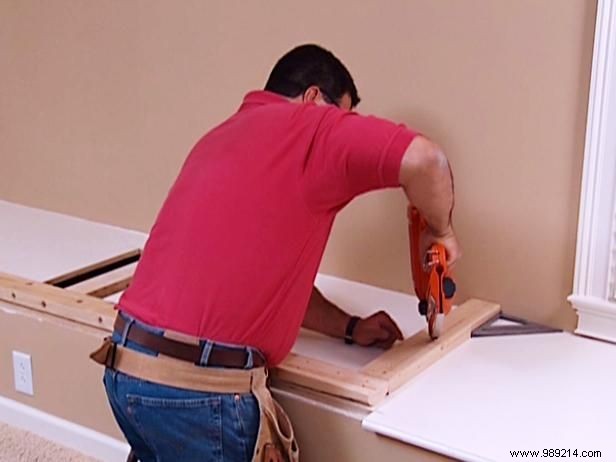
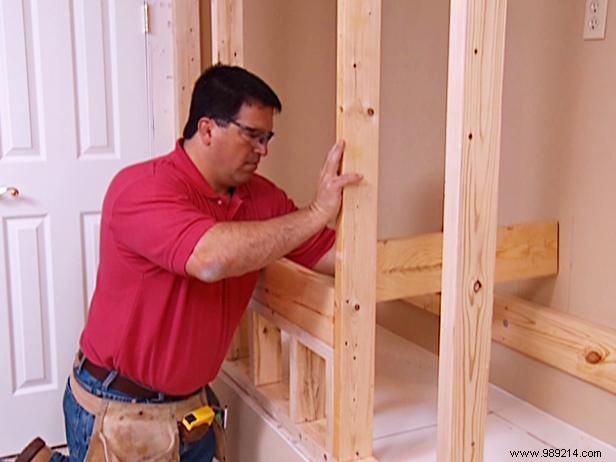
Begin framing (Image 1): Install the bottom plate, subtracting 1/2 inch for drywall. Measure the end stud from the ledge end to the outside wall, minus 1/2 inch for drywall.
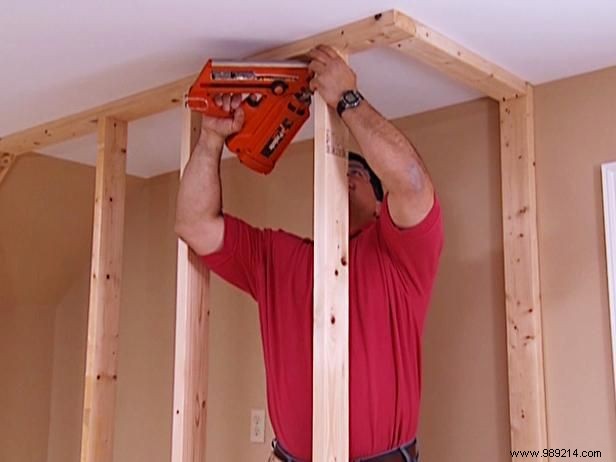
Position the first stud plumb against the wall by the door frame using a level. Install top plates angled to the ceiling (Image 2): Drill into 2x4s, insert 4-inch bolts into roof holes, and tighten.
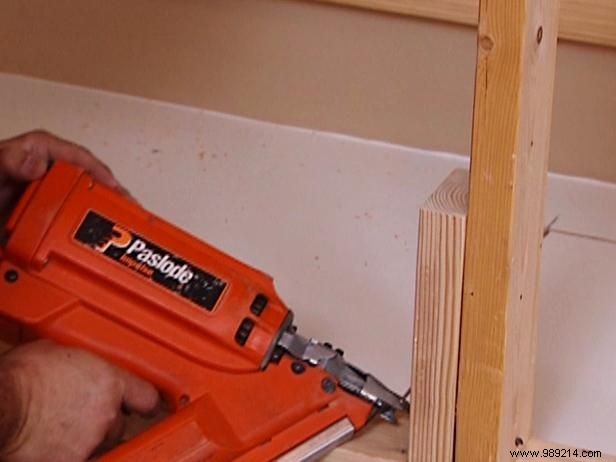
Cut wall studs to length—the first two tops at angles and varying lengths; others uniform. Install a 2x6 cove brace on the exterior wall, supported by studs below.
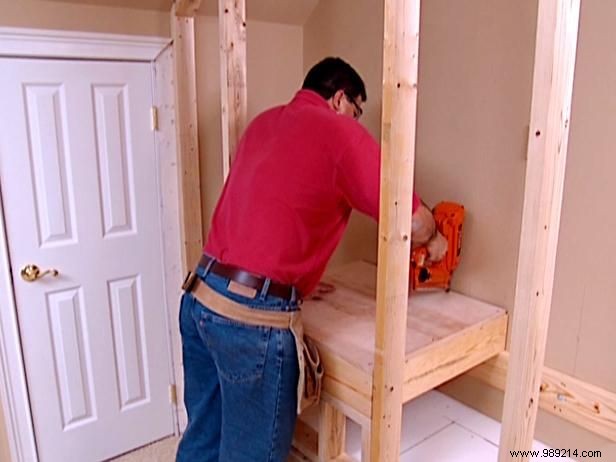
Secure front gussets with bolts and nails (Image 3). Add 2x6 joists across braces (Image 4), then top with 3/4-inch plywood for the tank shelf (Image 5).

Add a header board over the frame and a central vertical stud for drywall anchorage. Finish with studs and a backing plate for the shelving area.
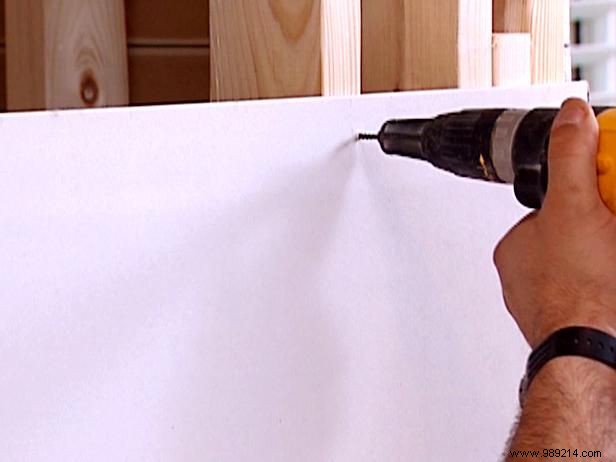
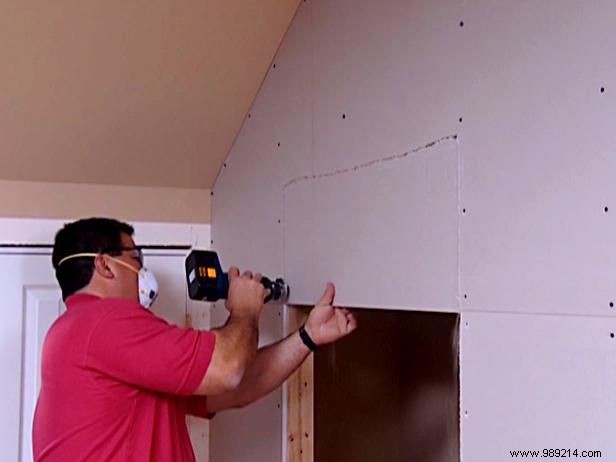
Start at the new wall end: Secure the first drywall sheet to the front studs (Image 1). Use a spiral saw to cut openings for shelving and tank (Image 2).
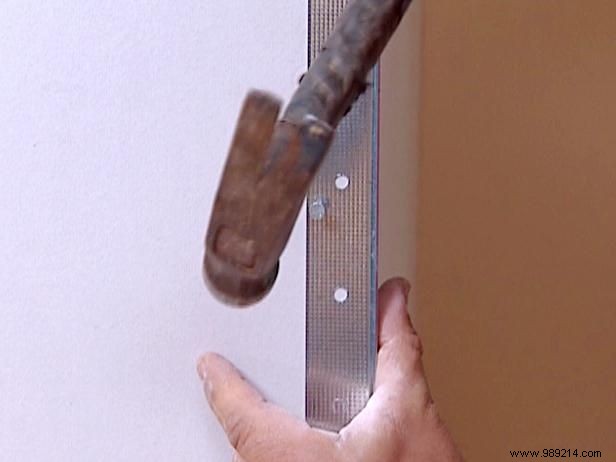
Fit and install drywall for the angled ceiling section if your setup requires it. Finish by attaching corner bead (Image 3).