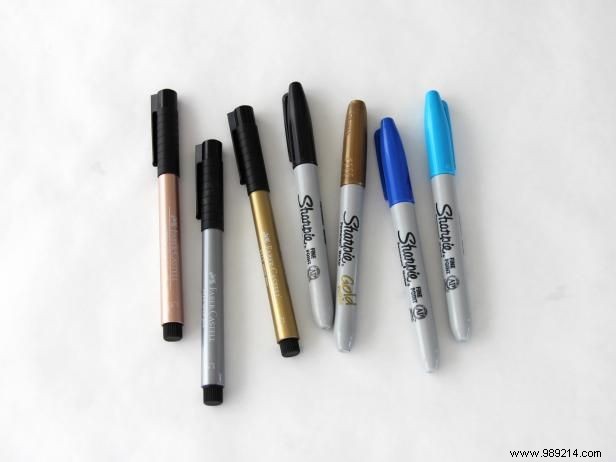
I've decorated Easter eggs for years using a range of permanent markers, including metallic varieties. While freehand doodles are fun and simple, the ombre effect has become my favorite. It's far easier than you might think and much quicker than mixing paints.
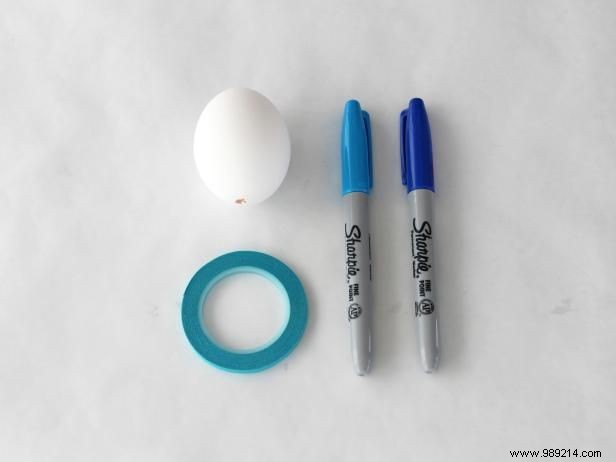
Begin with two shades of the same color family. I selected blue tones and added thin craft tape for crisp contrast.

Apply your desired pattern to the egg using tape, pressing down firmly for a secure hold.
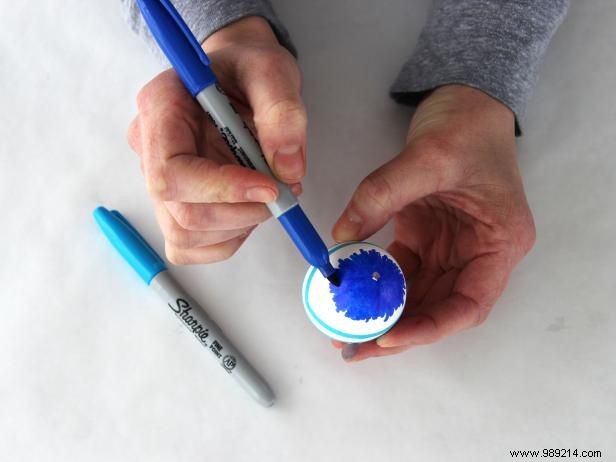
Color the top of the egg with the darkest shade.
Wear rubber gloves to keep marker ink off your fingers.

Add a ring of the lighter color just below the darker section, above the tape line.
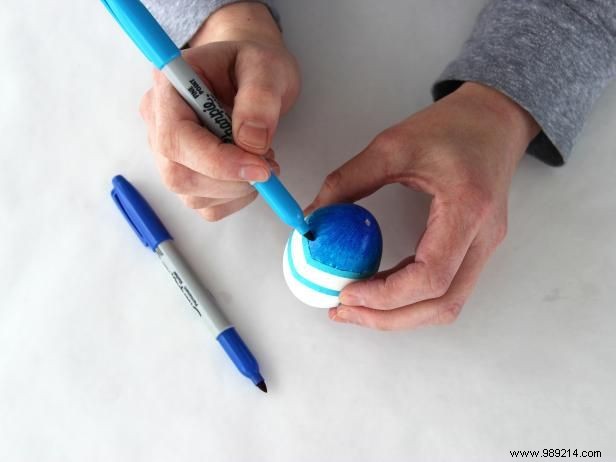
Blend the line between light and dark shades with the lighter color. Repeat on the bottom half, then fill the egg's center with the lighter shade.

Allow the ink to dry fully, then gently remove the tape.
For seamless ombre without tape lines, blend continuously from top to bottom, keeping the center lightest.