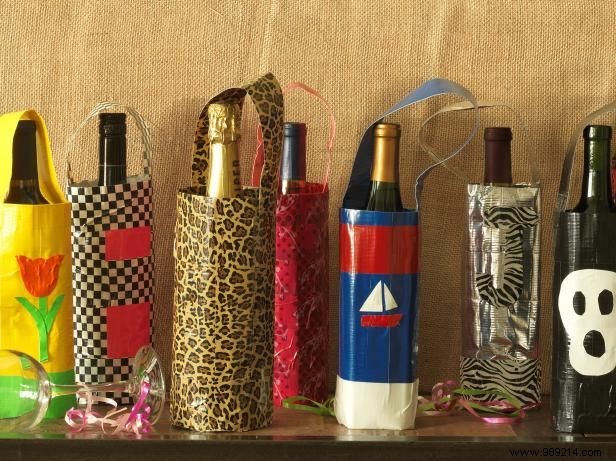
As a crafting enthusiast with years of experience making durable, eye-catching gift packaging, I've found duct tape to be a versatile and affordable material. For bulk projects, use plain tape inside and colorful decorative tape outside to keep costs low while achieving a professional finish.
Essentials:
Glue gun
Scissors
Masking tape (assorted colors and patterns)
Cardboard
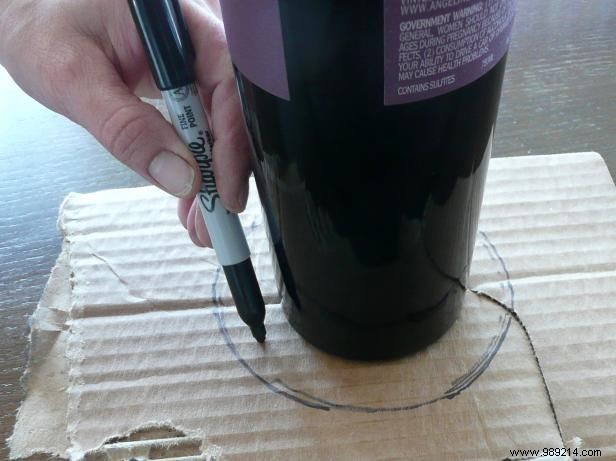
Wine bottle (as a form)
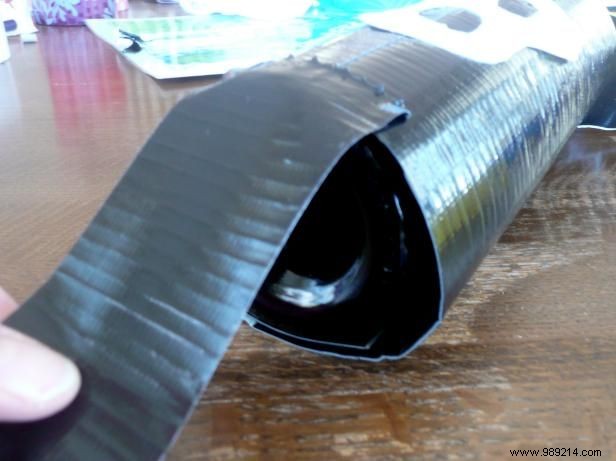
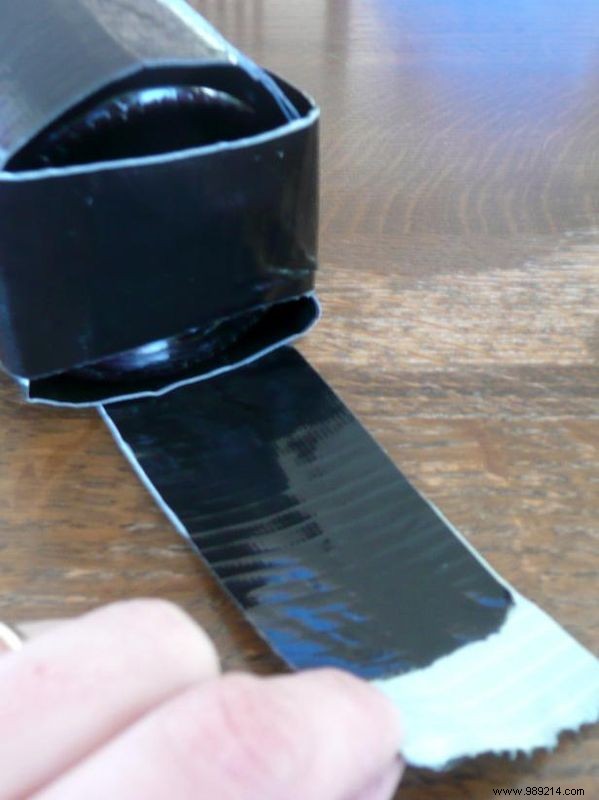
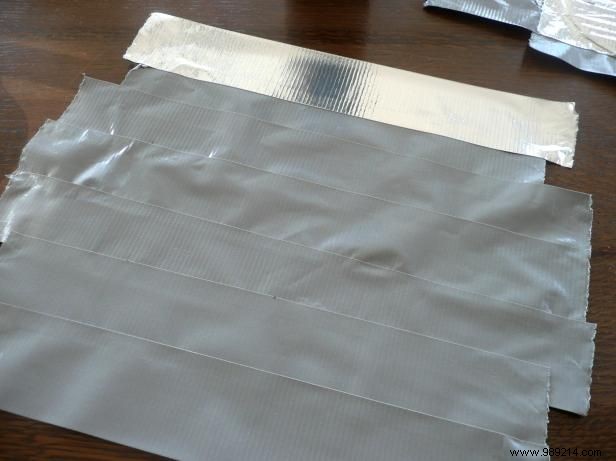
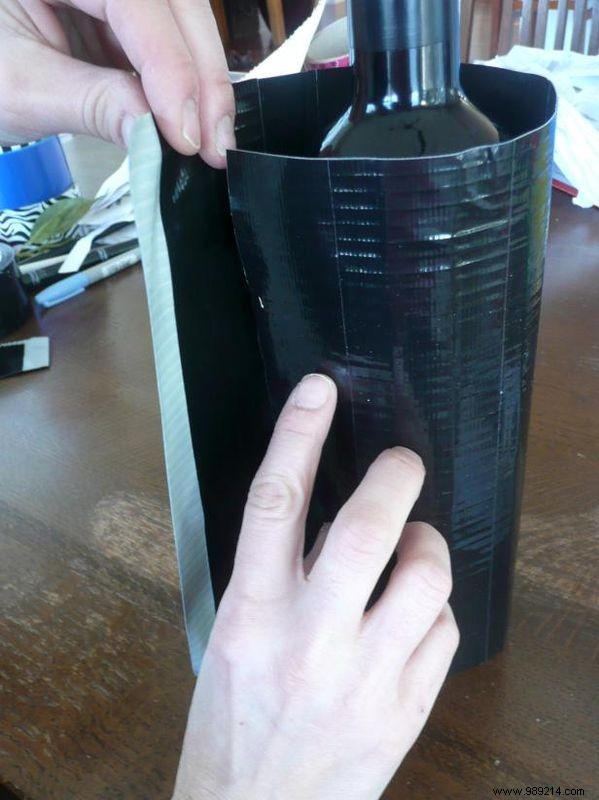
Lay strips of masking tape with slight overlaps, sticky side up. Cover them with another layer of tape, sticky side down, to create a non-sticky fabric. Leave one edge uncovered for sealing. Make it wide and long enough to wrap around the wine bottle, stopping short of the neck.

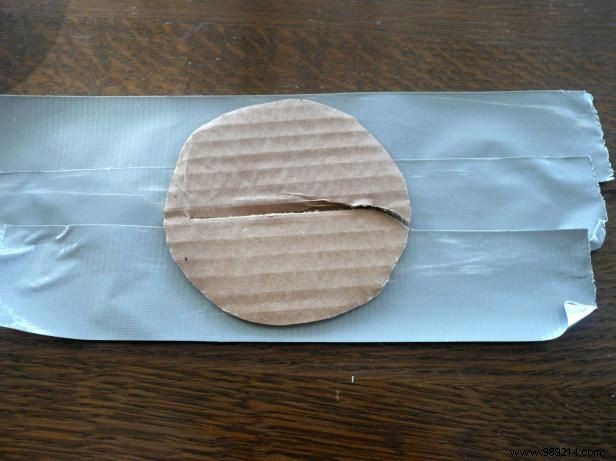
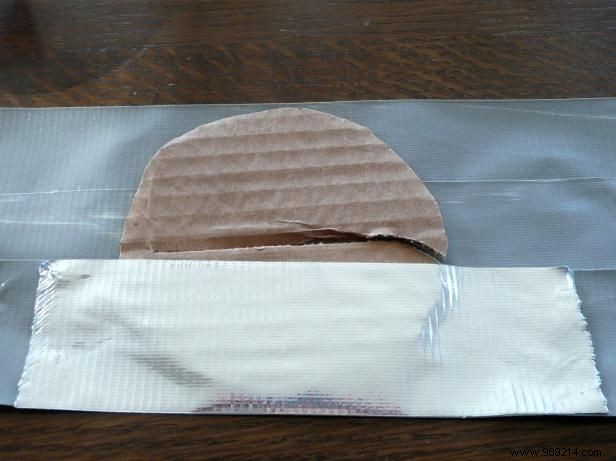
Cut cardboard to match the bottle's base shape. Cover both sides with tape—use decorative tape on the outer side. Extend the outer tape about an inch beyond the cardboard for adhesion.
Wrap the tape body around the wine bottle and seal with the exposed sticky edge. Position the bottle on the prepped cardboard bottom, then fold up the extended tape to secure the sides.
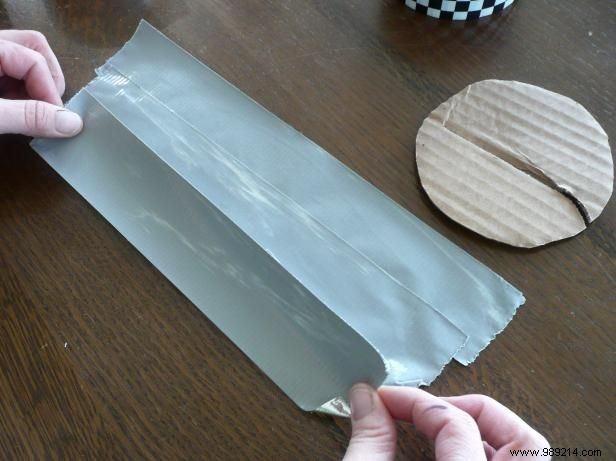
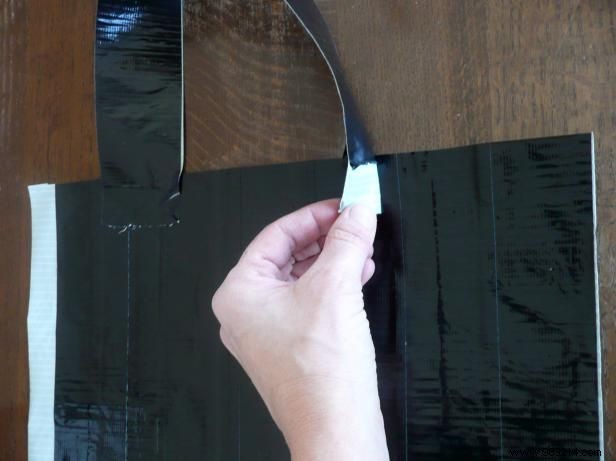
For the handle, fold a single strip in half or overlap two strips side-by-side and fold, hiding the sticky sides. Leave sticky ends exposed for attachment. Glue or staple the handle securely to the bag's exterior.
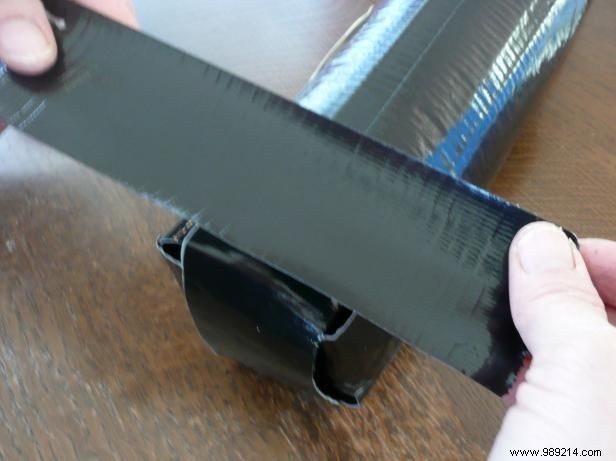
Wrap tape horizontally around the bottom to seal rough edges. Repeat where the handle attaches for a clean, professional look.
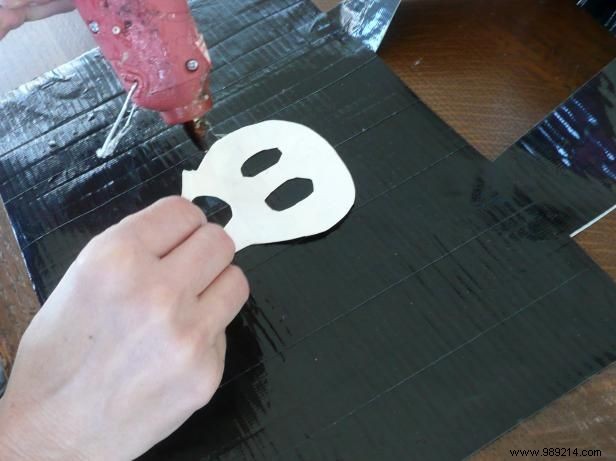
Layer colorful tape or craft paper into fun motifs—like a Halloween skull—and hot glue them to the front. Personalize for any occasion.
For simplicity, cross two duct tape pieces for the base: fold edges leaving 1-inch sticky tabs, attach, and add perpendicular tape. Cover the bottom edge with a final strip.