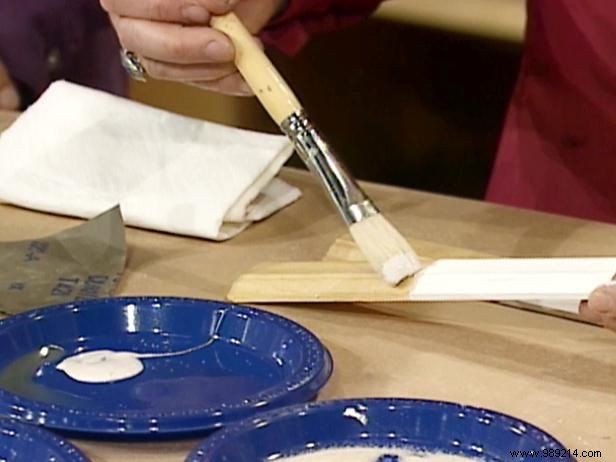
As experienced gilders know, preparing a wooden picture frame for gold leaf starts with a base coat of lacquer to seal the porous wood. Next, apply approximately 12 layers of gesso using a soft bristle brush. Allow each layer to dry overnight, then gently sand with fine sandpaper for a smooth surface before the next coat. This builds a strong, even foundation trusted by professionals worldwide.
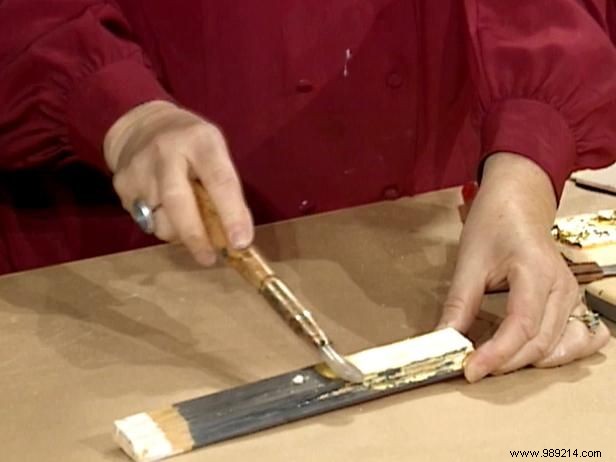
Once the gesso is complete, add several layers of pigmented clays known as boles. These provide essential cushioning for the delicate gold leaf and enhance the final shine. Boles come in various colors—black for a bright American-style finish, or yellow topped with red for traditional European elegance. Mix dry clay pigment with rabbit skin glue to create a brushable solution, applying five or six layers. Let each dry overnight for optimal adhesion and depth.
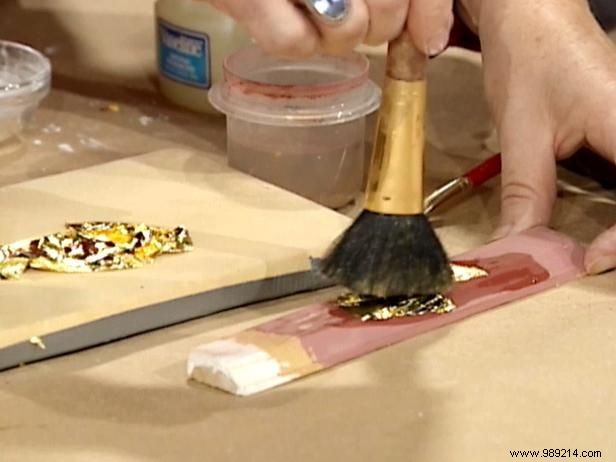
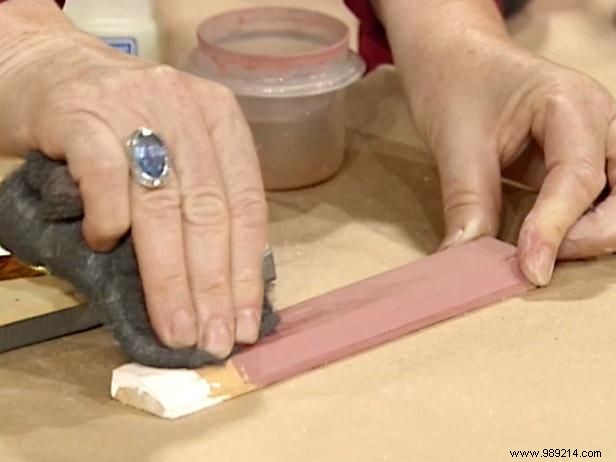
After the final bole layer dries, buff the surface to a silky finish using 0000 steel wool. Brush on a gilding solution of denatured alcohol and distilled water as size, then delicately lay 24-carat gold leaf sheets onto the frame. Gently burnish with a soft bristle brush and allow to dry overnight. Finish by polishing the gold surface with an agate-tipped tool for that authentic, luminous professional sheen.