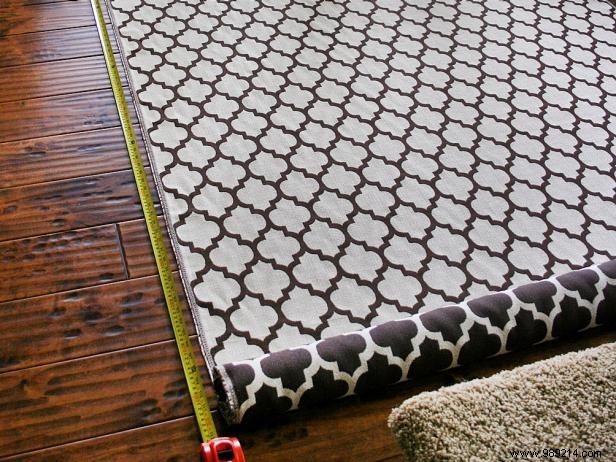
Measure from the top edge of the baseboard to the ceiling to find the headboard height. Add 12 inches for the fabric length. Cut two equal panels of fabric to this measurement.
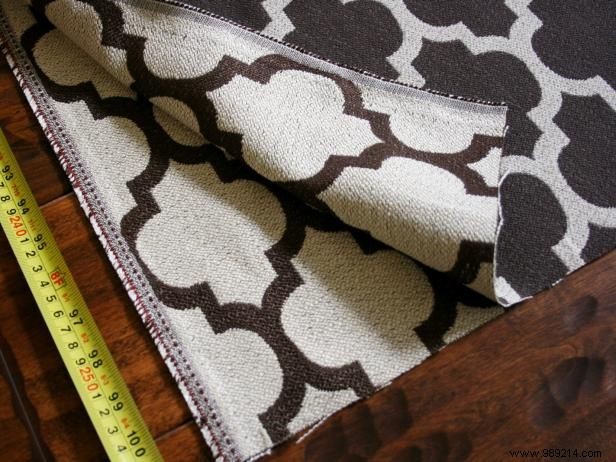
Stack the panels right sides together and pin the side seams, aligning any patterns on printed fabric. Sew along both side edges to form a long tube.
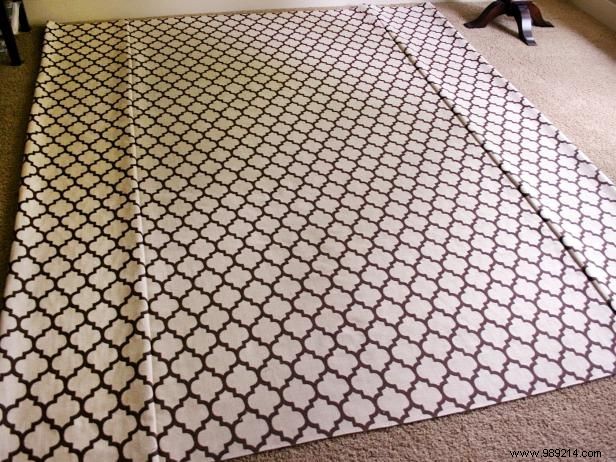
Mark and cut the center of the sewn fabric length to create two side panels. Open and iron the seams flat on the back.
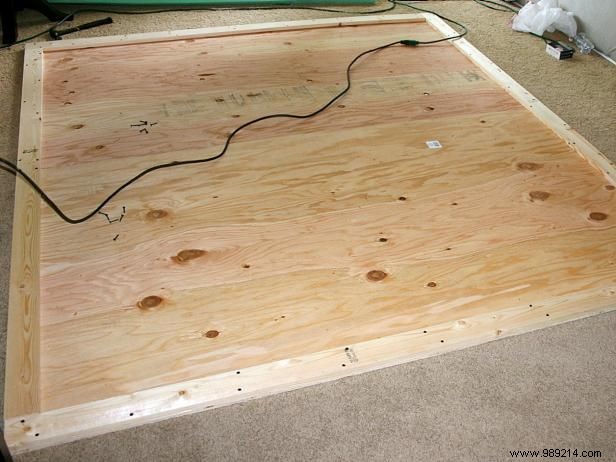
Based on your headboard dimensions, cut plywood and 1x4 lumber to size. Lay out the plywood for the headboard shape, then screw four 1x4s along the edges to form the frame.
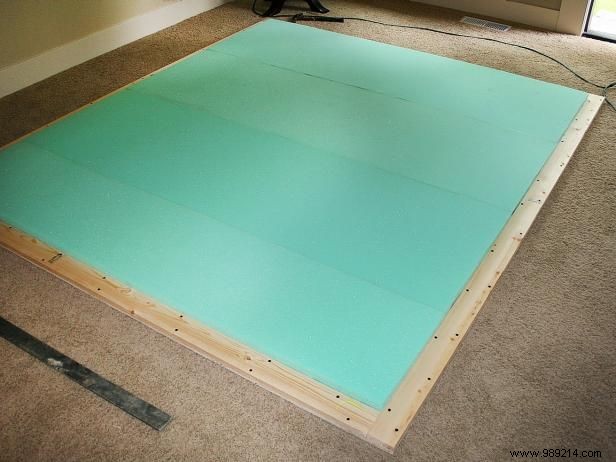
Cut four foam sheets to fit snugly inside the headboard frame.
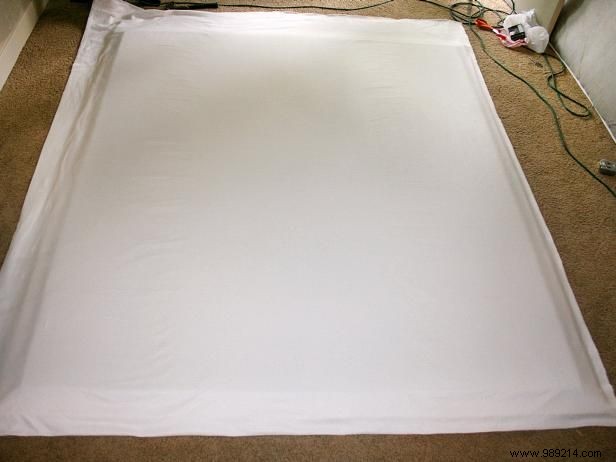
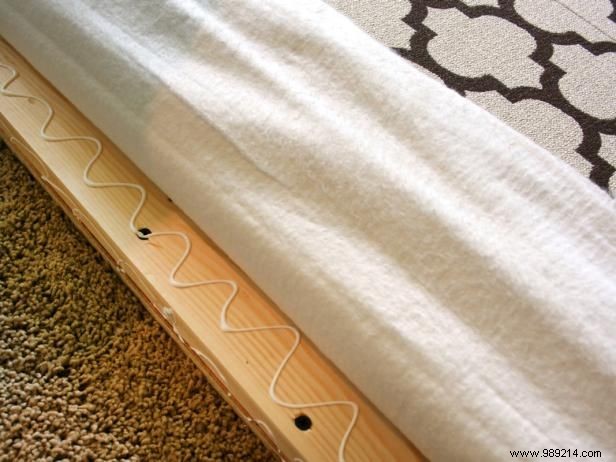
Lay two layers of batting over the foam and frame, allowing at least 2 inches of excess on all sides.
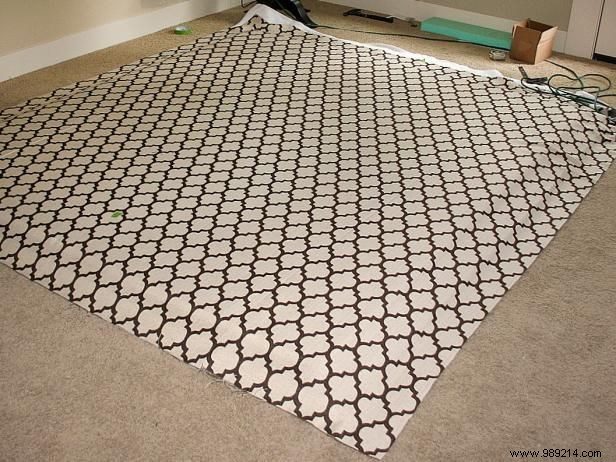
Center the fabric panel over the batting-covered frame, ensuring at least 4 inches of excess extends beyond all sides. Position it so patterns match on both left and right.
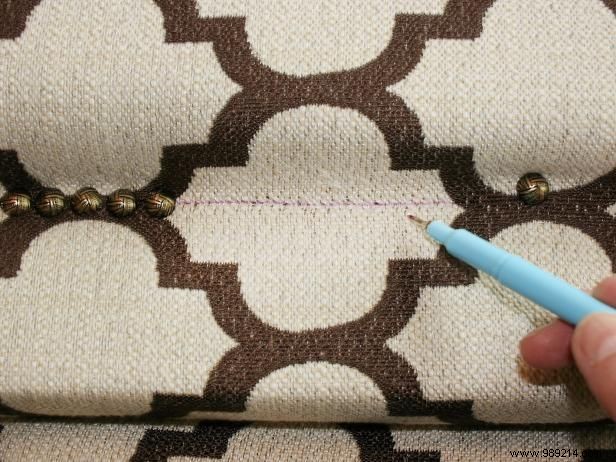
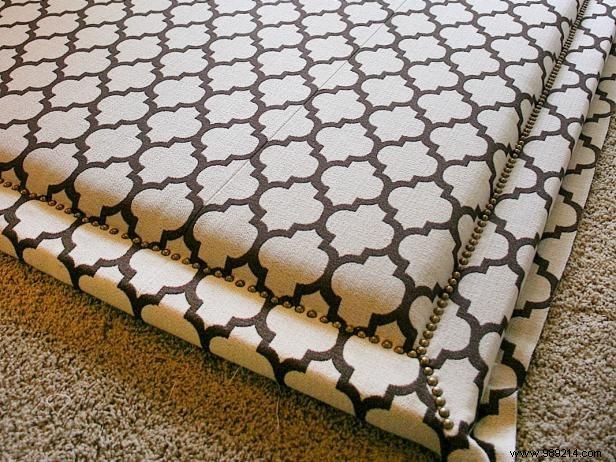
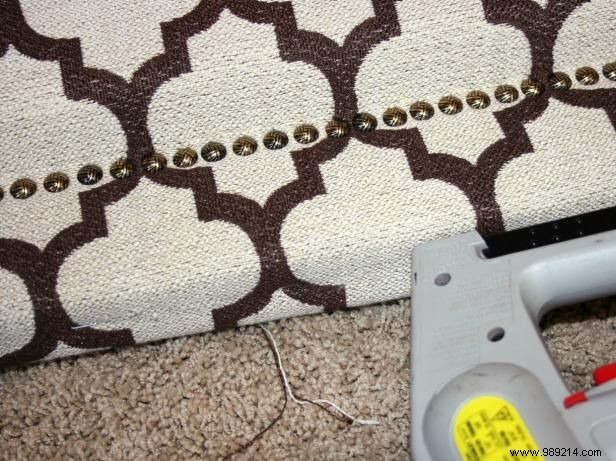
Tuck fabric and batting firmly under the frame edges. Hammer nailheads through the fabric into the frame every 6 inches, keeping fabric taut. Use a fabric marker for a straight guide line, completing the border around the frame.
Trim excess fabric from under the frame. Apply fabric glue along the top and side edges of the wood frame. Press fabric firmly into the glue, tucking under the frame. Allow to dry for at least 1 hour.
Fold excess fabric at each corner for a clean mitered look. Hammer nailheads along the top of the fold to secure.
Staple the fabric to the top and bottom edges of the headboard. Note: Avoid stapling visible side edges.
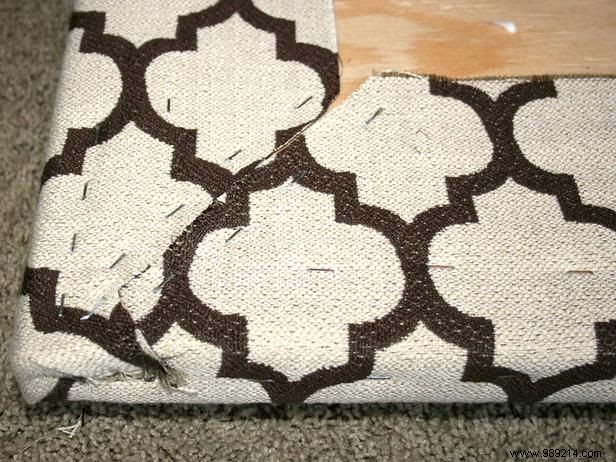
Flip the frame over, trim excess fabric, and fluff edges and corners. Fold fabric over the back and staple securely.
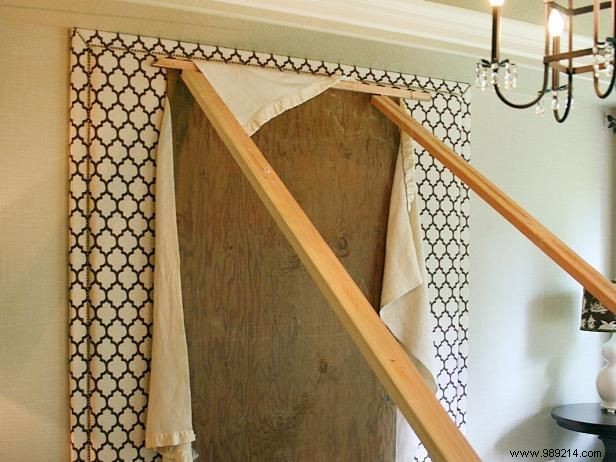
Apply heavy-duty construction adhesive to the back of the headboard. Position against the wall and press firmly. Brace with two 2x4s and a plywood sheet. Let cure for 48 hours before use.