This versatile photo frame headboard lets you effortlessly refresh your bedroom's look. Swap out the artwork for kids' drawings, vintage maps, or your own creations to match any style or season.
Measure your headboard dimensions to fit your bed perfectly. Select reclaimed wood planks in varying widths and species for a rustic, authentic appeal. Cut them to uniform heights, then sand and clean thoroughly for a smooth finish.
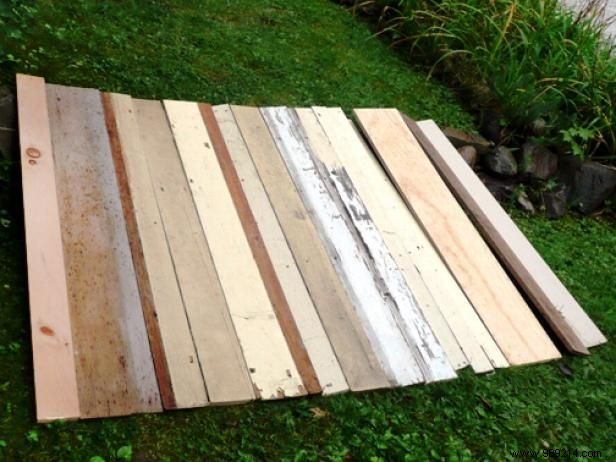
Lay out the wood planks randomly on a flat surface until they span the desired headboard width, creating a balanced, organic pattern.
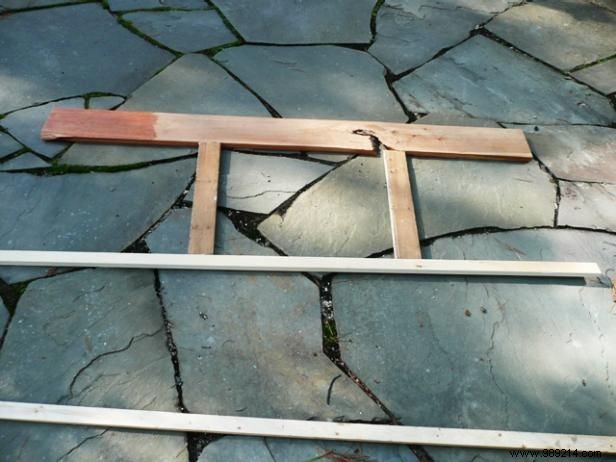
Position a long board across the top. Add two vertical supports for the artwork sides, plus two shorter horizontal pieces—one at the frame's bottom and another for headboard stability at the base.
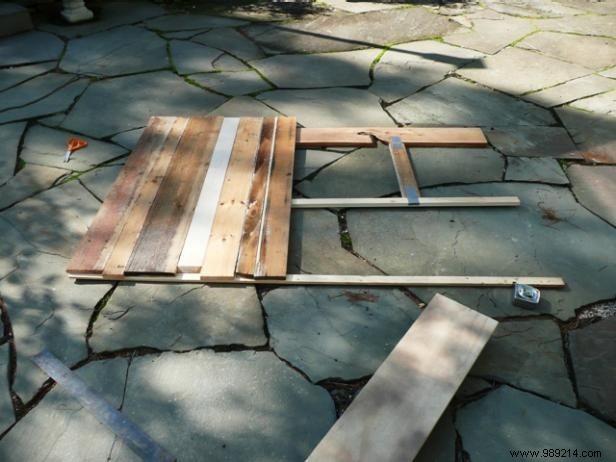
Align the planks face down over the frame. Secure them to the horizontal pieces with screws long enough to hold firmly but short enough not to penetrate the front. Ensure everything is straight and level before tightening.
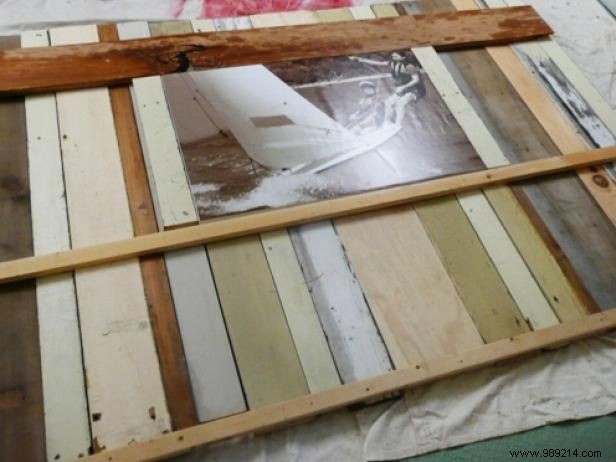
Flip the assembly so the planks face up. Verify artwork dimensions, then flip back and attach the vertical side pieces for a snug fit—tight enough to hold but allowing easy swaps.
Apply varnish evenly, let dry, then apply a second coat. Allow several days to cure fully for lasting protection.
Use a stud finder to anchor securely to the wall, or attach to bed legs. For a clean look, drive screws into the frame's interior and cover with your artwork.