
As an experienced furniture restorer, start by gathering essential tools like a cordless drill, rubber mallet, and scraper. Unscrew the saddle pad screws with the drill. Tap stuck corner blocks loose with the mallet. Gently separate loose joints—wood naturally shrinks over time, weakening them. Handle parts carefully to prevent further damage.
Label each piece to ensure correct reassembly. Scrape away old glue from joints, dowel pins, and blocks using a scraper, chisel for tight spots like around pins, or sandpaper. Thoroughly clean and smooth all surfaces for a strong bond.
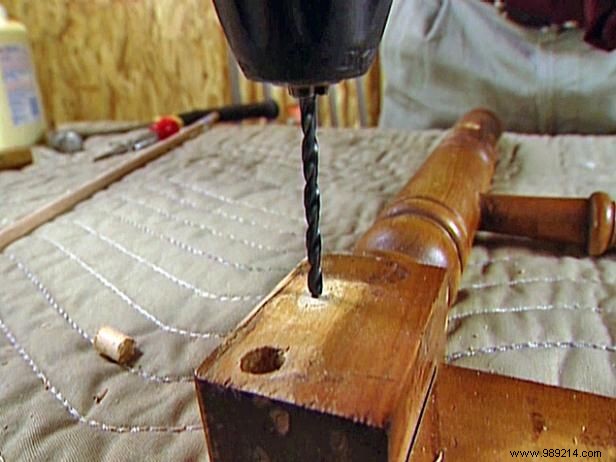
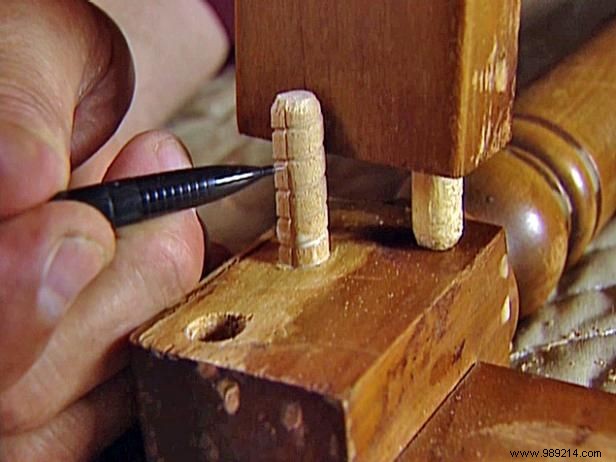
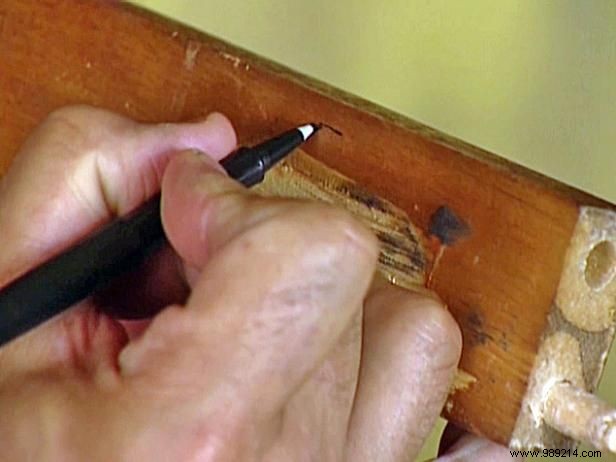
Begin with a small pilot hole, then widen with a larger bit. Cut old dowel flush with a coping saw. Mark the pin's center and drill through it (Image 1) without penetrating the frame. Match the bit to the pin hole size. Remove old dowels, test new ones for a tight fit, apply wood glue sparingly to the hole and pin center, then tap gently. Trim excess length to match the original (Image 2).
Apply glue generously to finger joints, pins, and hold-down areas. Join male and female parts securely for maximum strength. Repeat for all joints—better to use excess glue (wipe it off) than too little, which risks weak repairs.
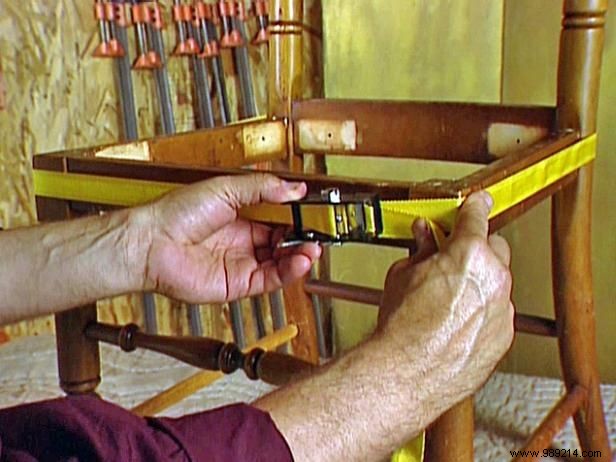
Clamp the frame securely, then strap the chair tightly around the body rails for stability. Apply glue to rail faces and blocks (recessed side down), screw firmly, and wipe excess with a damp rag.
Reassemble using your part markings. Secure for at least four hours. Repair nicks with touch-up sticks, starting light and building to darker shades for a seamless match.